

Filter alarms
There are several ways you can filter the alarm list, so it displays just the alarms or events that you are interested in.
-
In the toolbar of the alarm list, click the Custom (filter applied) or No filter text. The text may be different, depending on the filter you've selected.
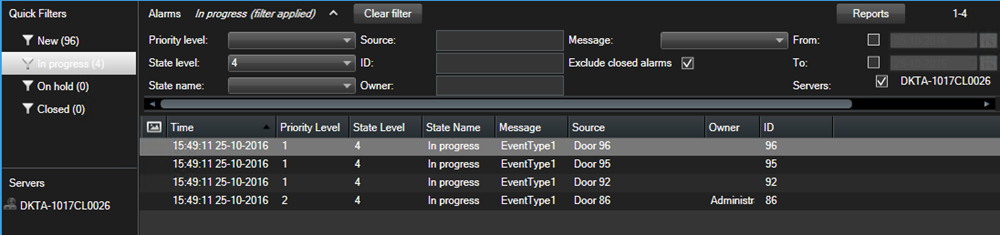
- Enter the filter criteria on any of the columns you want to filter on. For example, if you enter a user ID in the ID field, the list only displays alarms assigned to that particular user.
- You can combine filters, for example State name and Owner (assigned to).
- To return to the unfiltered alarm list, click the Clear filter button.
- To sort the content of the alarm list, click the title of the column.
If your alarm handling views contain map content, you can also filter the alarm list by right-clicking an element (camera, event server, or similar) on the map, then selecting Show alarms. This makes the alarm list show only alarms from the selected element.