

Viewing live video
You view live video mainly on the Live tab. To view live video, you must find a view that shows video from the cameras that you are interested in. The views are available in the Views pane. For each camera that appears in a view, different actions are available, for example taking snapshots or starting manual recording. See also Camera toolbar (overview). If something catches your attention, you can zoom in to take a closer look using the virtual joystick.
Live video (explained)
The video stream from the camera is not necessarily being recorded. Typically, recording takes place according to a schedule, for example, every morning from 10.00 to 11.30. Or whenever the XProtect VMS![]() Short for "Video Management Software". system detects special events, for example, motion generated by a person entering a room, a door is opened, or similar.
Short for "Video Management Software". system detects special events, for example, motion generated by a person entering a room, a door is opened, or similar.
If multiple streams have been set up on the server, you can temporarily view a different stream by selecting this from the camera toolbar. On the camera toolbar, click More and then select a stream from the available list.
To investigate an incident that was recorded, go to the Playback tab. To perform advanced searches, go to the Search tab.
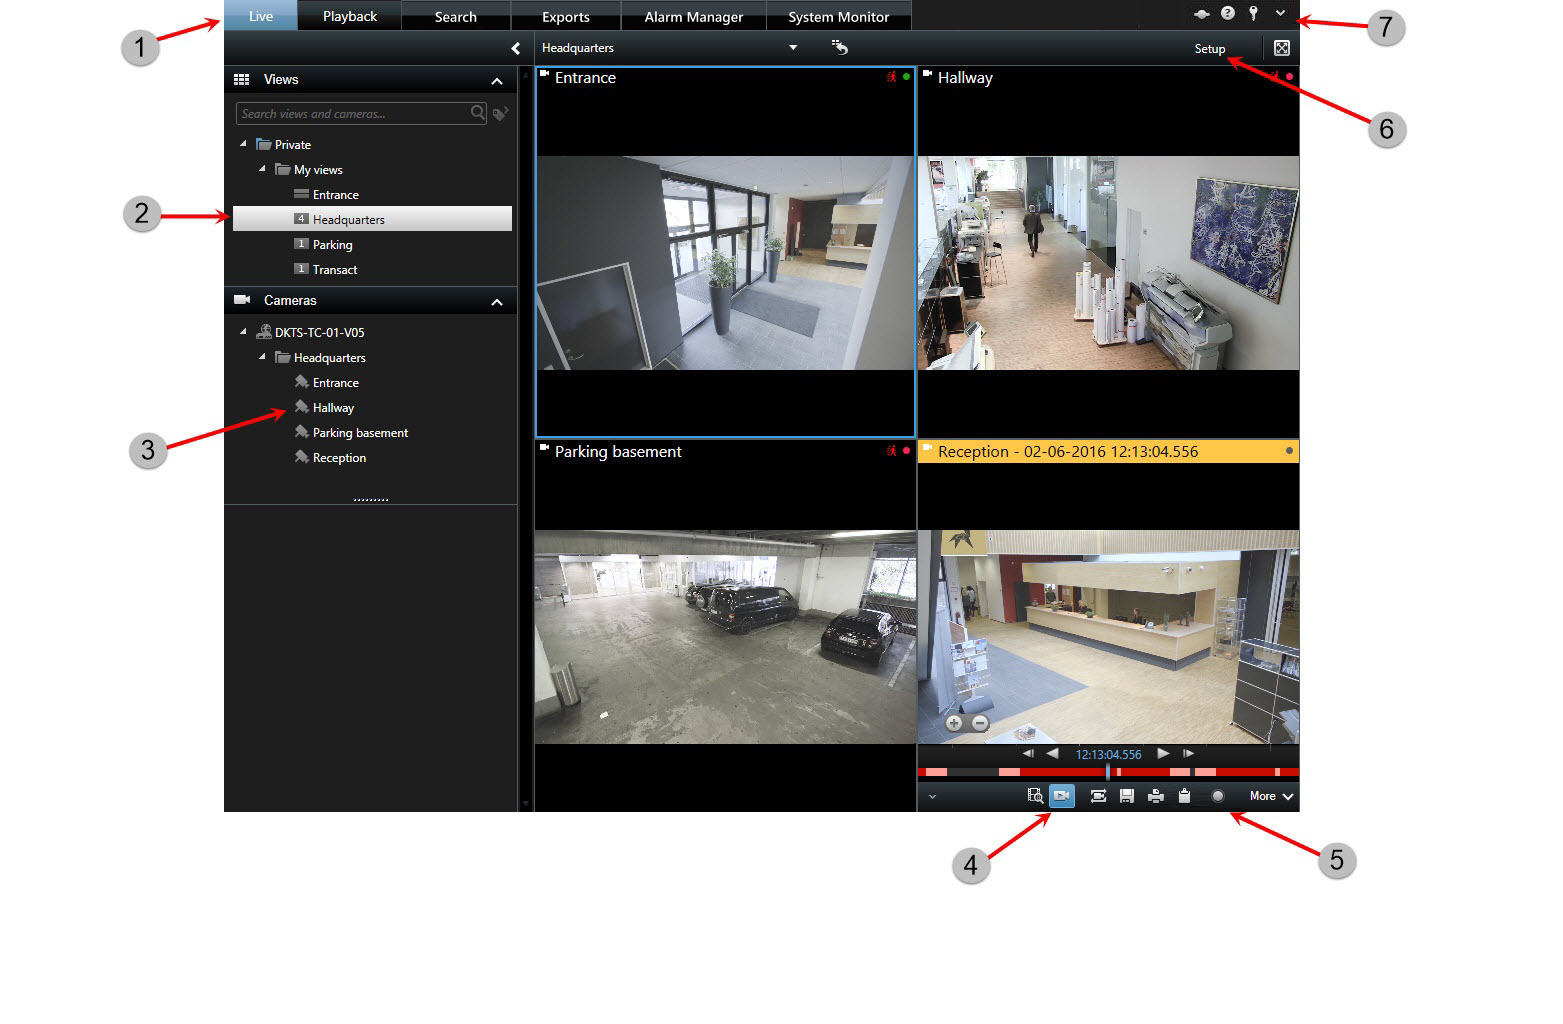
Live tab (overview)
| Number | Description |
|---|---|
|
1 |
The different workspaces. See also Workspaces in XProtect Smart Client. |
|
2 |
Select a view. |
|
3 |
Change cameras in views temporarily. See also Change individual cameras temporarily. |
|
4 |
View recorded video for individual cameras. See also View recorded video independently of timeline. |
|
5 |
The camera toolbar. See also Camera toolbar (overview). |
|
6 |
Enter or exit setup mode to add cameras and other types of content to your views. |
|
7 |
Buttons. See also Buttons in XProtect Smart Client (overview). |
Camera toolbar (overview)
The camera toolbar appears whenever the cursor hovers over a camera inside a view. The camera toolbar is available both on the Live and on the Playback tab.

| Number | Description |
|---|---|
|
1 |
Open a new search window where the camera is preselected. See also Start search from cameras or views. |
|
2 |
View recorded video independently of the timeline. See also View recorded video independently of timeline. |
|
3 |
Bookmark the video. See also Add or edit bookmarks. |
|
4 |
Take simple snapshots of what you are viewing. See also Take single snapshots. |
|
5 |
Print a surveillance report from a single camera. See also Print report from single cameras. |
|
6 |
Copy single images to the clipboard. See also Copy images to clipboard. |
|
7 |
Record video manually from a single camera. See also Record video manually. |
| 8 | Enable digital zoom. See also Use digital zoom. |
| 9 | Change the camera in the view item temporarily. See also Change individual cameras temporarily. |
Hide camera toolbar
When you minimize the camera toolbar in a view item, the toolbar remains minimized only to you in the current session. However, you can hide it permanently for a particular view item, for all users with access to the view item.
Steps:
- On the Live or Playback tab, click Setup to enter setup mode.
- Find the view item where you want to hide the toolbar.
- Click
 to hide the toolbar.
 - Click Setup again to exit setup mode. Your changes are saved.
The setting you make in setup mode is stored on the server, so that the change impacts other XProtect Smart Client operators.
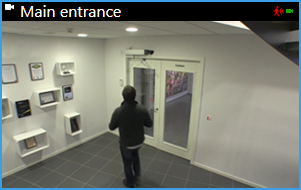
Camera indicators (explained)
The camera indicators show you the status of the video that is displayed in the camera view items. The camera indicators are visible only if the camera title bar is enabled in the Settings window on the Application tab.
You can turn the camera title bar on and off on individual view items. On the Live or Playback tab, click Setup and select the Show title bar check box in the Properties pane.
The list describes the different camera indicators that appear when:
-
 motion is detected. Click inside the image to reset the motion indicator
 -
 the server connection to the camera is lost
 -
 video from the camera is being recorded
 -
 a connection to the camera is established. This icon is only relevant for live video
 -
 playing back recorded video
 -
 no new images have been received from the server for more than two seconds
In the camera properties, you can add sound to notify you when there is motion.
Record video manually
Recording while watching live video is useful if you see something of interest.
Steps:
On the camera toolbar for the view item that you want to record, select one of the following options:
-
 Start recording for # Minutes
 -
 Start manual recording
Once started, recording will continue for the number of minutes determined by your system administrator. You cannot change this, and you cannot stop recording before the specified number of minutes has passed.
Once started, recording will continue for the number of minutes determined by your system administrator, or you can click the icon again to stop manual recording.
You can start recording the video stream from more than one camera simultaneously, but you must select them one by one.
Take single snapshots
As you are viewing live or recorded video, or searching for video, you can take an instant snapshot![]() An instant capture of a frame of video at a given time. that you can share. The path to the folder, where the still image is saved, is specified in the Settings window under Application settings.
An instant capture of a frame of video at a given time. that you can share. The path to the folder, where the still image is saved, is specified in the Settings window under Application settings.
In the Settings window under Application, Snapshot must be set to Available.
Steps:
- If you are on the Live or Playback tab:
- Hover over a view item that contains a camera, a hotspot, or a carousel.
- In the toolbar, click
 . The icon momentarily turns green.
- If you are on the Search tab, double-click a search result and click in the camera toolbar. The icon momentarily turns green.
- To access the snapshots, go to the file location where the snapshots are saved. See Settings in XProtect Smart Client.
If the image contains a privacy mask![]() A blurred or solid color that covers an area of the video in the camera view. The defined areas are blurred or covered in live, playback, hotspot, carousel, smart map, smart search, and export modes in the clients., this privacy mask is also applied to the snapshot image.
A blurred or solid color that covers an area of the video in the camera view. The defined areas are blurred or covered in live, playback, hotspot, carousel, smart map, smart search, and export modes in the clients., this privacy mask is also applied to the snapshot image.