

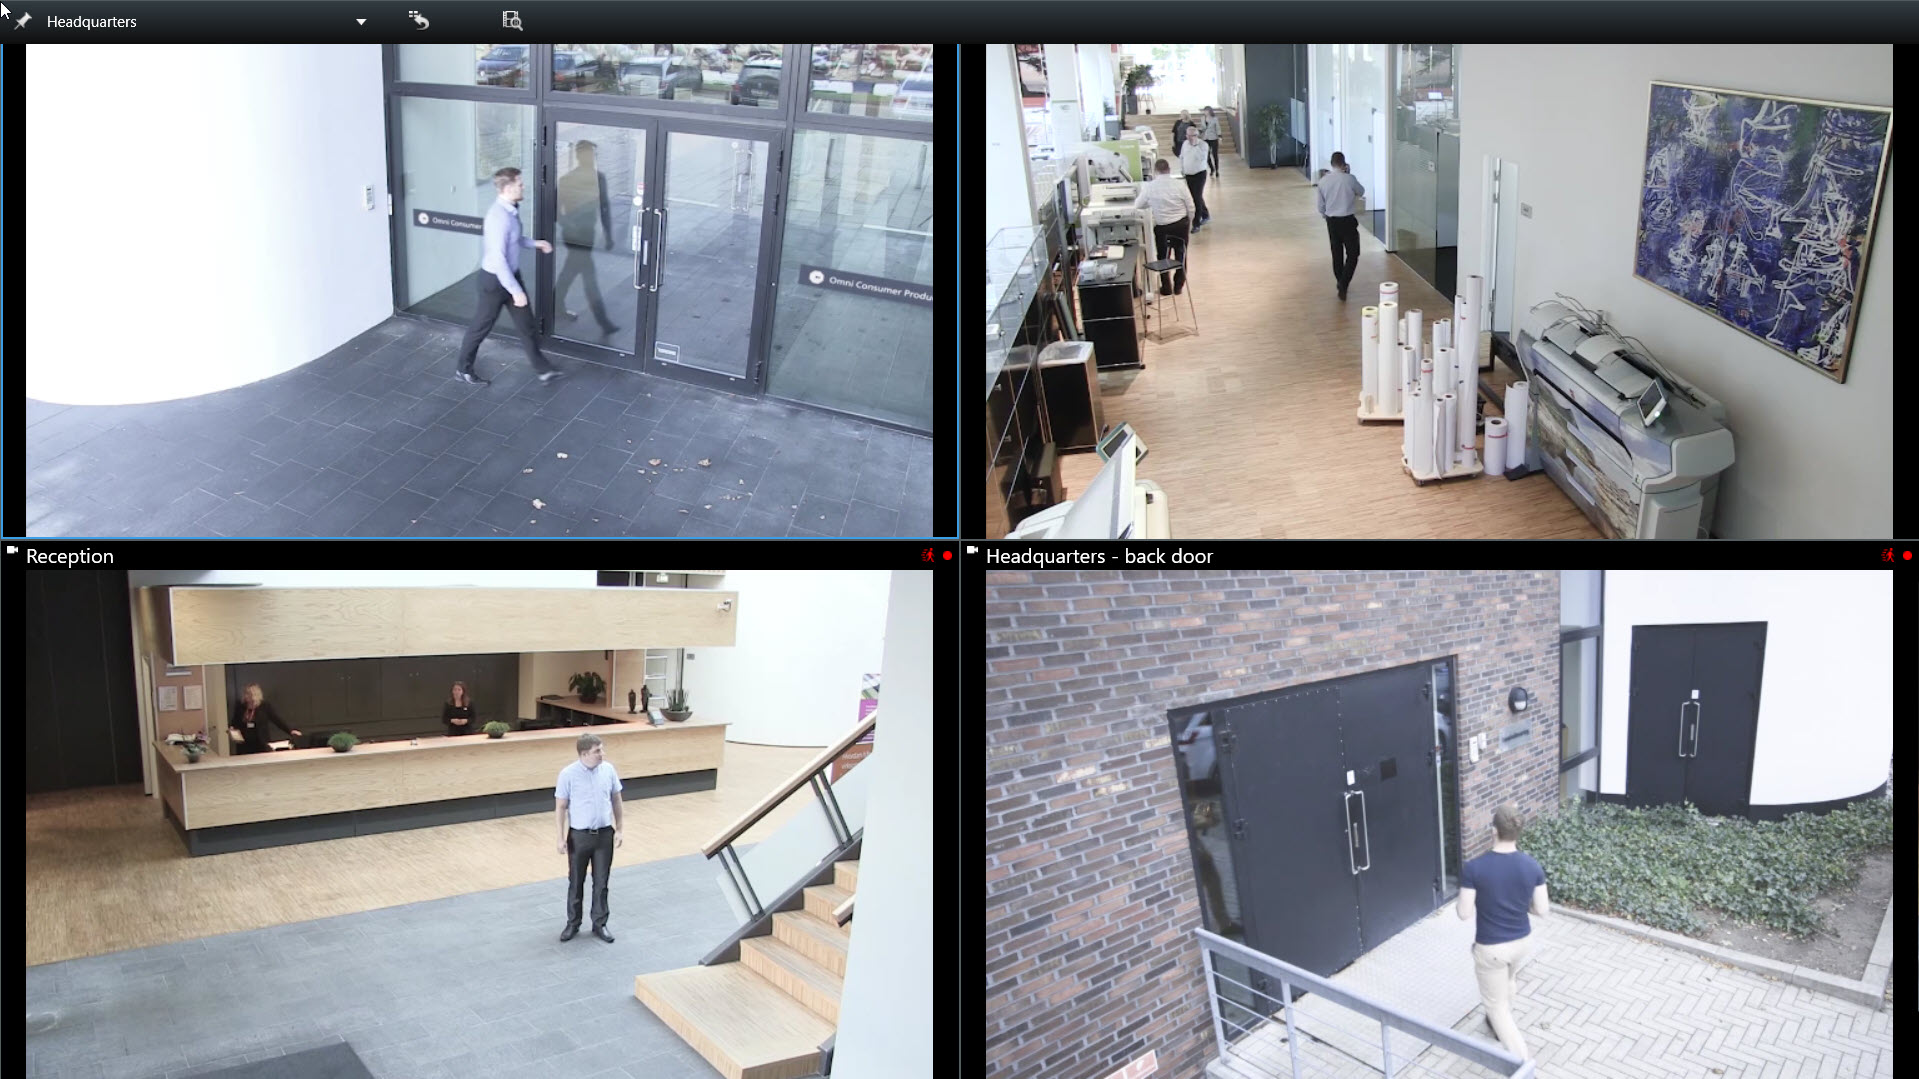
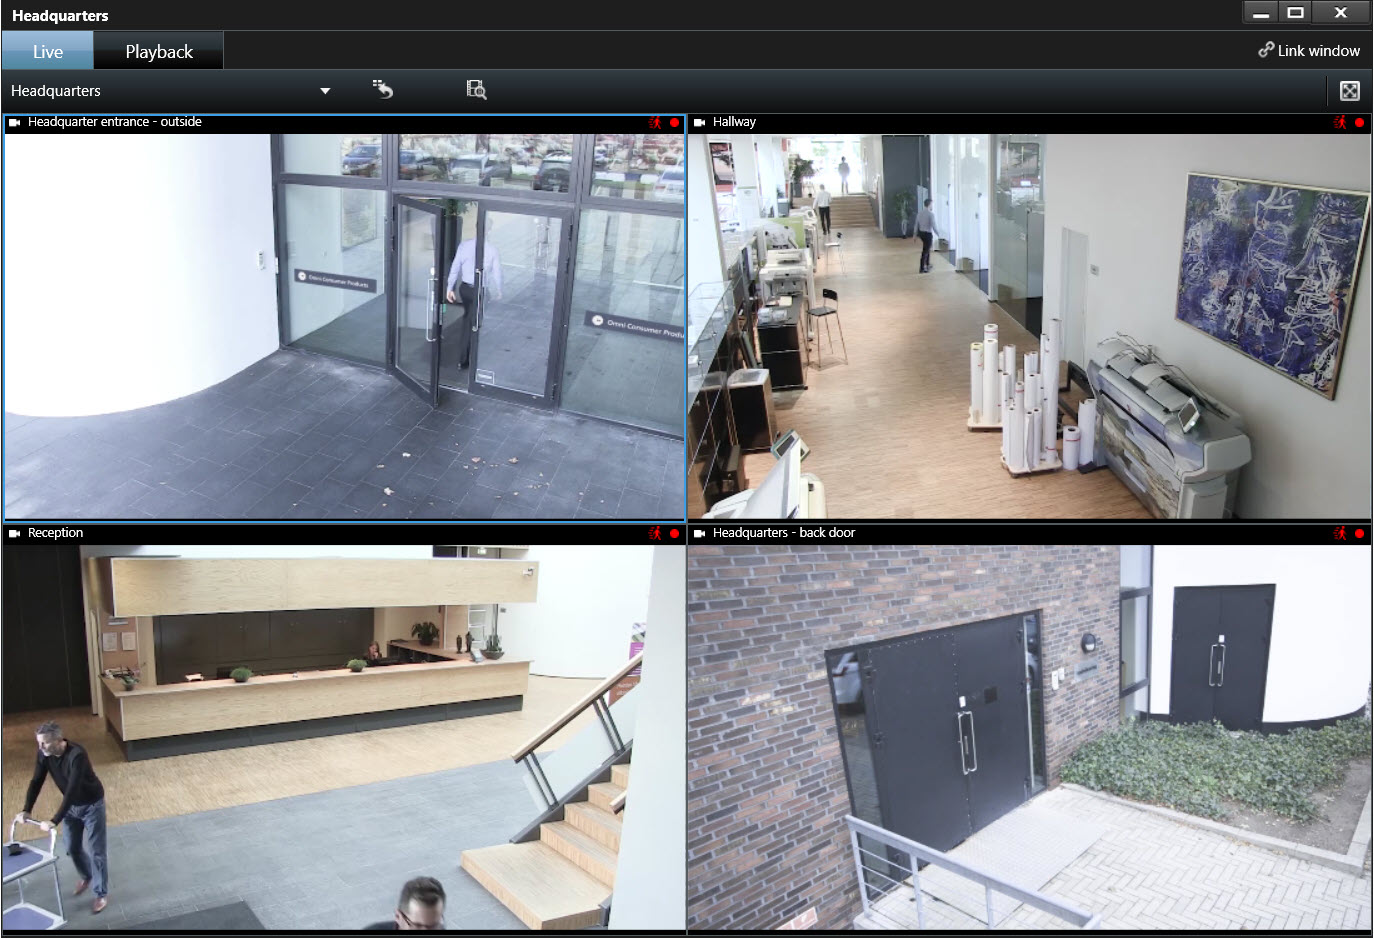
Managing views
Views are located on the Live and Playback tabs and can contain cameras and other types of content. If views have been assigned shortcut numbers, you can select a view by using keyboard shortcuts. See also Keyboard shortcuts (overview).
Searching for views and cameras (explained)
If you have a large or complex hierarchy of view groups, the search function makes navigation easier and allows you to search for views, cameras - including camera characteristics (see also Camera characteristics) - and keywords across the hierarchy. You can find an overview of common keywords if you click  next to the search field.
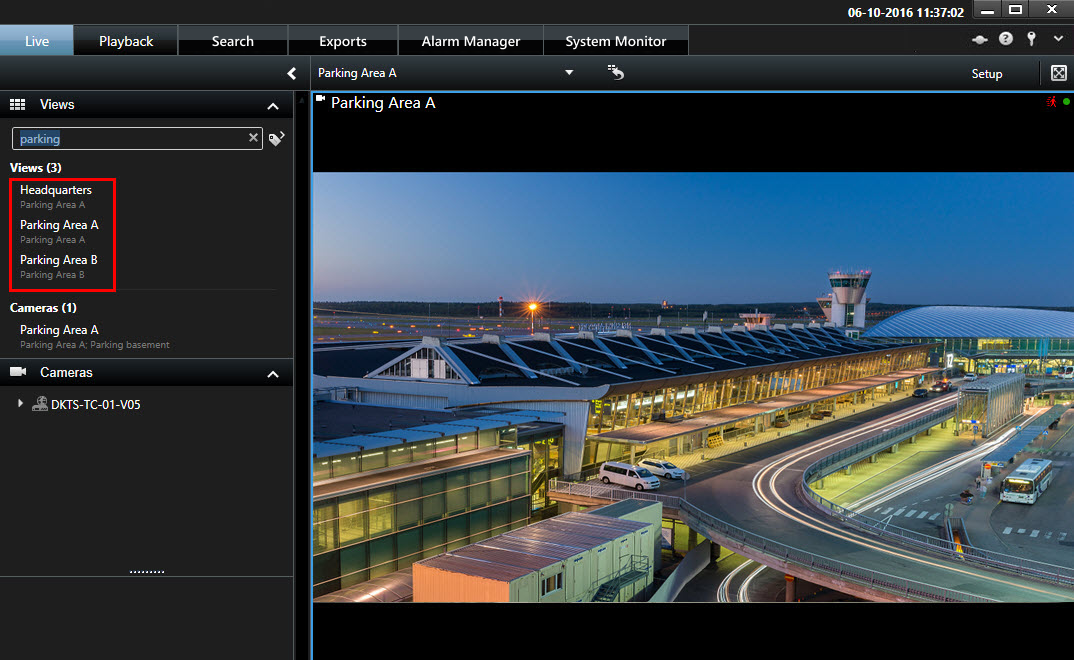
The following two images show a hierarchy of views and what it looks like when you search for parking:
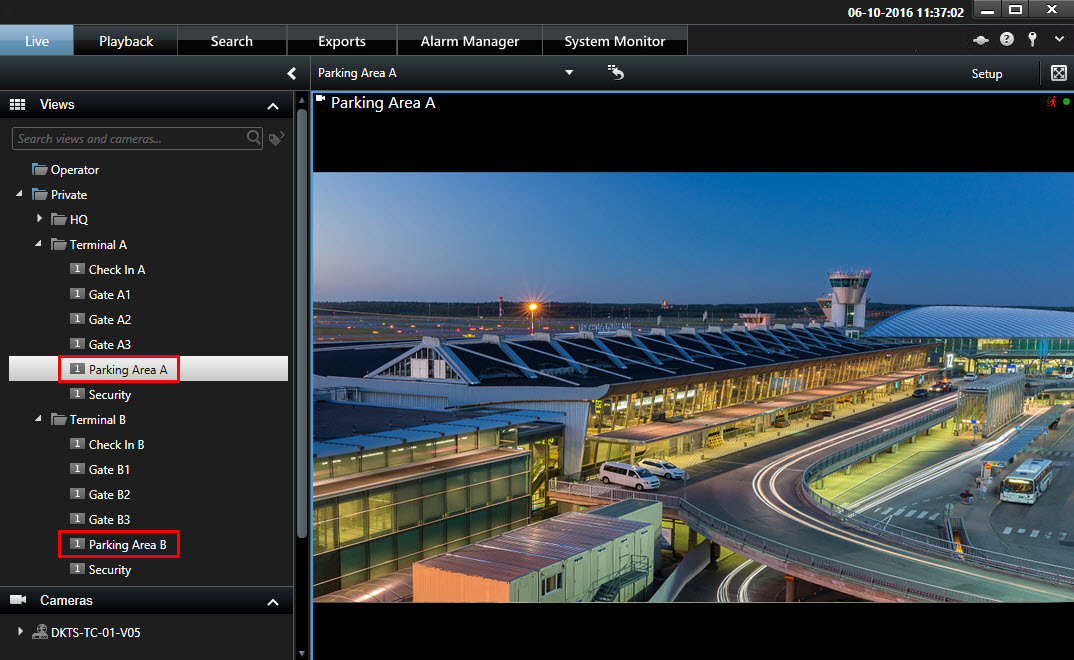
If a top-level folder has a red background  , it is protected. You can still access any views under the protected top-level folder, but you cannot create new views or edit existing views under it.
As you enter the search words, matching results for views and cameras are displayed. When you select one or more of the matching cameras, the cameras appear in a temporary view that is optimized for the number of cameras you select.
To view a single camera in a 1:1 view, click the search result in the Cameras section.
To view the first 25 cameras in a view, click the search result in the Views section. You can also select cameras manually if you press either Ctrl or Shift while clicking the cameras. Press Enter to view the cameras.
- Name
- Description
- Capability:
- PTZ
- Audio
- Input
- Output
- Views containing a specific camera
- Recording server name or address (shows connected cameras)
Your system administrator can add free text tags in the camera description field on the XProtect VMS server to make it possible to group cameras and search for these tags. An example could be that all outdoor cameras use the tag "Outdoor" in the description field. In that case, you can find all cameras of this type.
Change individual cameras temporarily
You can temporarily change the cameras in a view. However, it does not permanently change the view. If you want to permanently change the content of a view, you must be in setup mode.
You can only change the camera if the view item contains a camera.
Steps:
- Select the relevant item in the view.
- Do one of the following:
- In the Cameras pane, drag the relevant camera into the position in the view.
- On the camera toolbar, click More > Send to window > Main window, and then select a position in the view.
- To restore your original view, click
 on the workspace toolbar.
In the Cameras pane, the list of cameras is grouped by server. If a server is listed with a red icon, it is unavailable, in which case you will not be able to select cameras from that server.
Swap cameras
You can temporarily swap two cameras in a view. The camera in that position then exchanges places with the one you swap it with. You can only swap cameras with other cameras. This can be useful, for example, if you want to keep all your most important cameras in a certain position in your view.
Steps:
- Click the relevant camera title bar and drag it to a new position.
- To restore the original view, click on the workspace toolbar.
If you want to make permanent changes to your view, you must first be in setup mode.
Send video between open views
You can send video from a selected camera position to a single-camera position in another open view, including any views you may have in floating windows or on secondary displays.
This feature is not available for hotspots, carousels, or Matrix positions.
Steps:
- On the camera toolbar, click More > Send to window.
- Select the destination view, and then select the position in the view where you want the video for that camera to display. If some of the camera positions are not selectable, they might be unavailable or used for hotspots, carousels, or Matrix content.
Send views between displays
You can send a view to a specific display or a floating window. This is useful, for example, if you have several monitors. Afterwards, you can synchronize the time of the destination display with the time used in the main window.
- In the Views pane, right-click the relevant view.
- Click Send view to and then specify how you want your view to display.
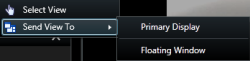
If more secondary displays are available, they will be numbered.
- To synchronize the time between the two displays, click Link window in the upper-right corner. The timeline is hidden in the destination window, but is still visible in the main window.
Any hotspots, carousels, Matrix positions, still images, or HTML pages included in the view will work as usual in a floating window.
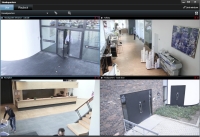
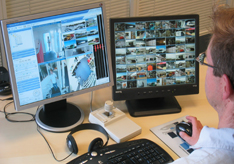
Multiple windows or displays (explained)
You can send individual views to separate windows or displays, while keeping the main window of the XProtect Smart Client in the background, so you can watch several views simultaneously. The selected camera or item is always displayed with a blue border.
You can send any view to:
-
A primary display that shows the view in a separate full-screen window on the main display of your computer with the main window hiding behind it

By default, the tabs and controls are hidden. Press Esc to make the tabs and certain controls reappear.
-
A secondary display that shows the view in a full-screen window on another monitor (if available). The main window stays visible on the primary monitor
By default, the tabs and controls are hidden. Press Esc to make the tabs and certain controls reappear.
-
A floating window that shows the view in a separate window. You can open any number of floating windows and drag them to any monitor that is connected to your computer.
Click Link window to synchronize the time in the floating window with the time of the main window.
Your multiple window setup is stored in XProtect Smart Client, so next time you log in, you can reuse it. However, the setup applies only to the computer that you are currently using. To use multiple windows on more than one computer, you must configure your multiple window setup on each computer.