The ALERTS Tab
Overview
The ALERTS tab contains three sections: a video source pane on the left, thumbnails in the middle and filters on the right.
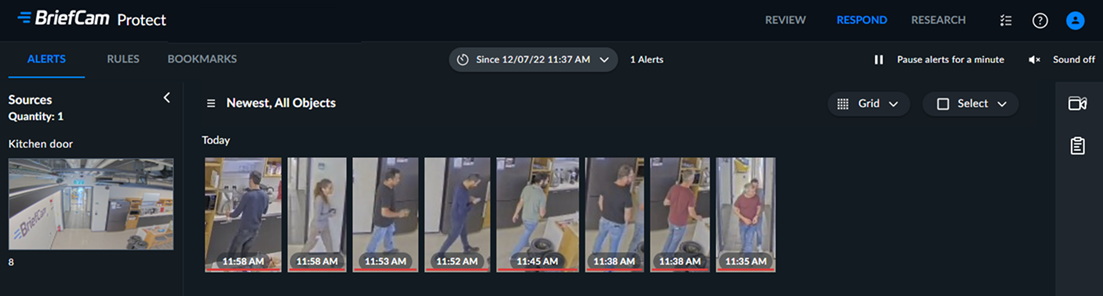
By default, the ALERTS tab opens displaying the last 24 hours of alerts. The Since time will remain as-is until you refresh the screen.
You can change the display using the drop-down list at the top of the screen.
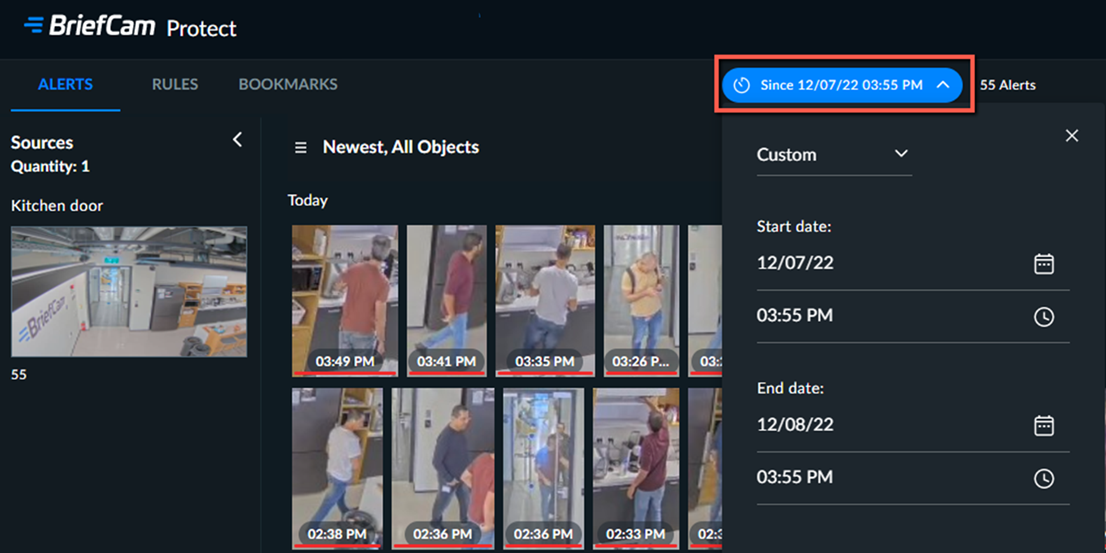
When a new alert comes in from a camera, it is added to the video source for that camera.
You can copy the name of the source by clicking on the source name and clicking the copy  icon.
icon.
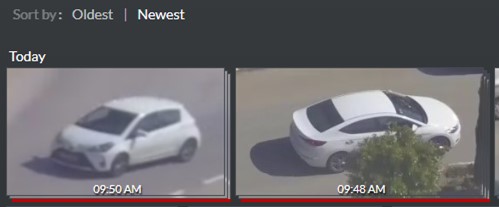
You can sort the alerts by time (oldest to newest and vice versa).
By default, the order of the video sources is only changed right after you change the Sort by time or when you set a filter. If you want the video source pane to also be sorted when there is a new alert, your administrator can change this for you.
To activate sound notifications when a RESPOND alert is received, click on the  icon. The sound will play only when you are logged into BriefCam and have activated the sound. You will need to activate it each time you log into BriefCam. The administrator can remove or change the sound file.
An alarm icon appears near the RESPOND tab to signify that new alerts are available. When navigating to the ALERTS tab, the alarm icon disappears.

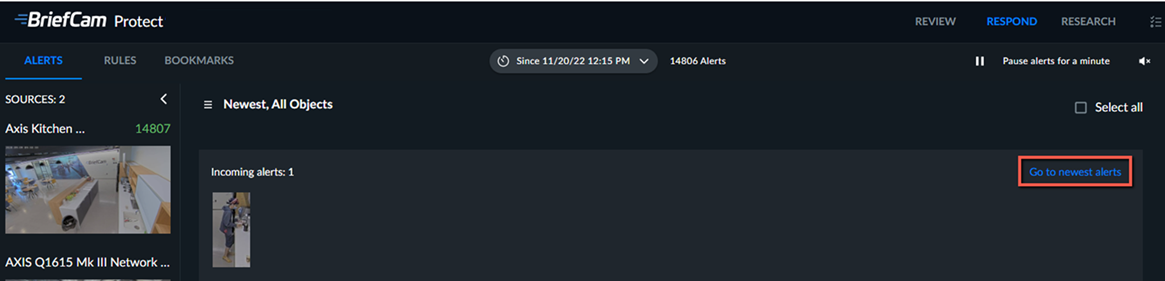
If you are on a page that is not the first page and new alerts come in, you will see them in the first row. You can then click the Go to newest alerts link to display the newest alerts.
Map View
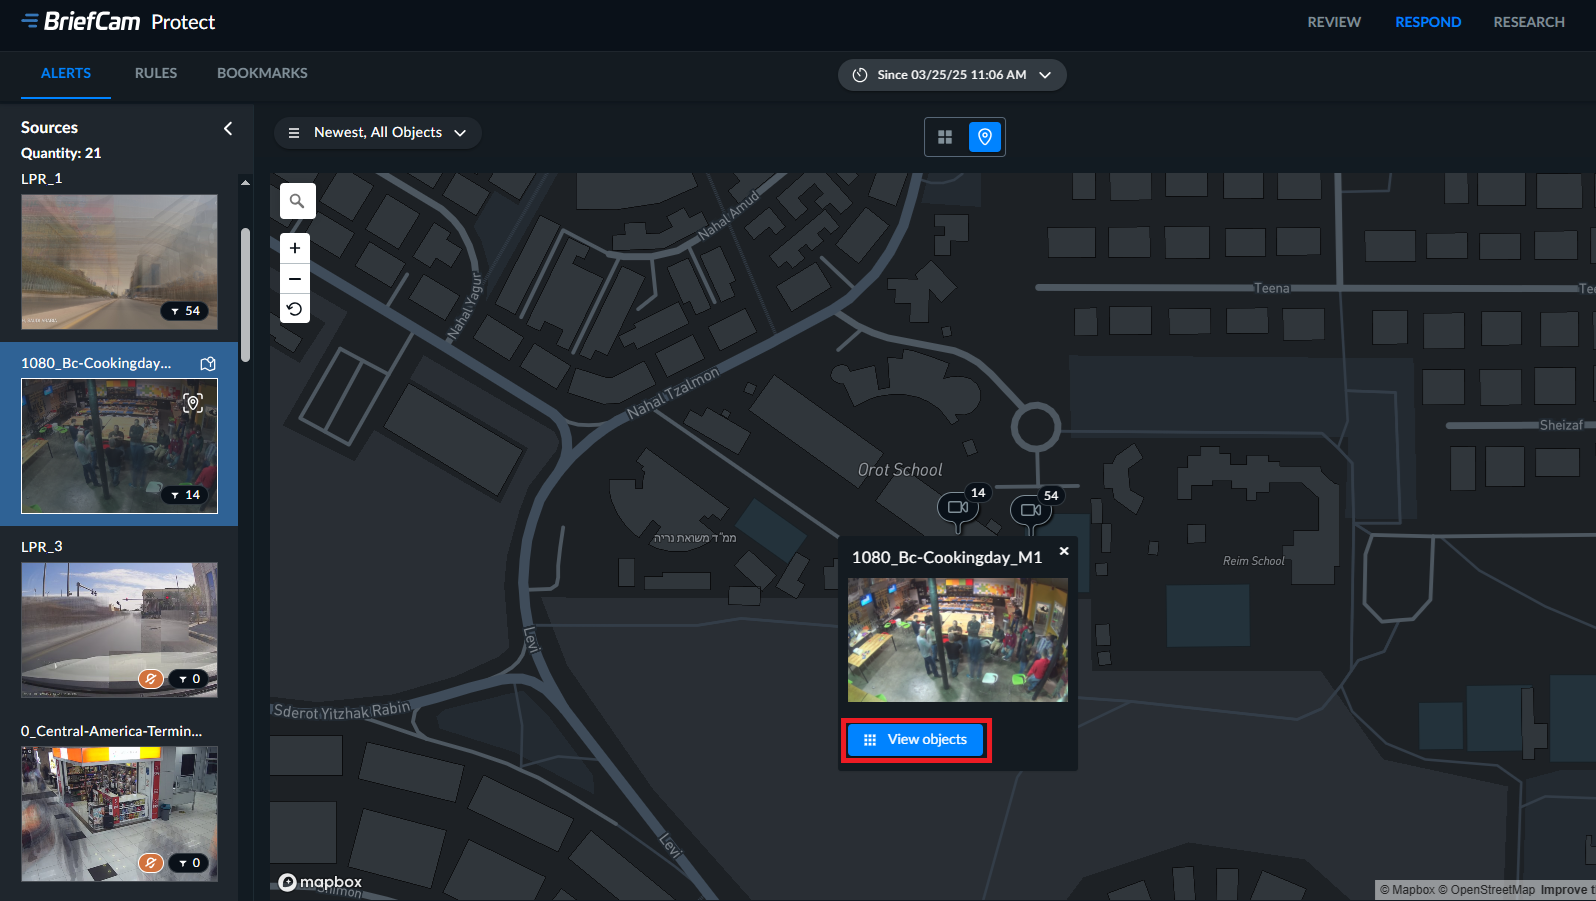
In the RESPOND module, you can view alerts on a map if your administrator has set up the system to allow this. In the Map view, you can see alerts on a map according to the camera location.
While the default view is the Grid view, if you want the Map view to be the default, ask your BriefCam administrator to set it up.
On the map you will see various icons, which are explained in the table below.
 | A camera that is added to an enabled rule and has coordinates set in BriefCam. The number represents the number of alerts detected for the camera. Note that sources that do not have coordinates will not appear on the map. |
 | The red dot indicates unseen alerts from this camera. |
 | Cameras with rules enabled, but with no alerts detected at the moment. The blue is darker to make it easy for users to quickly identify cameras with or without alerts. |
 | Camera with rules disabled, but with past alerts during the filtered timeframe. |
 | Cameras configured in BriefCam but are not currently being used by an enabled rule. |
You can zoom in and out of the map using the zoom icons on the map or by dragging the map with the mouse.
You can search for addresses using the search  icon.
icon.
On the source you will see various icons, which are explained in the table below. Some of the icons are available when hovering over the source.
 | The camera does not have coordinates. |
 | Click to add coordinates. |
 | Click to show the camera on the map. |
To add coordinates to a source (camera or file):
Click the Add Coordinates
icon on the right-top side of the video source.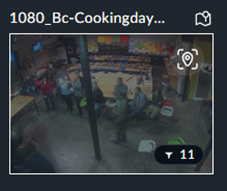
Enter the Latitude and Longitude for this source or drag and drop the source on the map, and click APPLY.
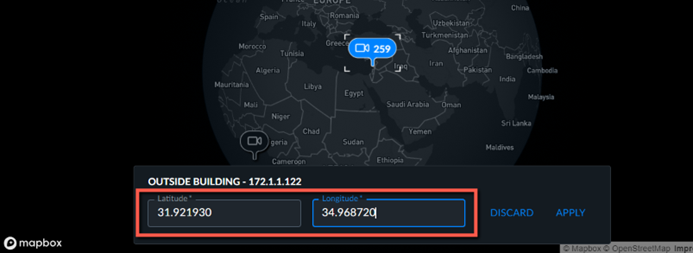
If you do not know the latitude and longitude, contact your organization’s BriefCam administrator.
To add a rule to a camera directly from the map:
Click the camera
icon for the camera where you want to add a rule.Click the Create new rule button.
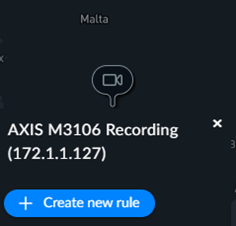
The camera will be automatically selected. Click NEXT.
If required, set a schedule and click PROCESS.
To view alerts directly from a camera:
Click on the camera.
Click the View objects button to open the Grid view.
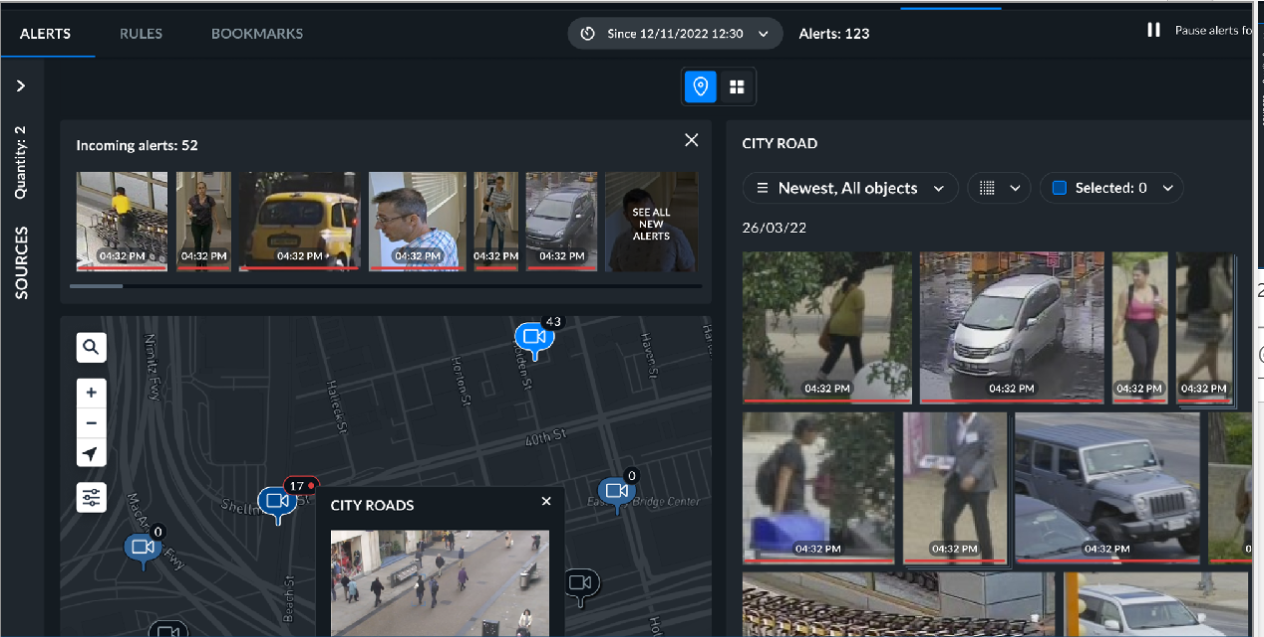
Note that when alerts come in you will see them in the Incoming alerts section on the top right.
Video Source
Each video source represents a camera that has alerts in the selected time range.
Cameras that have more than one rule are shown as a single video source.
Note
In the RESPOND solution, it takes five minutes for the video source to be playable after it was created.
Click the playback button to play back the video source. Video playback will feature only objects matching currently selected filters.
For information about the video player, see Video Player.
Alert Thumbnails
The ALERTS tab contains thumbnails of all alerts that were generated in the RULES tab of the RESPOND solution. The time that the alert was created appears on the thumbnail.
New alerts will appear in the first row. Once the row is filled, the alerts will move down to the next row.
If you are on any page besides the first page and new alerts come in, you will see an Incoming Alerts row. Above the row, you can click the Go to newest alerts button and the first page will open.
A red line under the thumbnail indicates that the thumbnail has not yet been watched.
Count-based alerts display the thumbnails, one on top of another, of all of the objects that were counted in the alert.
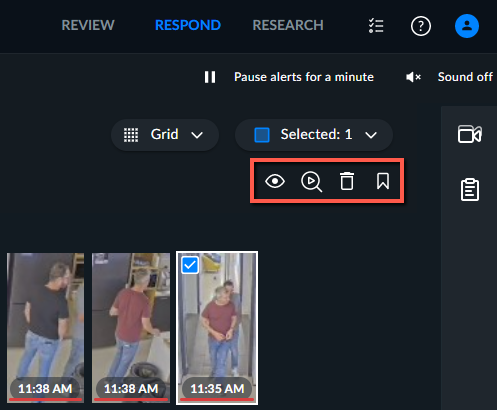
When you select an alert or multiple alerts, four icons will appear at the top right of the screen.
Icons | Description |
 | Mark as Watched/Unwatched |
 | Start a Review Case |
 | Delete |
 | Create Bookmark. Additional information about creating bookmarks can be found in The BOOKMARKS Tab section. |
Filters
On the right side of the screen, you can filter by the source name or rule name.
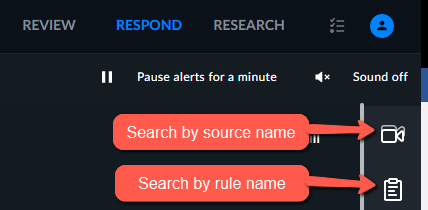
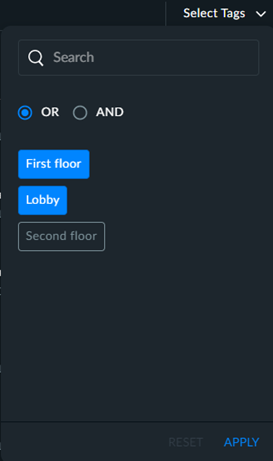
When searching by source name, to enhance you search of the cameras, you can select the tags that you want to search for. For example, your administrator may have marked all cameras on the first floor with a tag named “First floor”. You can easily search for these cameras by opening the Select Tags drop-down list at the top right corner and selecting the tags that you want. You can also use the OR and AND options to further your searching capabilities.
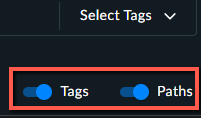
Note that you can display the list of cameras with or without the tags and the paths (which show the hierarchy of the cameras within the directory) by using the Tags and Paths toggle options.
 |
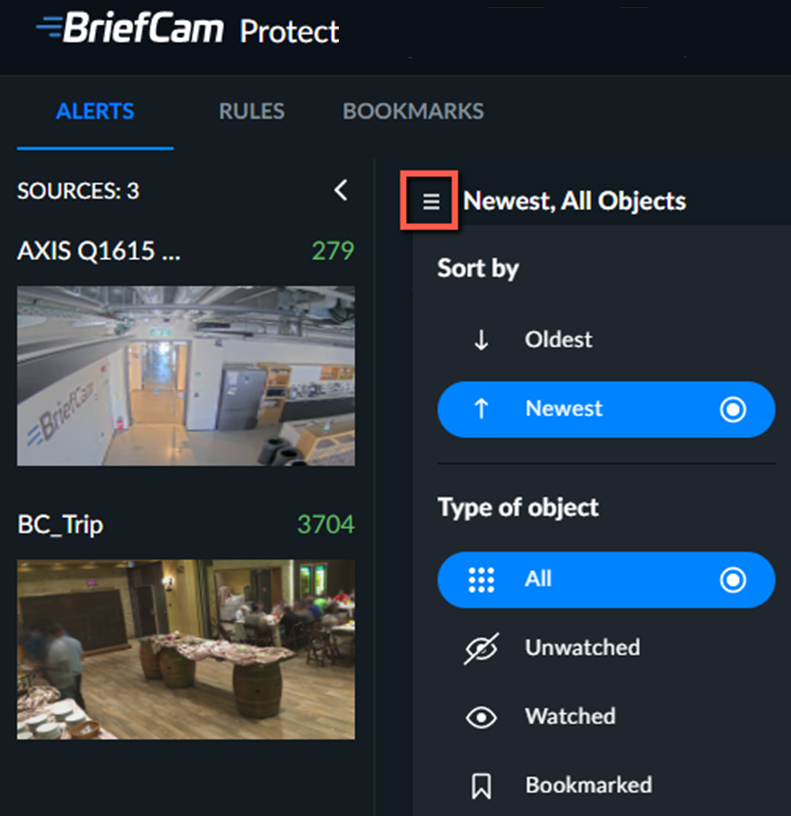
Click the three-line menu  where you can sort by oldest or newest and select to show all alerts or to show bookmarked, watched, or unwatched alerts only.
 |
Note
When using the Bookmarked filters, it will only show bookmarks that were not deleted during the maintenance. Afterward, the bookmark will only appear in the BOOKMARKS tab.
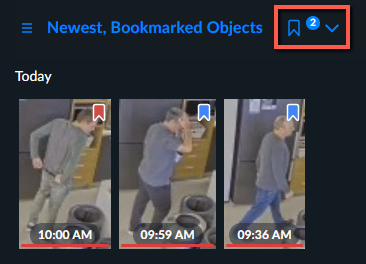
When you select the Bookmarked filter, you can click on the arrow icon and further filter by color.
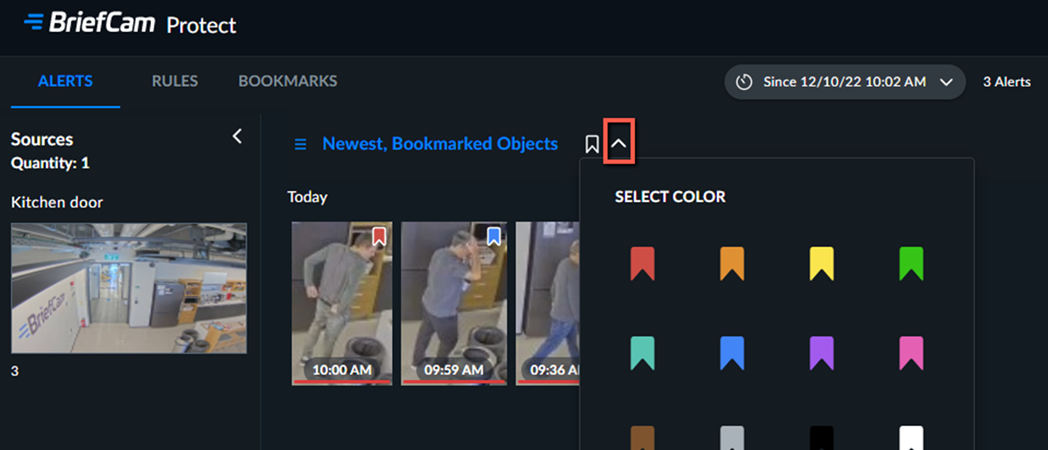
If you select multiple colors, the number of colors selected will appear to the right of the bookmark icon.