BriefCam Server Installation
Prerequisites
All BriefCam servers must reside in the same time zone and have the same time zone. When products are configured in one location and moved to another, the time zone configuration may change and cause previous processes to break. For example, the data synchronization between the BriefCam server and RESEARCH dashboards will not work.
Remember that before installing the BriefCam server, the PostgreSQL database needs to be installed.
It is recommended to not turn on IPv6 on the Network connections for the BriefCam servers.
The following ports are required during the BriefCam server installation. Make sure that they are available before starting the installation.
Component | Port # |
VSServer Service | TCP 1112, TCP 1113 |
Notification Service | TCP 7080 |
Lighthouse Service | TCP 2553, TCP 2554, TCP 2555, TCP 2556, TCP 2557 |
Installation Steps
Note
As of BriefCam 2025 R1 SP2, the installer is provided as a ZIP file. Starting from this version, download the ZIP file and extract it.
To run the BriefCam server Installation wizard, right-click on the
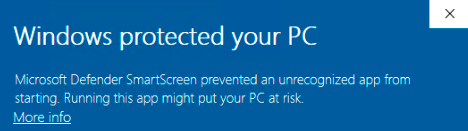
BriefcamServer_<Version number>.exefile and select Run as administrator.If you are using the latest Windows Update and a Windows Defender alert appears, click the More info link and click Run anyway.
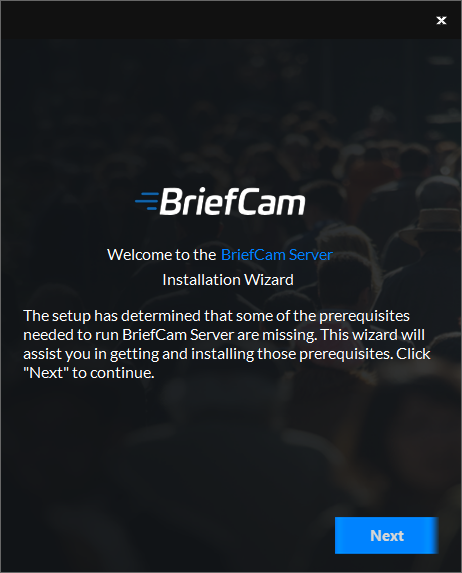
The installation checks for prerequisites. If anything is missing, the following screen will appear. Click Next.
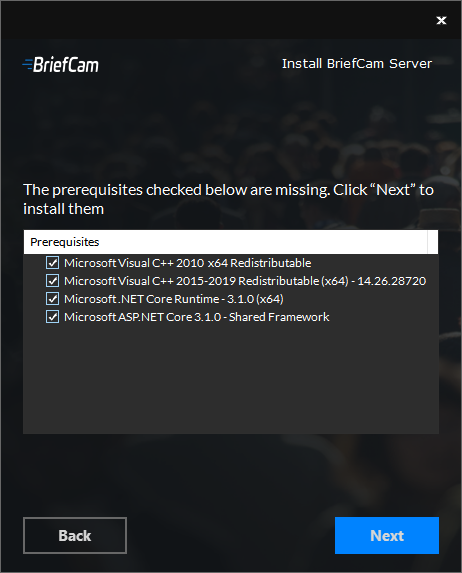
In this screen, the prerequisites checked are the missing prerequisites. Click Next to install them.
Click Get Started.

Accept the terms of the license agreement and click .
Select the location where you want to install the BriefCam server and click .
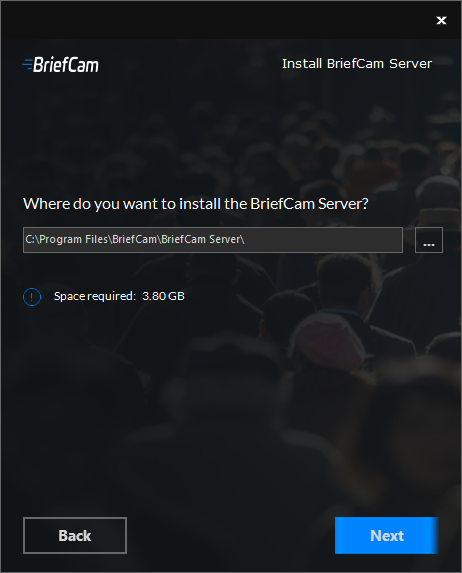
The following screen will appear.
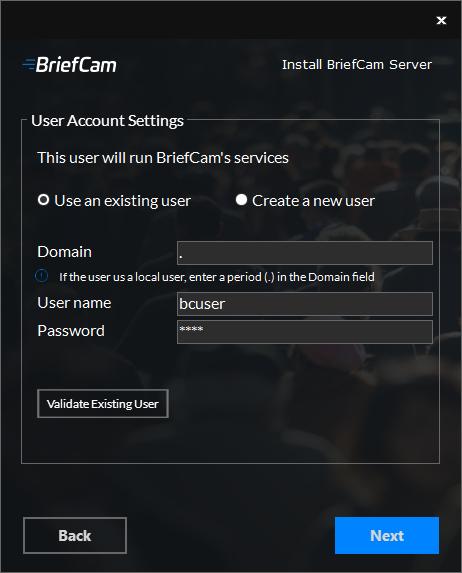
Select whether to use an existing account or create a new account.
Enter the user name and the password. The user needs to have administrator rights on the local machine. Note that special characters are not supported in the Password field.
If the user is a domain user, enter the domain name. If the user is a local user, enter a period (.).
Note
The domain and user names are case sensitive.
If you selected to use an existing user, you can click to check that the user credentials are valid.
For new users, you can select the Deny remote login for the BriefCam user checkbox to prevent the BriefCam user from remotely logging into the machine. If the checkbox is not checked, it will be possible to give the BriefCam user access to remote login (depending on your organization’s policies).
Click .
The following screen will appear.
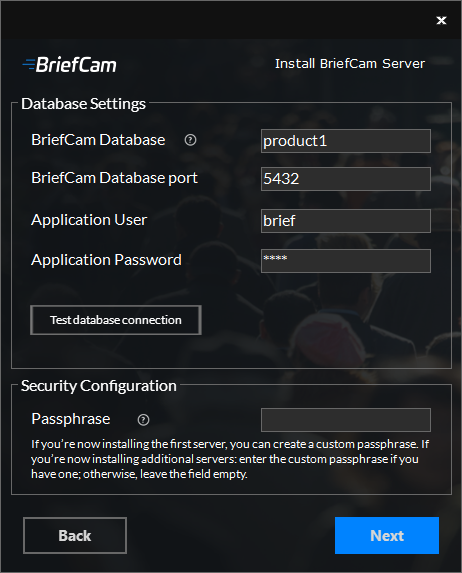
In the Database Settings section:
In the BriefCam Server field, enter the host name or the IP address of the PostgreSQL database.
The BriefCam Database port field will be automatically populated with 5432. This needs to be the same port that was used when installing PostgreSQL.
In the Application User and application password fields, make sure to use the same application user and password that you defined in the PostgreSQL installer. Note that special characters are not supported for passwords.
Click the button.
In the Passphrase field, you can optionally create a passphrase when installing the first server and use the same passphrase in all installers. The passphrase can include 5-20 characters. If you are installing an additional server, use the same passphrase that you created when installing the first server. If you did not create a passphrase with the first server, leave the field empty.
Click .
The following screen will appear.
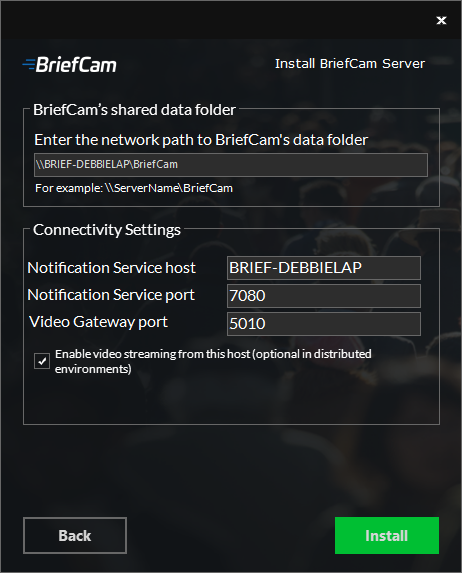
In the BriefCam’s shared data folder field, select the location where the video files and processing artifacts will be stored. In an all-in-one installation, the automatically generated value is correct. For distributed installations, set it to the BriefCam data shared folder created during the Postgres installation.
Set the Connectivity Settings.
Check the Enable video streaming from this host checkbox if you want the Video Streaming Gateway service to be enabled on the computer where you are installing the BriefCam server.
If you are installing all the components on one machine (an all-in-one installation), this checkbox needs to be checked.
If you are installing a distributed environment, the Video Streaming Gateway service should only run on one server – this means that you need to decide in advance which machine should run this service.
Click Install.
Once the installation is complete, click .
Note
It is recommended to always log on with the same OS user to the BriefCam server.
The OS user that installs the BriefCam product has to be an administrator with full privileges. This user should be the only OS user to log on to the BriefCam server post installation.
For a list of the services installed when you install the BriefCam server, see the Installed Services section.