RabbitMQ Installation
BriefCam is built with an extensive task-oriented architecture in which every video analytics request is split into many tasks, such as fetching, processing, and rendering. These tasks run in parallel and they often have dependencies, priorities and error handling procedures. This parallelization is done using RabbitMQ, which is an advanced message queueing platform.
Note
RabbitMQ must be installed before the BriefCam Server.
Caution
BriefCam does not currently support RabbitMQ connections over secure channels.
Installation Steps
To run the BriefCam RabbitMQ Installation wizard, double-click
BriefCamRabbitMQ_<Version number>.exe.The installation checks for prerequisites. If anything is missing, the following screen will appear. Click Next.
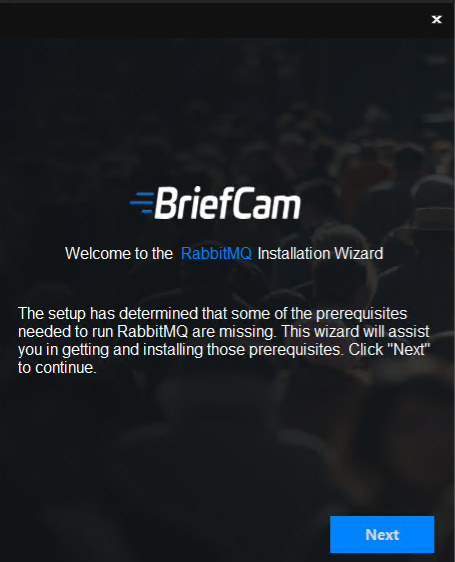
In this screen, the prerequisites checked are the missing prerequisites. Click to install them.
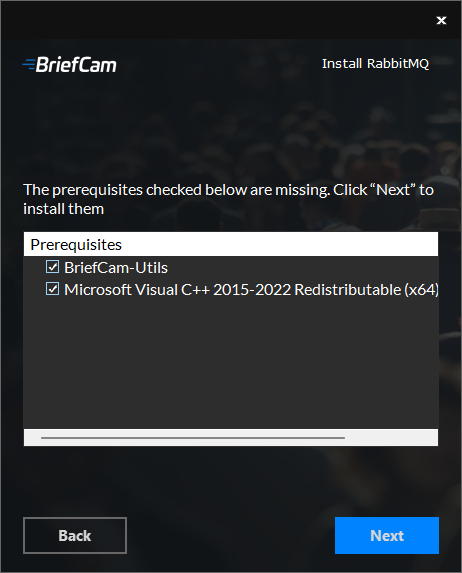
In the Welcome screen, click Get Started.
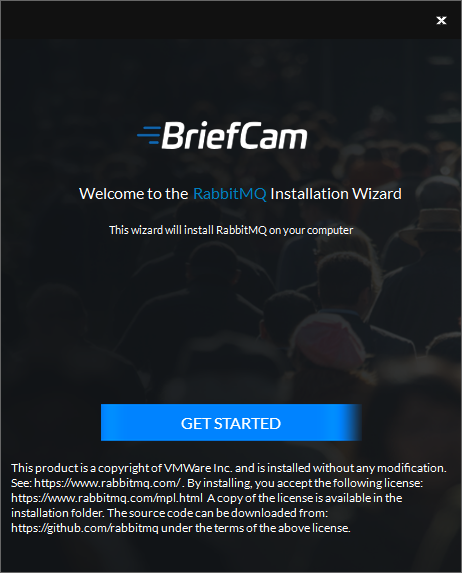
To proceed with the installation, read and accept the License Agreement terms.
Click to continue.
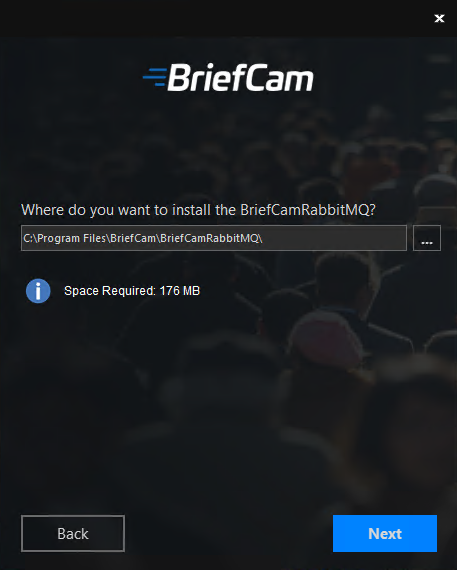
Select the location where you want to install RabbitMQ and click .
The following screen opens.
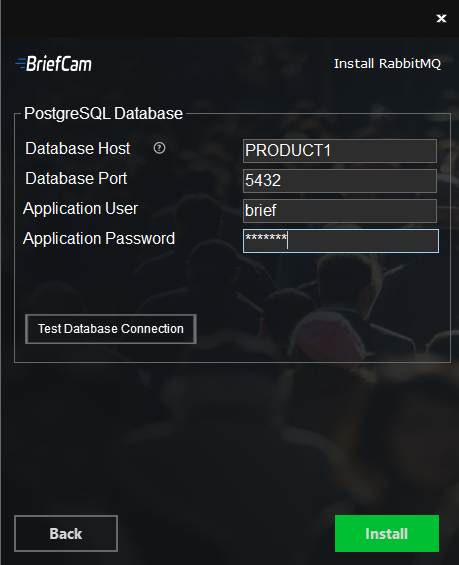
In the Database Host field, enter the hostname or IP address of the PostgreSQL database.
In the Database Port field, enter the port of the PostgreSQL database.
Enter the application user and password. Note that special characters are not supported for passwords.
Click the button.
Click Install.
Once the installation is complete, click .