

XProtect Transact (configuration)
Getting started with XProtect Transact
Before you start observing and investigating your transactions in XProtect Smart Client, you need to:
- Verify that your XProtect Transact base license has been activated during installation of the VMS. To do this, open XProtect Smart Client and check that the Transact tab is visible. Even if you do not have a base license, you can still use XProtect Transact with a trial license. For more information, see XProtect Transact trial license.
- Verify that transactions are displayed correctly. This includes the individual transaction lines and receipts. To do this, click the Transact tab and select a transaction source and a time interval. If configured correctly, a list of transaction lines appear, and if you click a line, the corresponding video still frame is displayed, one for each connected camera.
- Set up a view for transactions, if you want to observe real time transactions on the Live tab or investigate transactions on the Playback tab. For more information, see Set up views for transactions.
XProtect Transact trial license
With an XProtect Transact trial license, you can try out the XProtect Transact functionality up to 30 days. All related features are enabled, and you can add one transaction source, for example a cash register. When the 30 days trial period expires, all XProtect Transact features are deactivated, including the Transact workspace and transaction view items. By purchasing and activating an XProtect Transact base license and the transaction source licenses you need, you can use XProtect Transact again, and your settings and data are maintained.
If you are using XProtect Express or XProtect Professional, the trial license is a built-in license. The trial license is activated when the system administrator adds a transaction source in the configuration.
For other products, you need to acquire the trial license from Milestone. The system administrator must activate the trial license in the configuration.
Set up views for transactions
Before viewing transactions on the Live or Playback tab, you need to set up a view where you include a transaction view item for each transaction source. In case of ongoing transactions, the receipts roll over the screen inside the view item when you leave the setup mode.
Steps:
- On the Live tab or Playback tab, click Setup in the upper right corner to enter the setup mode.
- Create a new view or select an existing one.
- Expand the System Overview pane.
-
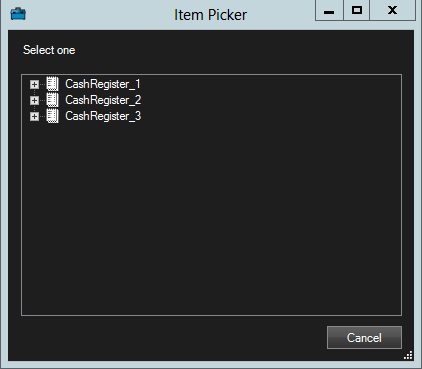
Drag and drop the Transact item into the view item, where you want the transactions and video feed to be displayed. A pop-up window appears.
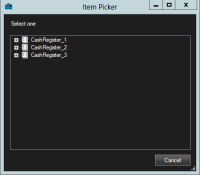
- Select a transaction source, for example a cash register, and click OK. A receipt preview is displayed inside the view item.
-
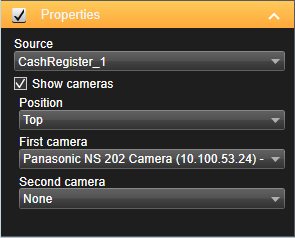
Expand Properties and select the Show cameras check box to add cameras associated with the transaction source. By default, the first camera added to the transaction source in the configuration is selected.
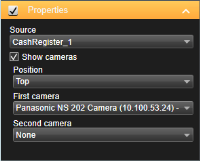
- Use the First camera and Second camera drop-down lists to specify which cameras are displayed in the view item. By default, no second camera is selected. If you do not want a second camera, leave it as is.
- If you want to change the position of the cameras, select a value in the Position drop-down list, for example to the left of the receipt.
For each transaction view item you want to add to the view, repeat steps 4-8.
Adjust settings for transaction view items
Once you have created a view that includes one or more transaction view items, you can:
- Change the cameras selected and their display order. You can select maximum two cameras per transaction view item, and only cameras associated with the transaction source
- Change how the cameras are positioned in relation to the receipt
- Add (or remove) transaction view items
Steps:
- On the Live tab or Playback tab, click Setup in the upper right corner to enter the setup mode.
- Select the view and then the view item you want to adjust.
-
To modify the cameras selected or their position, expand Properties and verify that the Show cameras check box has been selected.
- Use the Position drop-down list to specify how the camera or cameras are displayed in relation to the receipt, for example below the receipt.
- Use the First camera and Second camera drop-down lists to change which cameras are displayed in the view item.
- If you want to add a transaction source to the view, follow steps 3-8 in Set up views for transactions.