Motorola Solutions Pelco Integration
Integration Summary
VMS Partner | Product | Version | Last Tested BriefCam Version | Integration Level | H.265 Support |
Pelco | VideoXPert | 3.24 | 2024 R2 HF4 (including Classic and Next-Gen engine) | Client integration (L3) | Yes |
Pelco | VideoXPert | 3.19 | 2023 M1 (including Classic and Next-Gen engine) | Client integration (L3) | Yes |
Pelco Plugins
There are two Pelco plugins – One to install the Pelco integration and one to install the Embedded Client. If you want BriefCam to be embedded in Pelco, first run the BriefCam Pelco plugin and then run the BriefCam Pelco Embedded plugin.
Pelco License
You will need a Pelco license. To request a license, contact Pelco and use the following product code:
INT-BRIEFCAM-M1. This license needs to be activated from Pelco VxToolbox, in the Licensing tab.
Configuring the Integration
When the Pelco plugin is installed, you’ll have a BriefCam.Pelco.ini configuration file, which by default is located at: C:\Program Files\BriefCam\BriefCam Server\plugins.
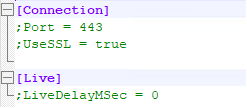
This file includes the following parameters:
Port: The port number where the HTTPS accepts connections.UseSSL: When this parameter is set set to true, which is the default, the integration uses HTTPS.LiveDelayMSec: Sets a delay for live streams if the clocks of the VMS and BriefCam are out of sync and the live stream times are different than the BriefCam time.
Sending Alerts to Pelco
To receive alerts in the VMS, set the PushAlertsServiceEnabled environment setting to true.
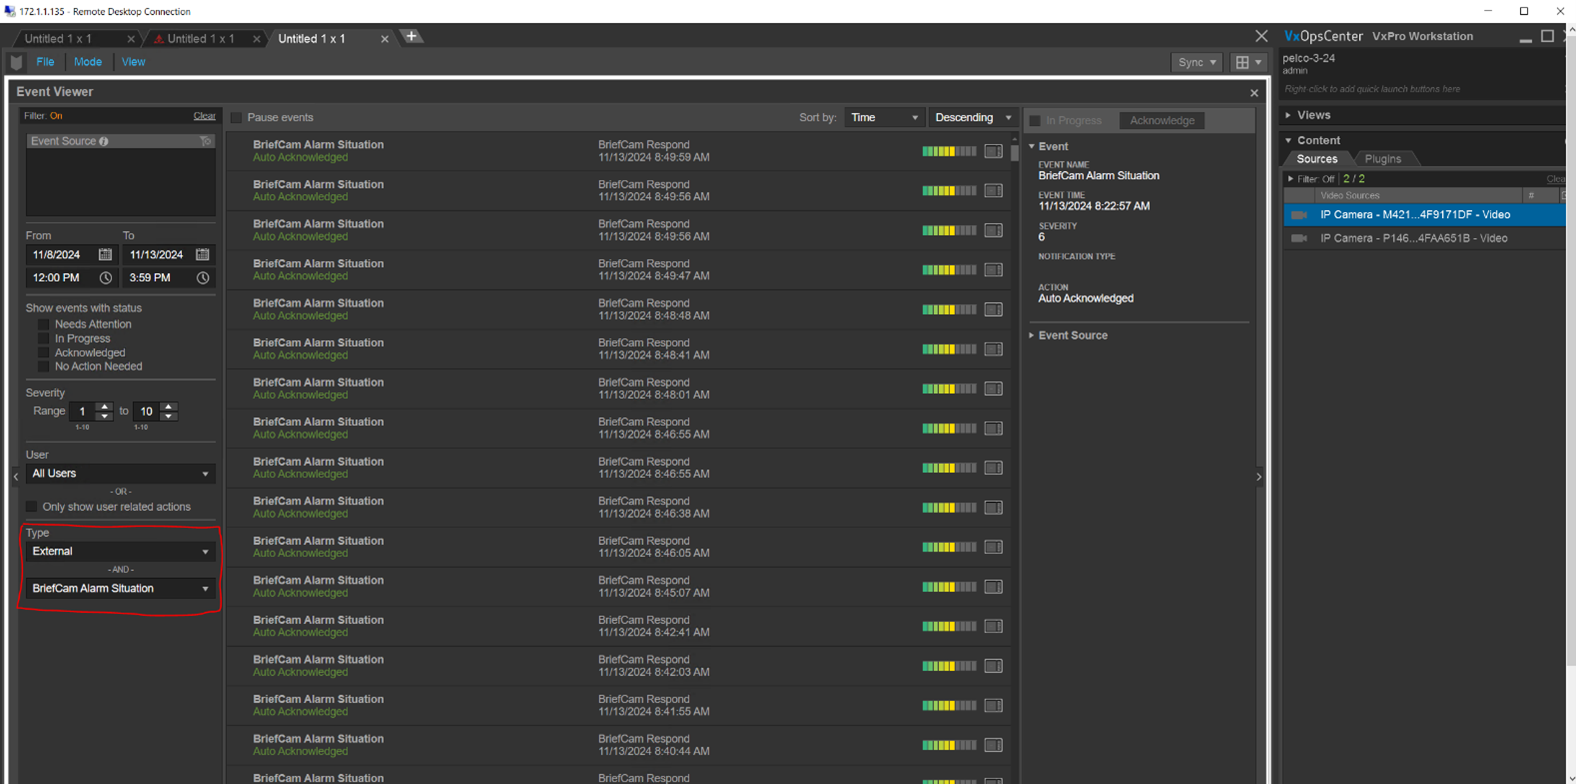
Configuring the Embedded Integration
After installing the BriefCam Pelco Embedded plugin:
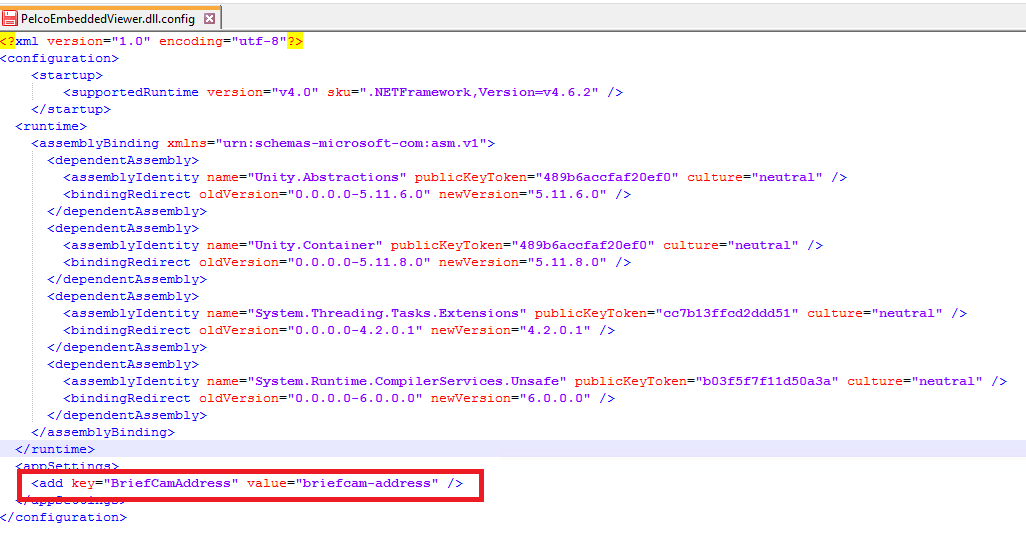
Open the
PelcoEmbeddedViewer.dll.configfile. By default, the file is located at:C:\ProgramData\Pelco\OpsCenter\Plugins\BriefCam\BriefCam Embedded Viewer.Change the value of the
BriefCamAddresskey to the IP/hostname of BriefCam.
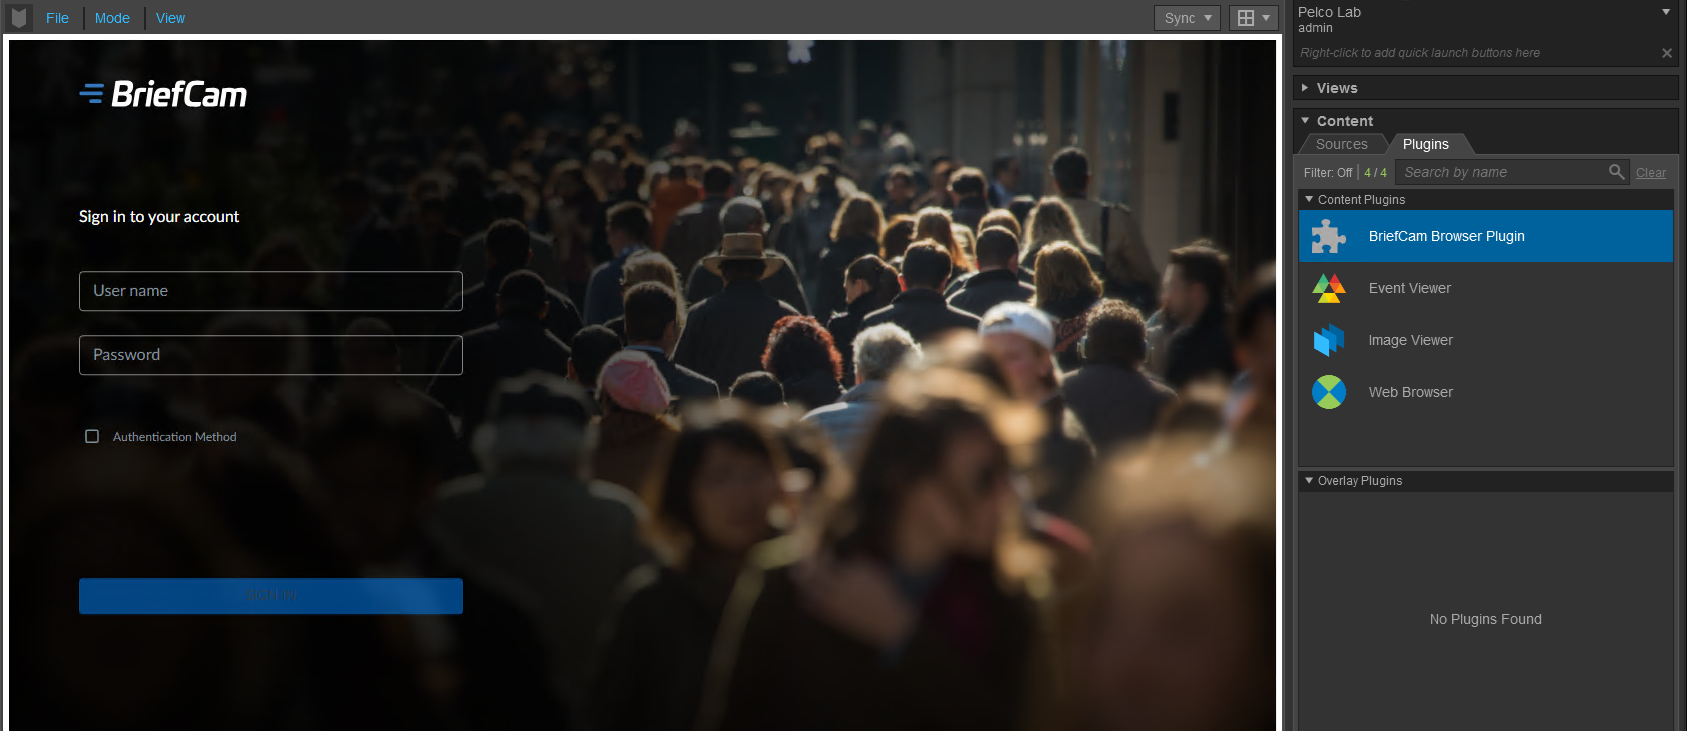
After a successful installation and configuration, the BriefCam plugin should appear in the VXOpsCenter’s Plugins tab (as shown in the image below).
Troubleshooting
If you encounter video fetching timeouts, increase the Fetching.TimeoutInSeconds environment setting. The default value is 120 seconds, but sometimes this is not enough for the VMS to prepare the files needed. Try to increase the timeout to 600 seconds. If this does not work, try to increase the timeout to 3600 seconds.