Adding Videos
Tip
It is recommended to limit the number of sources in a case to 200. This is because the load that the filtering puts on the system is dependent on the number of sources and not just the number of objects.
Adding Video from Cameras
Important
Adding videos from cameras is supported for the following BriefCam platform editions: Rapid REVIEW, Insights, and Protect. If you have the Investigator edition, you will not see the CAMERAS tab.
Click the
 button to access a dialog enabling the addition of new video sources to a case.
By default, the CAMERAS tab opens. This tab displays videos from integrated VMS cameras.
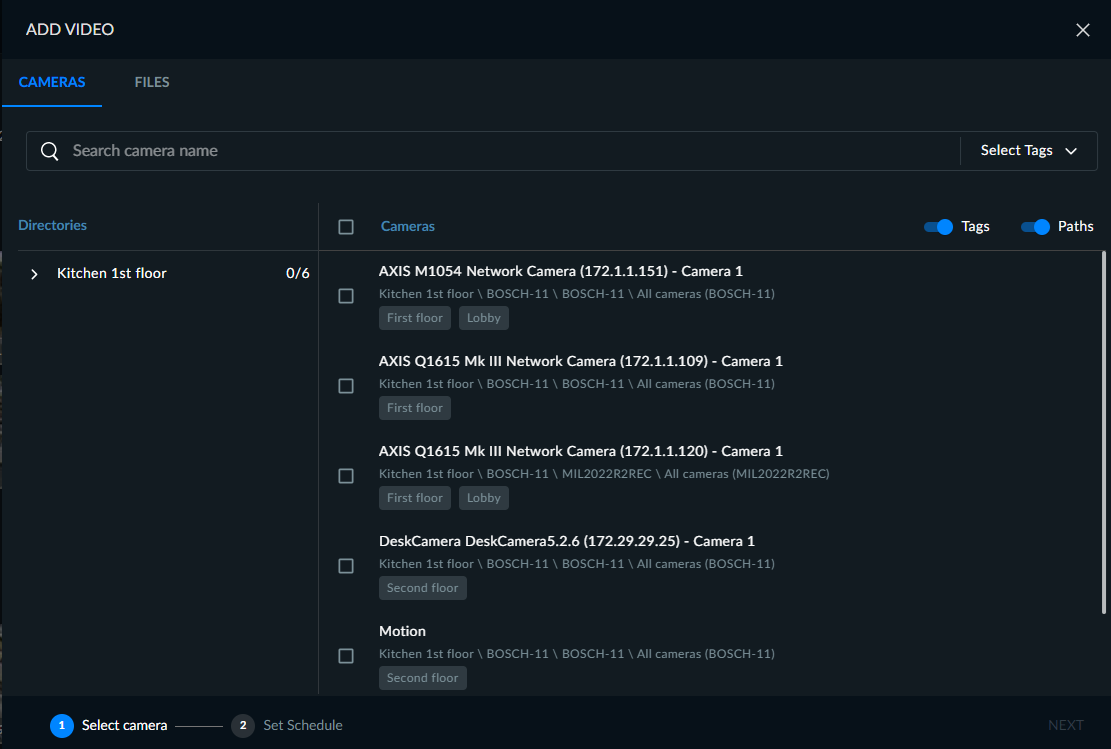
Select one or more cameras. Note that you can select all cameras on the current page by selecting the
 checkbox.
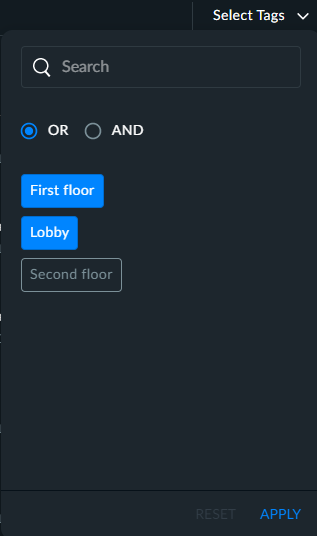
To enhance your search of the cameras, you can select the tags that you want to search for. For example, your administrator may have marked all cameras on the first floor with a tag named “First floor”. You can easily search for these cameras by opening the Select Tags drop-down list at the top right corner and select the tags that you want. You can also use the OR and AND options to further your searching capabilities.
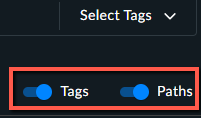
Note that you can display the list of cameras with or without the tags and the paths (which show the hierarchy of the cameras within the directory) by using the Tags and Paths toggle options.
Click Next.
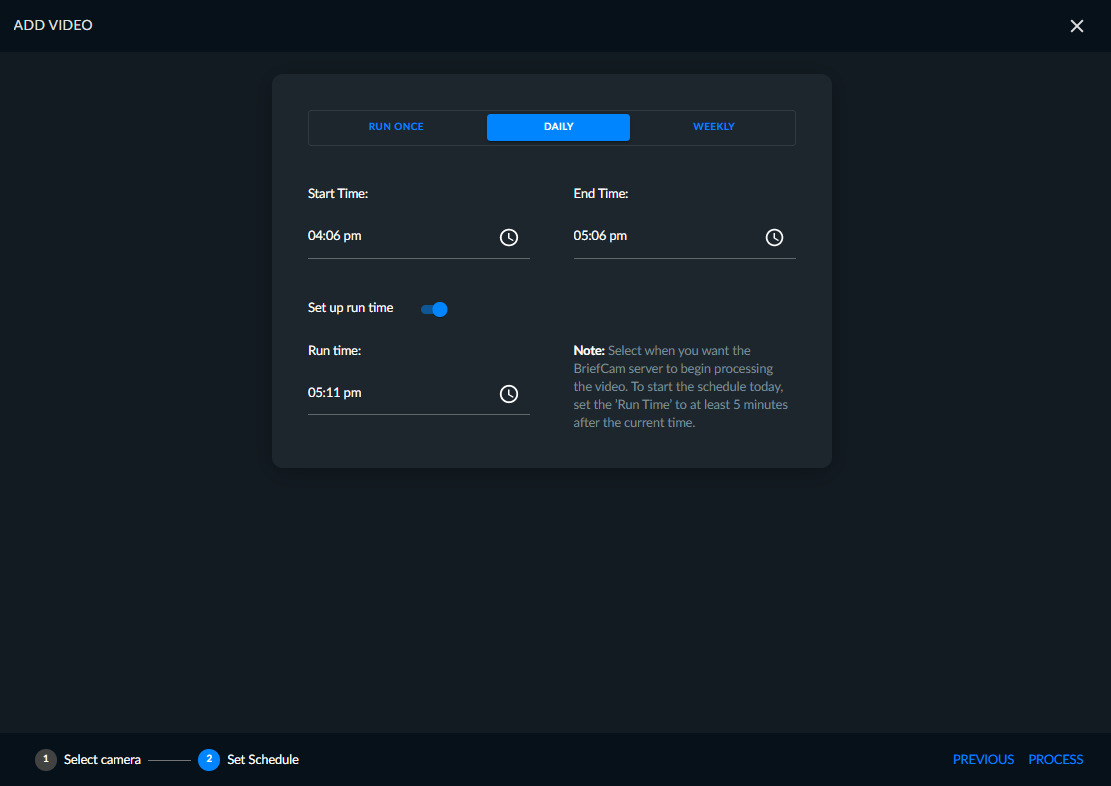
Select the schedule for when you want to process the video: Run Once, Daily or Weekly.
Set the date and time range of the video that you want to process. Note that the time selected refers to the camera’s time zone. To select a time, first select the hour that you want by clicking the blue circle and moving it to the desired hour.
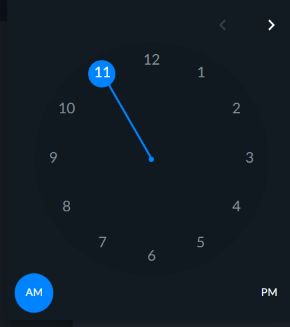
Then, do the same for the minutes.
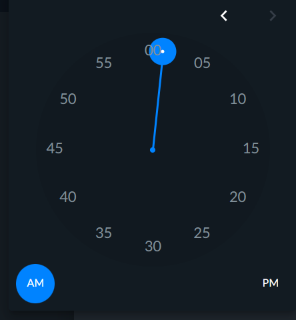
When uploading video from a camera and selecting Run Once, you can select times that are later than your local computer time. This allows the selection of ‘future’ times relative to your computer’s local time
For Daily and Weekly schedules, you also can set when the scheduled task will run by entering a time in the Run time field.
All scheduled sources will appear in the SCHEDULED tab.
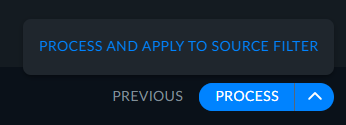
Click PROCESS to initiate video processing. You can also click on the arrow to the right of the word PROCESS and select PROCESS AND APPLY TO SOURCE FILTER. This will automatically select these sources in the Source Filter.
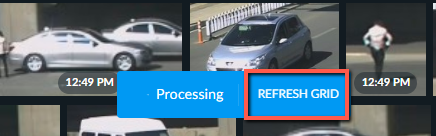
While the video is processing, you can click the REFRESH GRID button at the bottom of the screen to see the objects that have already been processed.
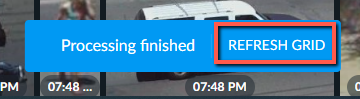
Once the processing is done, click the REFRESH GRID button at the bottom of the screen to add the newly detected objects to the screen.
Adding Video from Files
Notice
Adding videos from files is supported for the following BriefCam platform editions: Investigator and Protect. If you have the Rapid REVIEW or Insights edition, you will not see the FILES or NETWORK tabs.
You can upload video files to the BriefCam server as follows:
Switch to the ADD VIDEO dialog’s FILES tab.
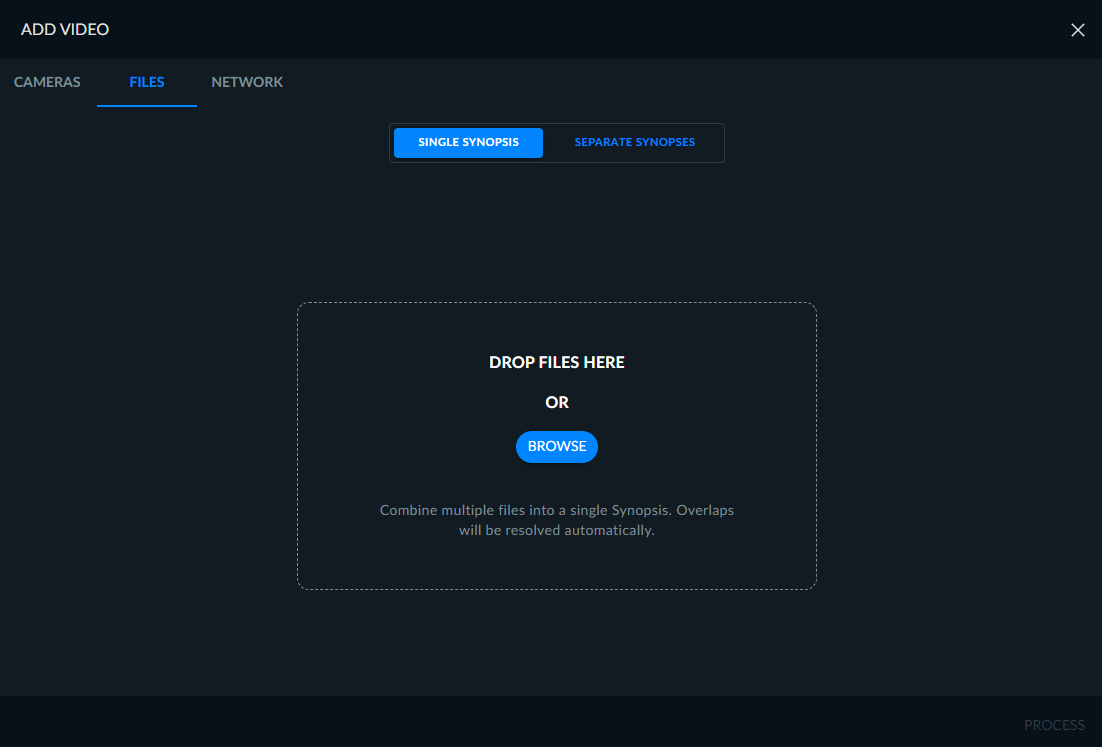
Click SINGLE SYNOPSIS to upload video files into one single VIDEO SYNOPSIS® or SEPARATE SYNOPSES to upload each video file as a separate VIDEO SYNOPSIS®.
Tip
When uploading from files as separate synopses, you can upload up to 100 files at a time.
File names can be up to 124 characters long.
When you select the SINGLE SYNOPSIS tab, files will be combined into a single VIDEO SYNOPSIS® in alphabetical order. This is useful when adding multiple files exported from a DVR – all originating from a single video source. All files will be treated as if they were combined.
When you select the SEPARATE SYNOPSES tab, all files will be treated as different video sources.
Note that once the files are uploaded, you can switch between the SINGLE SYNOPSIS and the SEPARATE SYNOPSES tabs to change the originally selected flow.
When XBA files are uploaded, each multi-stream file will be generated as a separate VIDEO SYNOPSIS®. XBA files can be uploaded with up to four video streams.
Note
A source added to the REVIEW module that was already processed in the RESPOND or RESEARCH module, will be re-processed. For additional information, see the Partial Visual Assets Generation topic in the BriefCamAdministrator Guide (see: Processing Settings).
Click NEXT.
Either drag and drop video source files to the dialog or click Browse to open a standard file selection dialog.
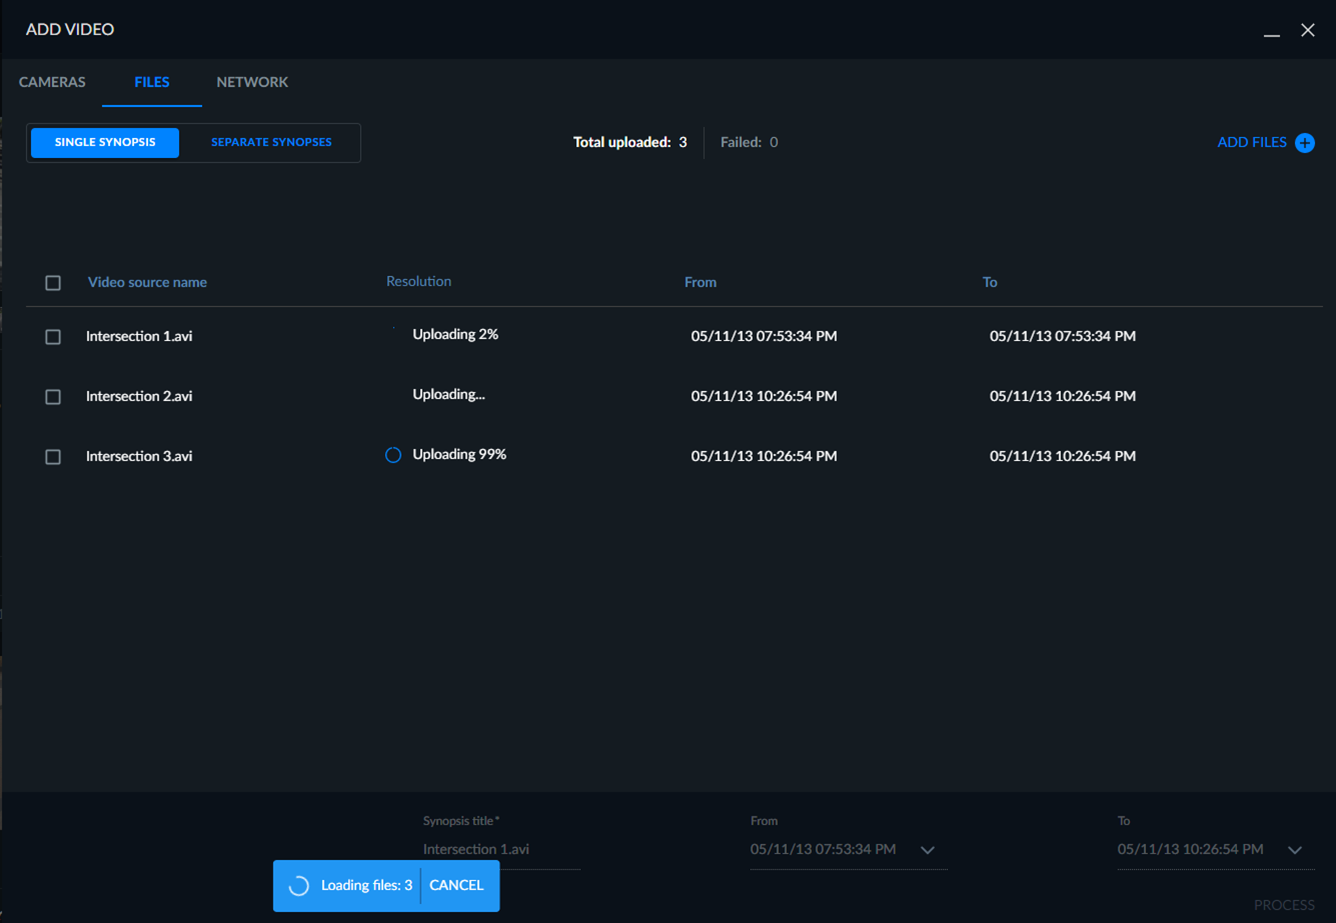
When files are being uploaded a progress-bar will appear for each one.
During uploads, you can minimize the file upload wizard and carry on with your work in other areas of the BriefCam software by clicking the minimize icon
 at the top right of the screen.
You can return to the wizard by clicking the maximize icon
 .
.
The software will notify you of upload progress and completion, following which you’ll be able to return to the wizard.
When ready, click PROCESS to initiate VIDEO SYNOPSIS® processing. You can also click on the arrow to the right of the word PROCESS and select PROCESS AND APPLY TO SOURCE FILTER. This will automatically select these sources in the Source filter.
Select the files you want to delete in one of the following ways:
To delete files one by one, checking the checkbox next to the file name.
To delete all files, check the Video source name checkbox.
To delete all files that failed to upload, click the Select all failed files link (as shown in the image below).
Click the trash can icon in the top right-hand corner of the dialog.
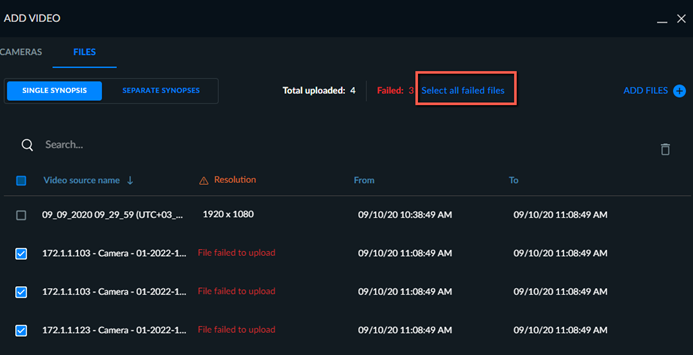
Once the uploading is complete, you can sort the files by clicking the Video source name or Resolution column headers.
All the files to be combined in the VIDEO SYNOPSIS® will be sorted chronologically by default with the date taken from the directory where your files were saved.
If the times of the files overlap, BriefCam will automatically adjust the times to resolve any overlaps by moving all times forward according to the videos’ durations. The start time and duration of the first file will remain as is, and the times of the subsequent files will be automatically adjusted using the first file as a reference point.
Time gaps are automatically detected. You can click the Remove time gaps button (located in the bottom left corner of the screen) if you want to remove these gaps. BriefCam will concatenate file time ranges, with the first file on the list again serving as the starting point.
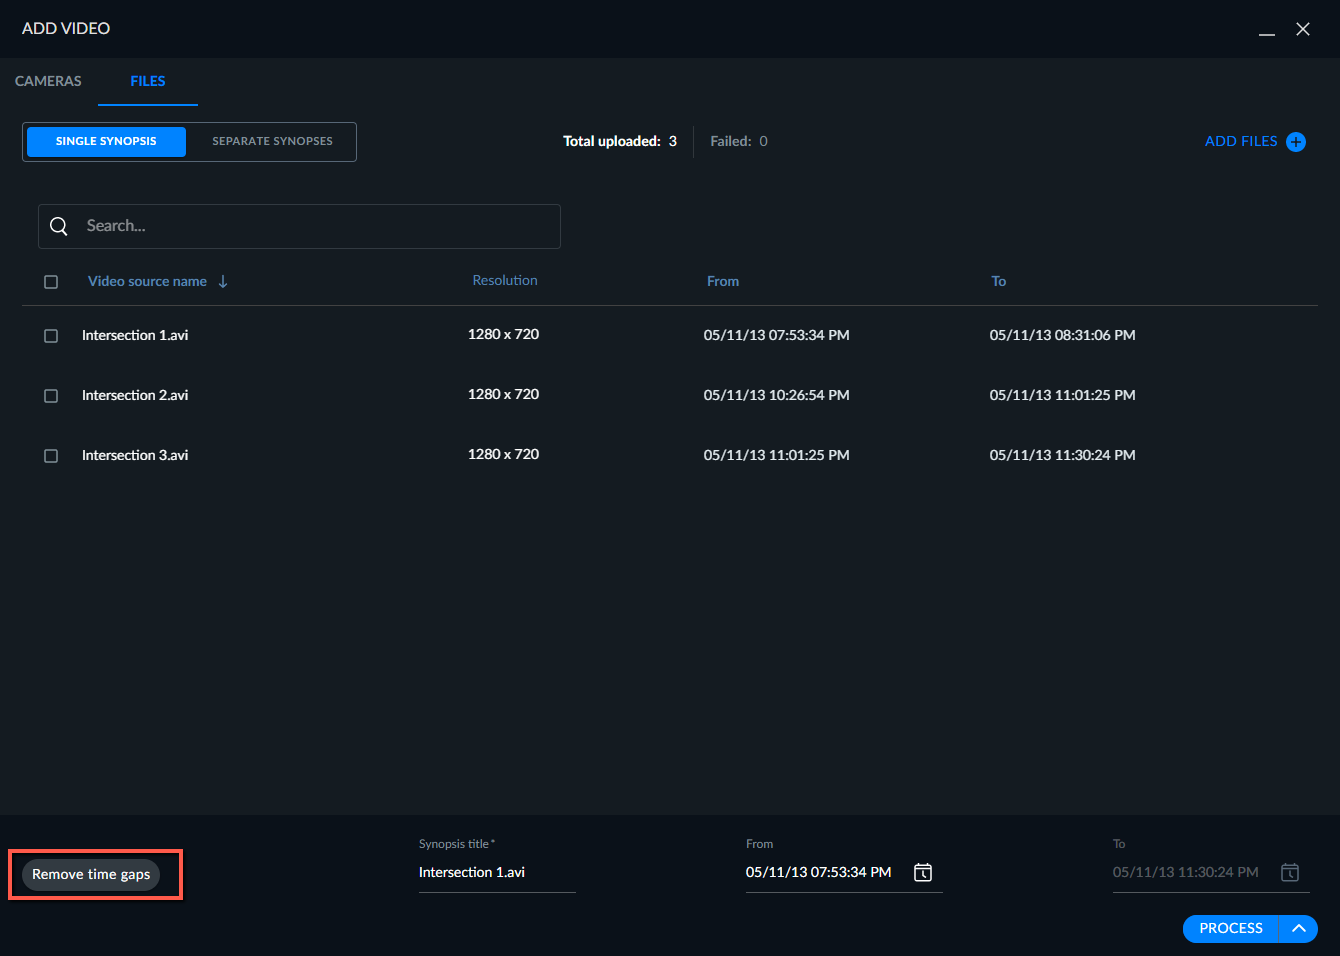
You can manually set the time and date of the combined video file sequence by editing the start time of the first file on the list. All other files and their start and end times will automatically be offset as per this manually edited start time and arranged by duration.
Caution
The time range cannot be modified for the following file types: ave, dvt, g64, g64x, milestonezip, and xba.
The title of the combined synopsis defaults to the name of the first file on the list and can be edited.
The files can also be sorted by video source name. When sorted by video source name, the start and end times of all files on the list will automatically be modified to conform to the new first file on the list and its duration. (You can manually set the time and date by editing these properties for the first file on the list.)
Note that the resolutions all have to be the same when the files are uploaded from the same camera.
NAS File Upload
As an alternative to downloading to the local machine and then uploading to the BriefCam server, you can add sources from video files by loading the files directly from your organization’s network drive. By default, you can upload up to 5,000 files from the network. The maximum number of files that can be uploaded can be changed using the FolderUploadMaxFiles environment setting.
Note
Adding videos from files is supported for the following BriefCam platform editions: Investigator and Protect. If you have the Rapid REVIEW or Insights edition, you will not see the FILES or NETWORK tabs.
The NETWORK tab only appears if the administrator has enabled it.
To enable and configure this feature, refer to the BriefCam Administrator Guide’s NAS Configuration section.
To upload files from the NAS:
Click the ADD VIDEO dialog’s NETWORK tab.
Select the network drive (directory) and then the files you want to load.
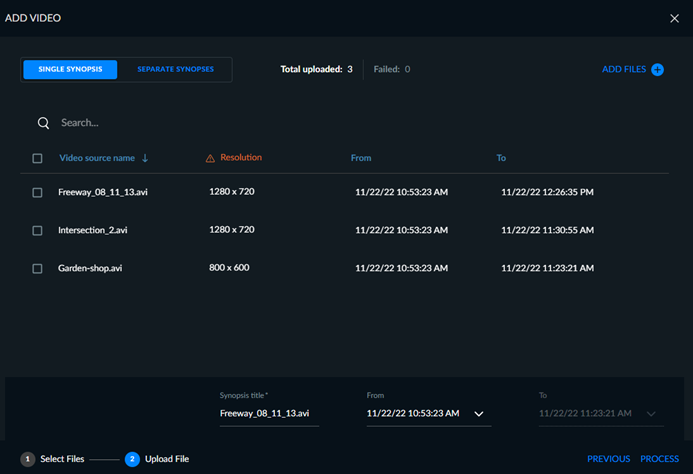
Note
When video files are selected using the Network folder and then moved to a different folder, the selection is removed.
Click NEXT.
Click SINGLE SYNOPSIS to combine the selected files into one VIDEO SYNOPSIS® or click SEPARATE SYNOPSES to create a separate VIDEO SYNOPSIS® for each file.
The SINGLE SYNOPSIS option is useful when adding multiple files exported from a DVR – all originating from a single video source. All files will be treated as if they were combined.
When selecting the SEPARATE SYNOPSES option, all files will be treated as different video sources.
You can change the Synopsis title and the From and To range at the bottom of the screen.
You can change the order that the files will appear in the VIDEO SYNOPSIS®. For additional information, see the Sorting Files section.
Click PROCESS. You can also click on the arrow to the right of the word PROCESS and select PROCESS AND APPLY TO SOURCE FILTER. This will automatically select these sources in the Source filter.
When files are being loaded, a progress bar will appear for each one.
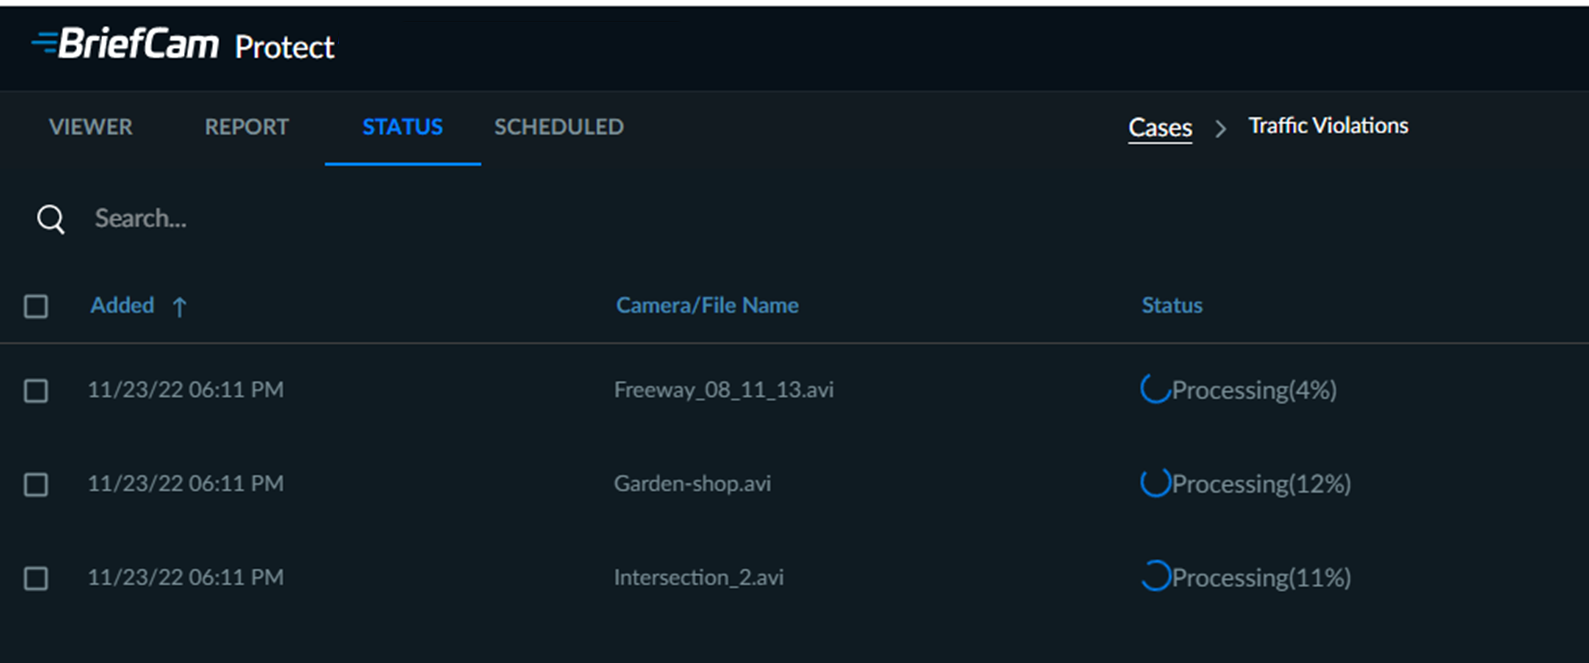
All files are sorted chronologically. You can edit each file’s name and start time (any change can be reset), as well as delete single or multiple files (by checking the checkboxes next to their names and clicking the trash can icon in the top right-hand corner of the dialog).
Note
When deleting one stream on Timespace multi-stream files, all other streams from the same file are deleted as well.
Whether you are uploading video files into one VIDEO SYNOPSIS® or multiple synopses, any changes made (for example, editing the synopsis title or the start date and time) can be reversed by clicking the Reset icon ( ) in the top right-hand corner of the screen.