Map View
In the REVIEW module, you can view sources on a map if your administrator has set up the system to allow this. In the Map view, you can see alerts on a map according to the camera location.
While the default view is the Grid view, if you want the Map view to be the default, ask your BriefCam administrator to set it up.
On the map you will see various icons, which are explained in the table below.
| A camera that is added to the case and has coordinates set in BriefCam. The number represents the number of objects detected for the camera. When you apply filters, this count shows the number of objects that match the selected filters. You can hover over the camera icons to see the name of the camera as well as the number of objects by Synopsis (if more than one processing was done per camera. Note that sources that do not have coordinates will not appear on the map. | |
| A file that is uploaded to the case and has coordinates set in BriefCam. | |
| Cameras with no objects detected or no objects once filtering was applied. The blue is darker to make it easy for users to quickly identify cameras with or without objects. | |
| Cameras that were not uploaded to the case but are configured in BriefCam. |



You can zoom in and out of the map using the zoom icons on the map or by dragging the map with the mouse.
You can search for addresses using the search  icon.
icon.
To add coordinates to a source (camera or file):
Click the Add Coordinates
 icon, to the right of the video source name.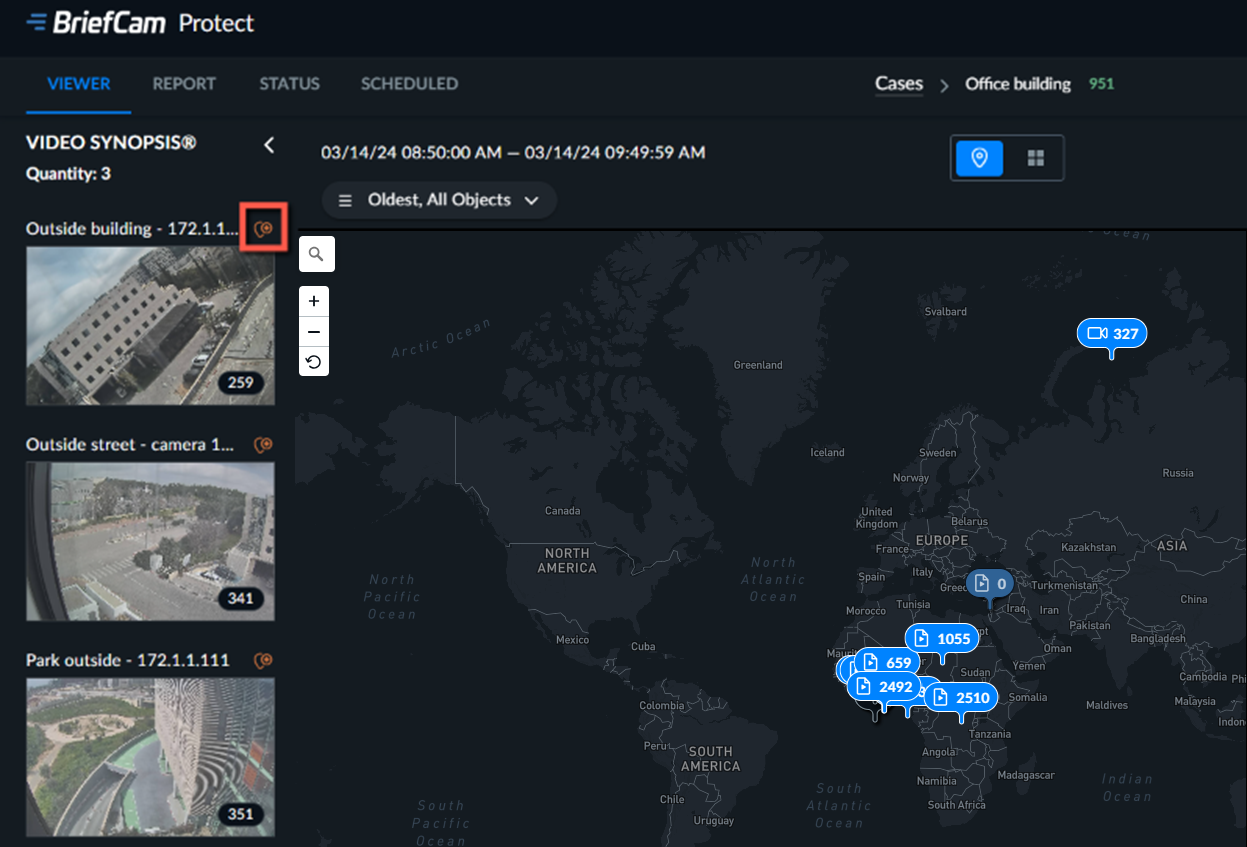
Enter the Latitude and Longitude for this source and click APPLY.
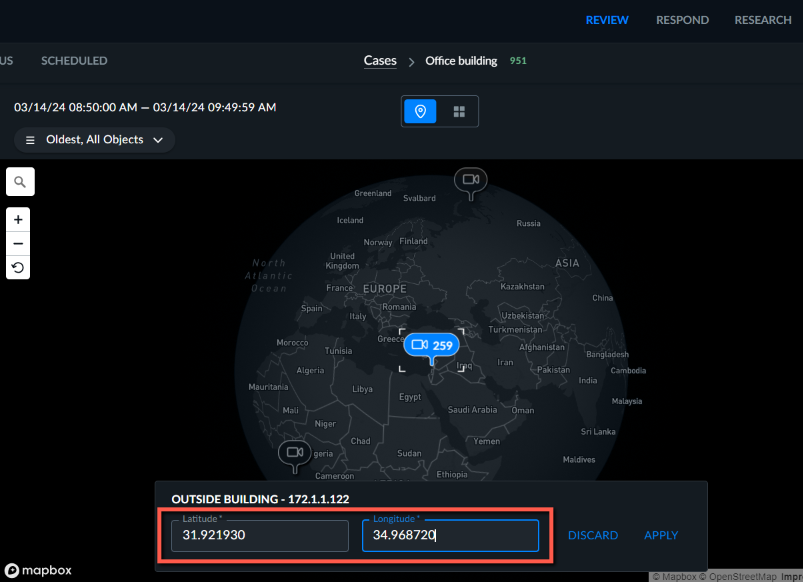
If you do not know the latitude and longitude, contact your organization’s BriefCam administrator.
To add a camera to the case directly from the map:
Click the camera
 icon for the camera that you want to add.
Click the Add to case button.
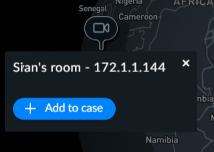
The camera will be automatically selected. Click NEXT.
If required, set a schedule and click PROCESS.
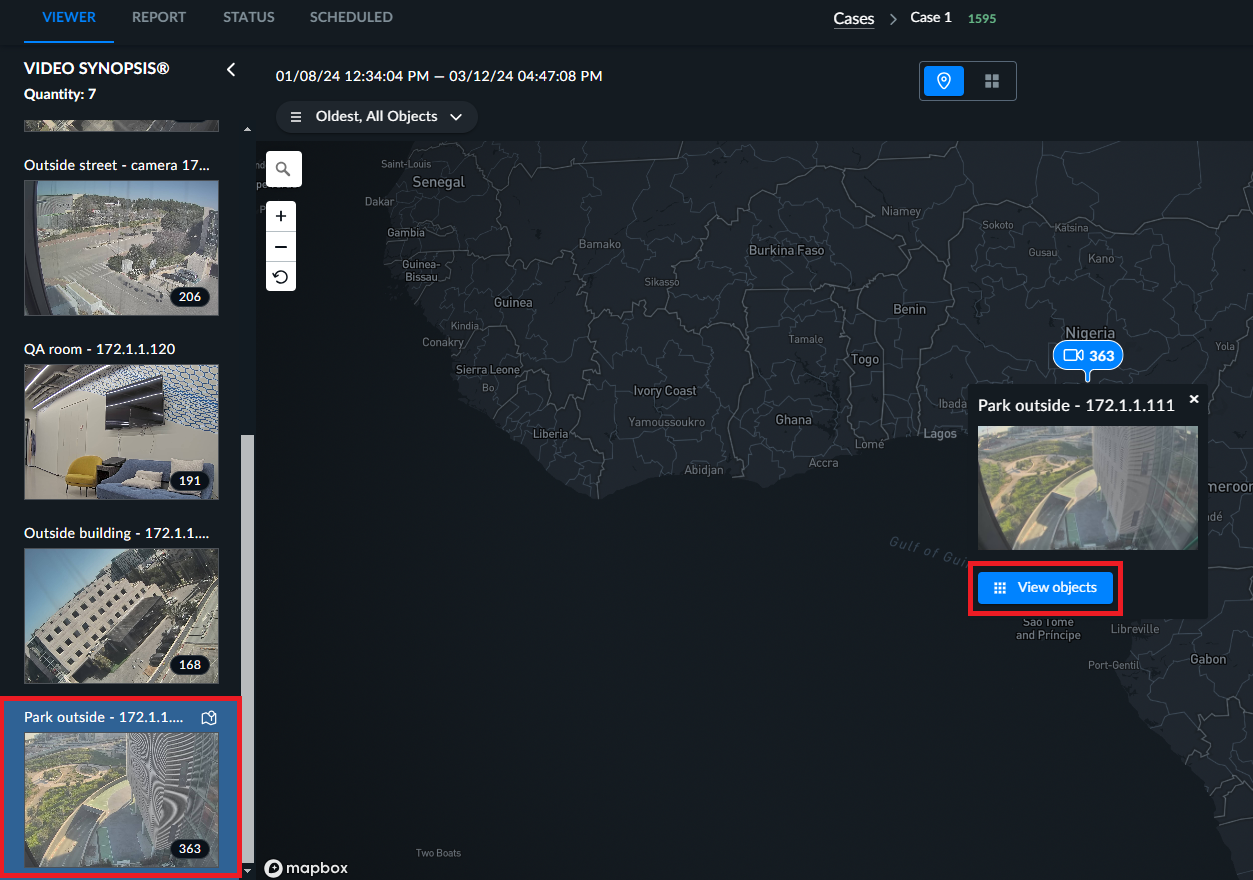
Once you click on a camera:
The relevant source on the left-hand side will appear with a blue background and you can click on the source’s map
 icon to show the source on the map.
You’ll see additional information about the source including the source name, an image of the source view, and the View objects button. Click the View objects button to open the Grid view automatically filtered for the specific source. If you click back to the Map view, the Map view will include objects from all sources (the rest of the filters will be untouched).