Deploying a Graylog Server
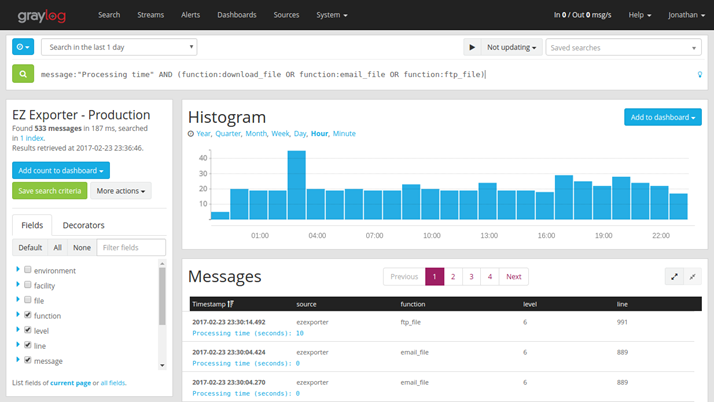
For large scale deployments, BriefCam recommends using the Graylog log management platform to collect the various logs into a single place to help debug the system.
To deploy a Graylog server you need a dedicated Linux server.
When you carry out all the steps below, the following internal components that are needed for Graylog to run will be installed:
MongoDB – A separate database instance for this purpose.
ElasticSearch – This is a middle layer through which the database and Graylog communicate.
Graylog
In addition, as part of the installation, an agent is deployed on each one of the BriefCam servers. The agent will be responsible for sending logs to the Graylog server.
Prerequisites
BriefCam is already deployed on your site.
The Linux server must be reachable from all BriefCam machines via HTTP/TCP.
Platform Requirements
The Linux server must be ubuntu 18.04.* LTS with the following specifications:
1 x i7-10700K CPU
64GB RAM
256GB SSD
Other Requirements
All operations need to be performed by a user with sudo permissions.
Installing Graylog on the Linux Server
Installing Graylog on the Linux server consists of the following steps:
Step 1: Check that SSH Is Installed and Enabled
Log into the Linux server.
Open a terminal window.
Issue the following commands:
sudo apt update sudo apt install openssh-serverCheck that the ssh daemon (service) is up and running:
sudo systemctl status ssh
You should see text similar to this:
Active: active (running) :Type
qto return to the console.Allow ssh in the firewall:
sudo ufw allow ssh
Terminate the shell session:
sudo ufw allow ssh
Step 2: Install Docker Runtime
To install Docker Runtime:
Open the SSH session to the server machine:
ssh jjcale@tulsa-sound or jjcale@{Server IP address}
Enter your password to connect to the SSH session.
Update the apt package manager:
sudo apt-get updateInstall docker general dependencies:
sudo apt-get install apt-transport-https ca-certificates curl gnupg-agent software-properties-commonInstall a docker runtime PGP key:
curl -fsSLhttps://download.docker.com/linux/ubuntu/gpg | sudo apt-key add –Add a docker runtime repository:
sudo add-apt-repository \ "deb [arch=amd64] https://download.docker.com/linux/ubuntu $(lsb_release -cs) stable"Install the docker run time itself and direct dependencies:
sudo apt-get update sudo apt-get install docker-ce docker-ce-cli containerd.ioTest the docker installation. This should produce a short hello message to the console without errors:
sudo docker run hello-world
The output will look similar to the following:
Unable to find image 'hello-world:latest' locally latest: Pulling from library/hello-world 0e03bdcc26d7: Pull complete Digest: sha256:e7c70bb24b462baa86c102610182e3efcb12a04854e8c582838d92970a09f323 Status: Downloaded newer image for hello-world:latestHello from Docker! This message shows that your installation appears to be working correctly.
Add the 'docker' user to the group of the user you are logged in with:
sudo usermod -aG docker jjcaleMake sure to log out or exit the current session in order for the
usermodcommand to take effect.Install docker-compose runtime:
sudo curl -L "https://github.com/docker/compose/releases/download/1.27.4/docker-compose-$(uname -s)-$(uname-m)" -o /usr/local/bin/docker-composeGive docker-compose execution permissions:
sudo chmod +x /usr/local/bin/docker-compose
Step 3: Copy and Extract the Installation Files
Copy the files from the machine that hosts the installation file (usually a Windows machine) to the Linux server.
Use
opensshfor Windows or winscp: https://winscp.net/download/WinSCP-5.17.9-Setup.exeRun:
scp path\to\package\server.zip jjcale@192.168.0.3:/home/jjcale/ssh to the server machine and extract the package files:
cd ~
unzip server.zip
cd server
Step 4: Configure and Activate the Graylog Server Engine
Open the
docker-compose-graylog.ymlfile with a text editor and set:GRAYLOG_HTTP_EXTERNAL_URI=server_ipLeave the port as is. For example:
GRAYLOG_HTTP_EXTERNAL_URI=http ://{Server IP address}:9000/Create a directory for the Graylog files:
sudo mkdir-p /opt/briefcam/graylogCopy the Graylog compose file to the newly created directory:
sudo cp docker-compose-graylog.yml /opt/briefcam/graylog/Create a Graylog service by copying
graylog-docker.serviceto/etc/systemd/system:sudo cp graylog-docker.service /etc/systemd/system/Enable the new service for when the machine is restarted:
sudo systemctl daemon-reload sudo systemctl enable graylog-dockerStart the Graylog service:
sudo systemctl start graylog-docker
Note
The first start may take a couple of minutes since the pulling and starting of new docker containers takes some time.
Step 5: Configure Graylog Collectors
Log into the Graylog web interface.
Open a browser and go to the following address: http://{Server IP address}:9000
The credentials are:
user:
adminpassword:
adminGo to system/inputs.
Create GELF TCP input:
Check the Global checkbox.
Add a title, such as: "Win TCP".
Set the port to
12201(the default).
Create GELF UDP input:
Check the Global checkbox.
Add a title, such as: "Win UDP".
Set the port to
12201(the default).
Go to system/sidecars.
Create an API token.
Click Create or reuse a token for the graylog-sidecar user.
Add a token name, such as: "Win token".
Click Create Token.
Save the token or copy it to the clipboard.
Step 6: Configure BriefCam Servers to Send Logs to the Graylog Server
The following steps should be carried out on every BriefCam server.
Step a: Copy the Installation Package Files
Log into the machine remotely (RDP) and copy the following files from the installation links to each of the BriefCam servers:
graylog_sidecar_installer_1.0.2-1.exenxlog-ce-2.10.2150.msiwindows_exporter-0.14.0-amd64.msi
Step b: Install the Logs Collector
Install the nxlog collector by running the following in PowerShell with elevated administrative permissions:
..\nxlog-ce-2.10.2150.msi/qnThe first step creates services on your machine. In this step, you need to deactivate the system services (Graylog only needs the binaries) by running the following in PowerShell:
cd 'C:\Program Files (x86)\nxlog\'.\nxlog.exe-uInstall the Graylog sidecar as a service with the Graylog server IP and the saved API token by running the following in PowerShell:
.\graylog_sidecar_installer_1.0.0-1.exe/S-SERVERURL="http://{Server IP address }:9000/api"-APITOKEN="<api-token>"
Step c: Configure the Sidecar
Edit the
C:\Program Files\Graylog\sidecar\sidecar.ymlfile and uncomment the following entries:cache_pathlog_pathcollector_configuration_directorycollector_binaries_whitelistand the accompanying'-"C:\\Program Files (x86)\\nxlog\\nxlog.exe"' entry
Save the file.
Register the sidecar as a service and start it by issuing the following commands from the
C:\Program Files\Graylog\sidecardirectory:C:\Program Files\Graylog\sidecar> .\graylog-sidecar.exe -service installC:\Program Files\Graylog\sidecar> .\graylog-sidecar.exe -service start
Step d: Create the Graylog Configuration
Open the Graylog UI and navigate to system/sidecars.
Find your connected machine and click manage sidecar.
Select the nxlog checkbox.
Click Configuration.
Under log collectors, click edit in the nxlog Windows version.
Give a name, such as "win-nxlog".
In the
default templatesection, updateFile entryin the<Input file>section to the desired log directory.In the
<Output gelf>section, set theHost IPto the correct connected machine address (Server IP address)Click Update.