

Logging in
Log in and out
-
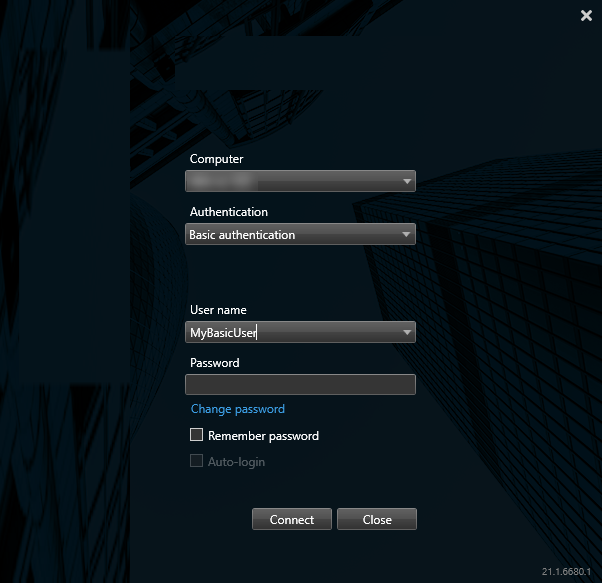
Start XProtect Smart Client. The login window appears.
- Specify the name or address of the server that you want to connect to.
- Select one of these authentication methods:
Windows authentication (current user) - select this option to log in with your current Windows user credentials
Windows authentication - select this option to log in with Windows user credentials that are different from your currently used Windows user credentials
Basic authentication - select this option to log in as a basic user. Basic users are defined by your system administrator in XProtect Management Client
[Name of external IDP
 An external entity that can be associated with the XProtect VMS to manage user identity information and provide user authentication services to the VMS.] - select this option to log in with an external IDP.
- Click Connect. If a problem occurs during login, you may receive an error message. See also Logging in (troubleshooting).
- Depending on the configuration, you may be asked to restore the views used in the previous session:
- Main view - this option restores the view that you used last time in the main window
- Detached views - this option restores the view that you used last time in a floating window. Only available when connecting to specific XProtect VMS systems. See also Surveillance system differences
- To log out of XProtect Smart Client, simply click the Log out button in the title bar.

If you encounter a second dialog during login, you need additional login authorization to get access to XProtect Smart Client.
Login authorization (explained)
When you log into the XProtect Smart Client, you may be asked for additional authorization of your login. You need your supervisor, system administrator or someone else who has the rights to authorize you to enter their credentials along with yours in the login window. After that, you are good to go.
If you do not know who can authorize you, please ask your system administrator.
Logging into access control systems (explained)
When you log into XProtect Smart Client, you may be asked for additional login credentials for the access control systems, if they are configured to do so.
Your login controls the parts of an access control integration, for example doors, that you can manage and operate.
If you do not know your login credentials for an access control system, please ask your system administrator.
The system remembers your login credentials, so you only need to fill out your credentials the first time you log in or if the login has failed.
Change password in XProtect Smart Client
If you log in using as a basic user (Basic authentication), you can change your password. If you choose a different authentication method, only your system administrator can change your password. Changing your password often increases the security of your XProtect VMS system.
The version of your XProtect VMS system must be version 2021 R1 or later.
Steps:
- Start XProtect Smart Client. The login window is displayed.
-
Specify your login information. In the Authentication list, select Basic authentication. A link with the text Change password appears.
- Click the link. A browser window opens.
- Follow the instructions in the window and save your changes.
- Log in to XProtect Smart Client using your new password.
Allow connections that use an older security model (HTTP)
If the XProtect VMS server that you are trying to log in to does not have a certificate installed, then you cannot connect with an HTTPS network protocol, the newest available security model in XProtect. In such cases, you are prompted to allow connections with an older security model (HTTP).
If you select the Remember my choice. Do not show this message again check box, HTTP connections are always allowed in the future. See also Clear setting that allows connections that use an older security model.
Clear setting that allows connections that use an older security model
You can clear the setting that allows you to log in to an XProtect VMS server using a network protocol with a connection that use an older security model (HTTP). The next time that you log in, you are then prompted to allow HTTP connections.
The setting only applies to your user account and the machine that you are currently working on.
During the login process, you have allowed HTTP connections and selected the Remember my choice. Do not show this message again check box. See also Allow connections that use an older security model (HTTP).
Steps:
- In the upper-right corner, click the Status button. A window appears.
-
Select the Login Information tab.
- Click the Clear button.
- Click OK to close the window. Next time you try to log in, you are prompted to allow HTTP connections.