

PTZ presets (configuration)
Depending on your surveillance system (see Surveillance system differences), you can create, edit, and delete PTZ presets.
Add PTZ presets
You can define additional PTZ presets![]() A negative or dangerous act or situation that could lead to damage to, loss of, or disruption to an organization's staff, properties, operations, services, or functions.:
A negative or dangerous act or situation that could lead to damage to, loss of, or disruption to an organization's staff, properties, operations, services, or functions.:
- In the view, select the relevant PTZ camera that you want to give a new PTZ preset.
- On the camera toolbar, click the PTZ icon
 to open the PTZ menu.
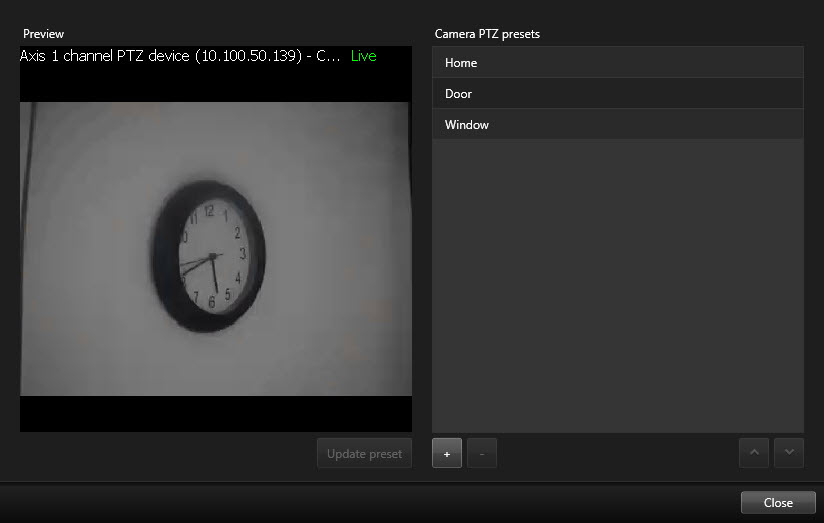
 - Click Manage PTZ presets to open the window.
- Click
 to add a new preset entry.
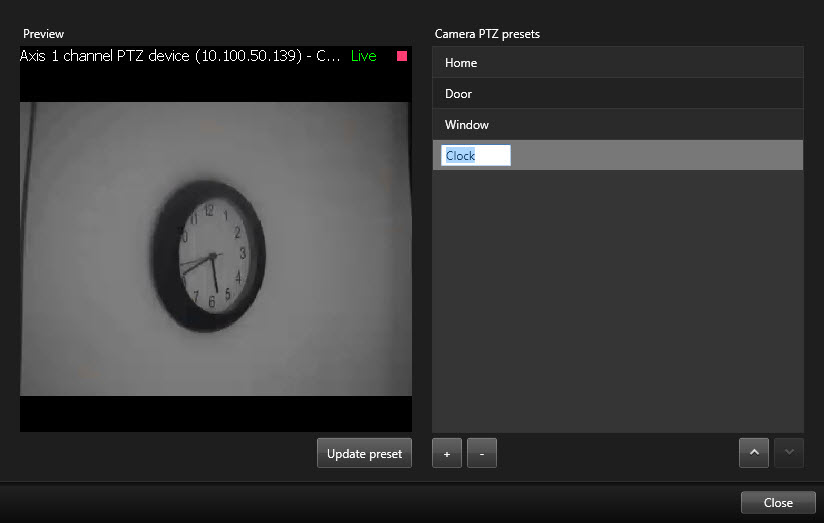
 - Select the PTZ preset entry and enter a new name for the PTZ preset.
- Use the PTZ buttons to navigate to the relevant position and click Update preset to save.
- Use the arrows to move a PTZ preset up or down in the list. This can be useful if your list contains many presets.
Edit PTZ presets
You can make changes to existing PTZ presets![]() A negative or dangerous act or situation that could lead to damage to, loss of, or disruption to an organization's staff, properties, operations, services, or functions., such as renaming or changing the preset position:
A negative or dangerous act or situation that could lead to damage to, loss of, or disruption to an organization's staff, properties, operations, services, or functions., such as renaming or changing the preset position:
- In the view, select the PTZ camera with the PTZ preset you want to modify.
- On the camera toolbar, click the PTZ icon to open the PTZ menu.
- Click Manage PTZ presets and in the dialog box, select the PTZ preset.
- To edit the name of the preset, ensure the name of the PTZ preset is highlighted. Click the text and overwrite the existing name.
- If the camera is not in the correct position, use the PTZ buttons to navigate to the required position and then click Update preset to save.
- Use the up or down arrows to arrange the PTZ presets on the list.
- Click Close.
 .
.