

Configuring XProtect Smart Wall
You can create any number of instances of Smart Wall. Configuring a Smart Wall is a two-step process. First, you go through most of the configuration in XProtect Management Client, and then you add your Smart Wall overview![]() 圖形化顯示 Smart Wall,可讓您對顯示在不同監視器中的內容進行控制。 to one or more views in XProtect Smart Client.
圖形化顯示 Smart Wall,可讓您對顯示在不同監視器中的內容進行控制。 to one or more views in XProtect Smart Client.
In XProtect Management Client:
- Create the Smart Wall and set the general properties, including the name and the properties of the view items. See also Create Smart Wall.
- Add the monitors and position of the monitors according to how you want to organize them in the Smart Wall overview in XProtect Smart Client, for example next to or below each other. See also Add monitors to Smart Wall and Position monitors on your Smart Wall.
- (optional) Create the empty presets
 在 XProtect Smart Client 中的個別監視螢幕的預先設置版面設定。预设包含预定义的设置,用于确定哪些摄像机被显示,以及视频墙上每个监视器内容构成的方式。 that are required to define the monitor layout and add the default cameras at a later stage. See also Create presets for your Smart Wall.
 -
(optional) For each monitor, select a preset, define its layout, and add the default cameras. See also Define preset layout and add cameras.
When to use presets? If you want operators to push cameras and views onto the Smart Wall manually, presets are not required. However, if you plan to use rules to automatically change what is displayed on the video wall, you must define presets.
In XProtect Smart Client:
-
Set up one or more views in XProtect Smart Client to allow operators to control what is being displayed on the Smart Wall dynamically. See also 将 Smart Wall 概览添加到视图.
In the Smart Wall overview you can drag-and-drop or send cameras and other types of content to the monitors.
-
(optional) You can change the layout of the monitors that are defined in XProtect Management Client, either by changing the view layout or applying a different preset to a monitor. See also 更改 Smart Wall 监视器的布局.
Create Smart Wall
To configure a Smart Wall, you must first create it in XProtect Management Client. Repeat the following steps for each Smart Wall that you want to create:
- In XProtect Management Client, expand Client and select Smart Wall.
-
In the Smart Wall pane, right-click Smart Wall Definitions and select Add Smart Wall. 会显示一个窗口。
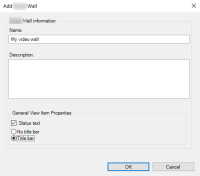
- Specify the settings for the Smart Wall.
- In the General View Item Properties settings, specify if you want system status information and title bars to appear above the cameras in the Smart Wall.
- Click OK. The Smart Wall is now added to the Smart Wall pane.
- Next, add the monitors and define how to organize the monitors in the Smart Wall overview圖形化顯示 Smart Wall,可讓您對顯示在不同監視器中的內容進行控制。 in XProtect Smart Client. See also Add monitors to Smart Wall.

Add monitors to Smart Wall
When you have created your Smart Wall, you must add the monitors that your video wall consists of and specify the monitor settings.
Steps:
-
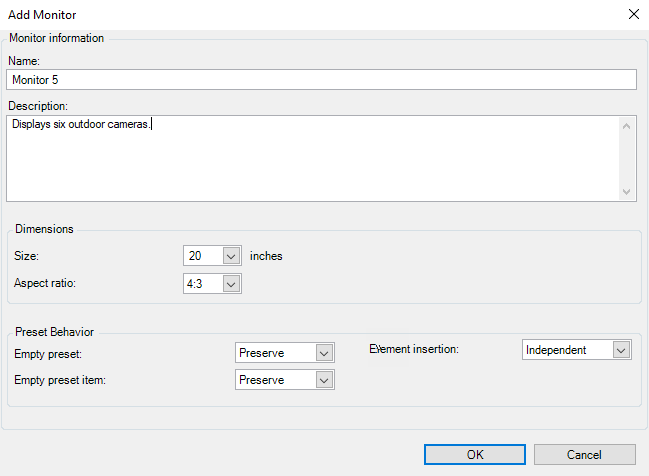
In the Smart Wall pane, right-click your Smart Wall and select Add Monitor. 会显示一个窗口。
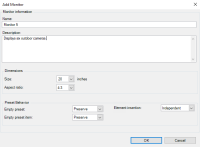
- Configure the dimensions of the monitor, so that it resembles one of the physical monitors on the video wall.
-
Specify the behavior of the preset
-
Empty preset - control what happens to presets with content when an empty preset is applied:
-
Preserve - keep what is currently being displayed
-
Clear - replace the current content with the empty preset
-
-
Empty preset item - control what happens to preset items with content when a preset with empty preset items is applied:
-
Preserve - keep what the preset item is currently displaying
-
Clear - replace the preset item with the empty preset item
-
-
Element insertion - control what happens when an operator
XProtect 用戶端應用程式的專業使用者。 drags a camera onto a position in the preset:-
Independent - replace the camera already in the preset position with the new camera
-
Linked - push the content from left to right from where you inserted the new camera
-
-
- Click OK to save your changes.
- Add the same number of monitors as you have available on the physical video wall.
- Next, position the monitors. See also Position monitors on your Smart Wall.
Position monitors on your Smart Wall
When you have added the monitors to your Smart Wall, you must position the different monitors, so their positions resemble the mounting of the physical monitors on the video wall.
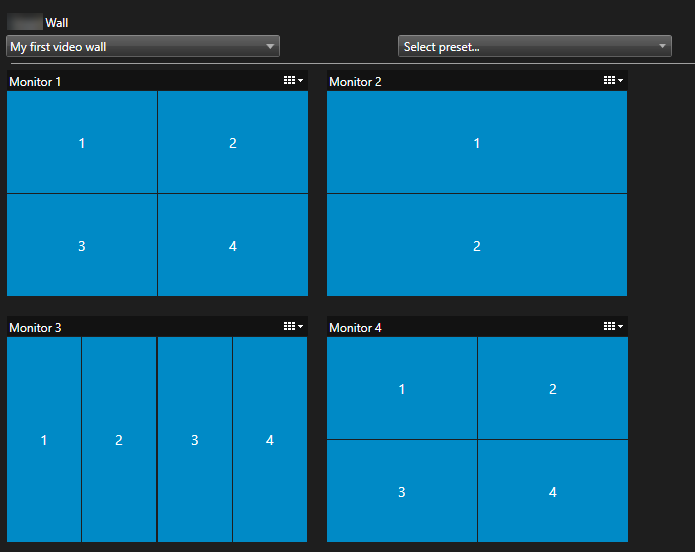
The picture in the example shows the Smart Wall overview![]() 圖形化顯示 Smart Wall,可讓您對顯示在不同監視器中的內容進行控制。 in XProtect Smart Client. The four monitors are laid out sequentially in two rows - starting with Monitor 1 and ending with Monitor 4.
圖形化顯示 Smart Wall,可讓您對顯示在不同監視器中的內容進行控制。 in XProtect Smart Client. The four monitors are laid out sequentially in two rows - starting with Monitor 1 and ending with Monitor 4.
Steps:
- In the Smart Wall pane, select your Smart Wall.
-
In the Properties pane, click the Layout tab .

-
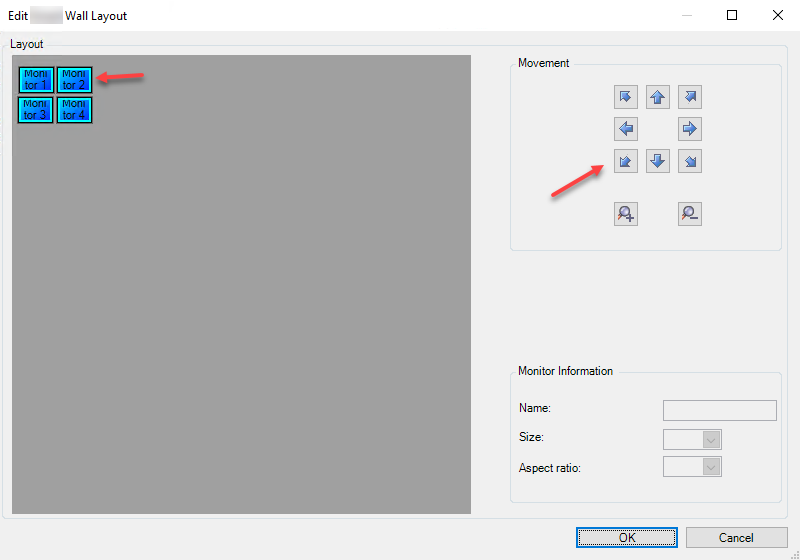
Click the Edit button. 会显示一个窗口。
- Drag and drop the monitors to position them, or use the arrows.
- Click
 or
or  to increase or decrease the size of the monitors, respectively.
 - Click OK to save your changes. The same layout is used in the Smart Wall overview in XProtect Smart Client.
- Next, add presets在 XProtect Smart Client 中的個別監視螢幕的預先設置版面設定。预设包含预定义的设置,用于确定哪些摄像机被显示,以及视频墙上每个监视器内容构成的方式。. This is a requirement for adding layout and cameras to your monitors. See also Create presets for your Smart Wall.
Create presets for your Smart Wall
With presets, you configure what you want a specific monitor to show when it is used with the selected preset. Create as many presets as you need.
Steps:
- In the Smart Wall pane, select your Smart Wall.
- In the Properties pane, click the Presets tab.
-
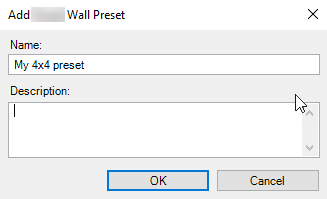
Click Add New. 会显示一个窗口。
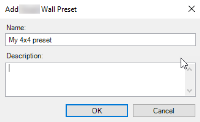
- Enter a type and possibly also a description.
- Click OK to save your changes.
- Repeat the steps above for each preset that you want to add.
- Next, add layout and cameras to the monitors. See also Define preset layout and add cameras.
Define preset layout and add cameras
To control what is displayed on the individual monitors, you must define a layout, for example 2x2, and then add the cameras. In the following example, there are four cameras. Operators can always change these cameras manually in XProtect Smart Client.
For each monitor that you want to add cameras to, a preset must be in place. See also Create presets for your Smart Wall.
Steps:
- In the Smart Wall pane, select the monitor that you want to add cameras to.
- In the Properties pane, click the Presets tab.
- Click Edit. 会显示一个窗口。
-
Click
 . An additional window appears.
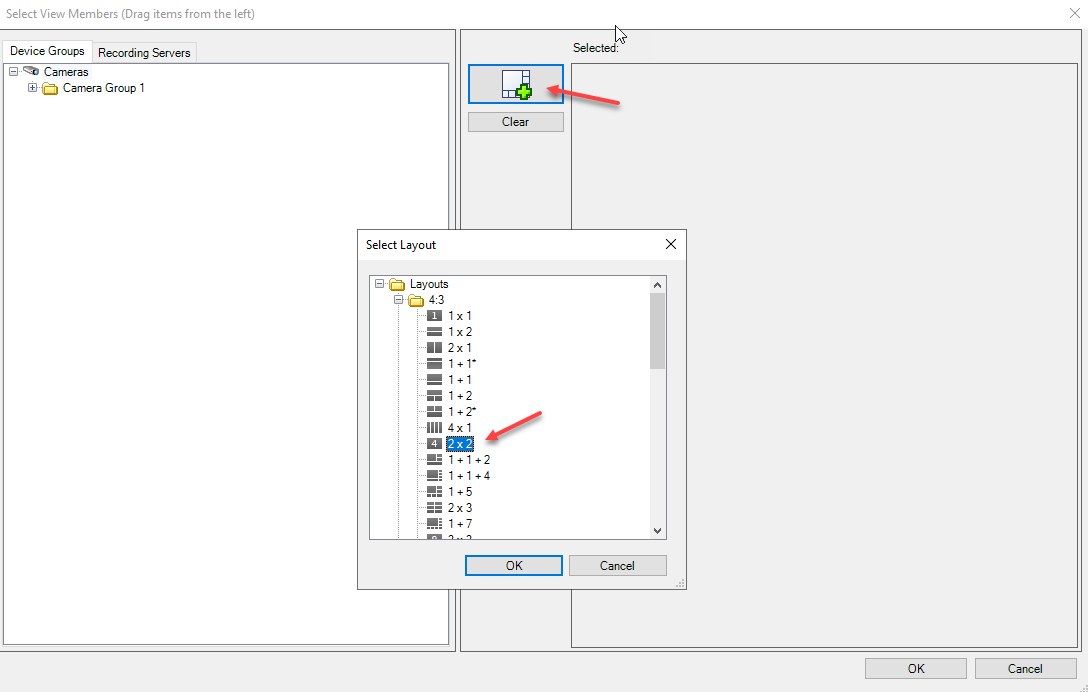
-
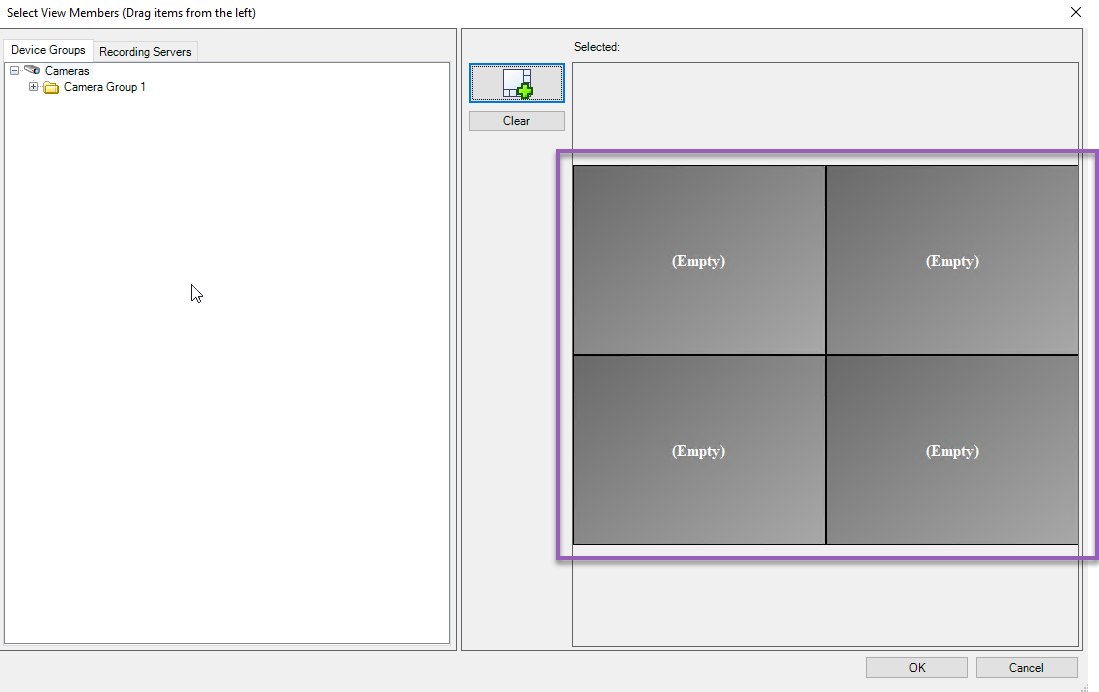
Select a layout and click OK. The layout appears on the right-hand side of the first window.
- From the Devices Groups or Recording Servers tab, drag the cameras onto the preset items - one by one.
- Click OK to save your changes.
- Repeat the steps above for each monitor that you want to configure.
- Now you can start using your Smart Wall in XProtect Smart Client.
You must also configure the operators' user rights for using XProtect Smart Wall. See also Specify user rights for XProtect Smart Wall.