Define privacy masks
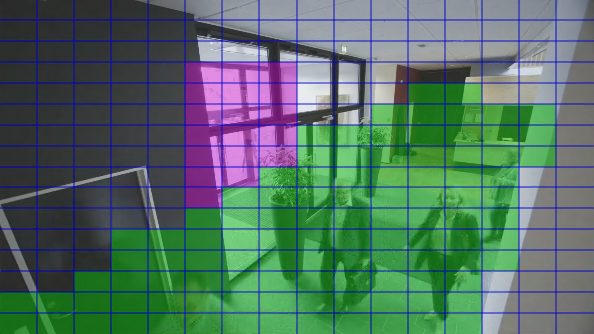
When you enable the privacy masking feature on the Privacy masking tab, a grid is applied to the camera preview.
- In the Site Navigation pane, select Devices.
- Select the relevant camera in the Overview pane.
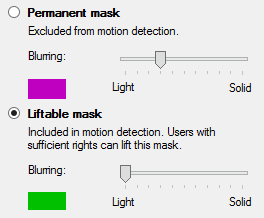
- On the Privacy masking tab, to cover an area with a privacy mask, first select Permanent mask or Liftable mask to define if you want a permanent or liftable privacy mask.

- Drag the mouse pointer over the preview. Press down the left mouse button to select a grid cell. Press down the right mouse button to clear a grid cell.
- You can define as many privacy mask areas as needed. Areas with permanent privacy masks appear in purple and areas with liftable privacy masks in green.

- Define how the covering of the areas should appear in the video when shown in the clients. Use the sliders to go from a light blurring to a full nontransparent mask.
Permanent privacy masks also appear on the Motion tab.
- In XProtect Smart Client, check that the privacy masks appear as you defined.

