Bookmarks
Note
This feature is only available in certain XProtect VMS systems. For more information, see the product comparison chart: https://www.milestonesys.com/products/software/xprotect-comparison/.
Bookmarks enable you to quickly locate relevant video sequences. You can add bookmarks in both live mode (see Viewing live video) and playback mode (see Play back recordings from one camera and Recordings from multiple cameras). Bookmarks are available on the main timeline in playback mode and in investigations.
Bookmarks
View the bookmark details or play the bookmark video clip
In XProtect Web Client, in playback mode, you can create detailed bookmarks to make it easier to locate the bookmarks after you have created them. You can also listen to audio in your bookmark video clips.
Steps to view bookmark details and play bookmark video clip
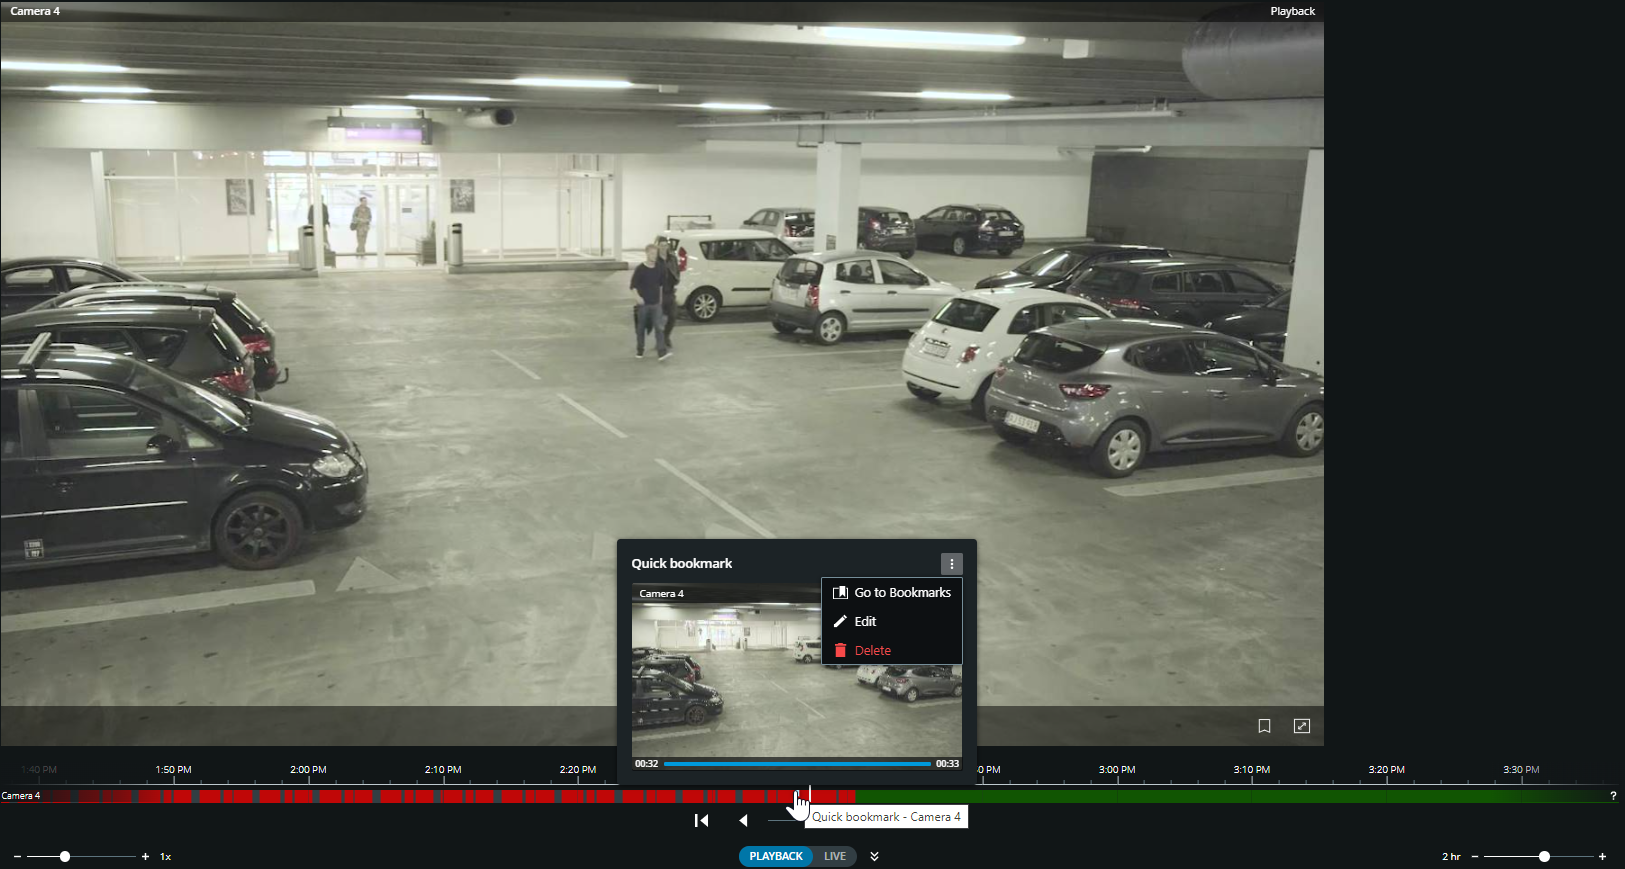
On the timeline in playback mode or in investigations, click the bookmark icon you want to view. The bookmark preview pops up, and the video clip starts playing repeatedly (see Using the timeline in playback mode or Using the timeline in investigations).
On the top menu bar, click Bookmarks to open the bookmarks list.
From the Bookmarks list, select All bookmarks to open the complete list of bookmarks created by all users or My bookmarks to open the list that only shows those bookmarks that you created yourself.
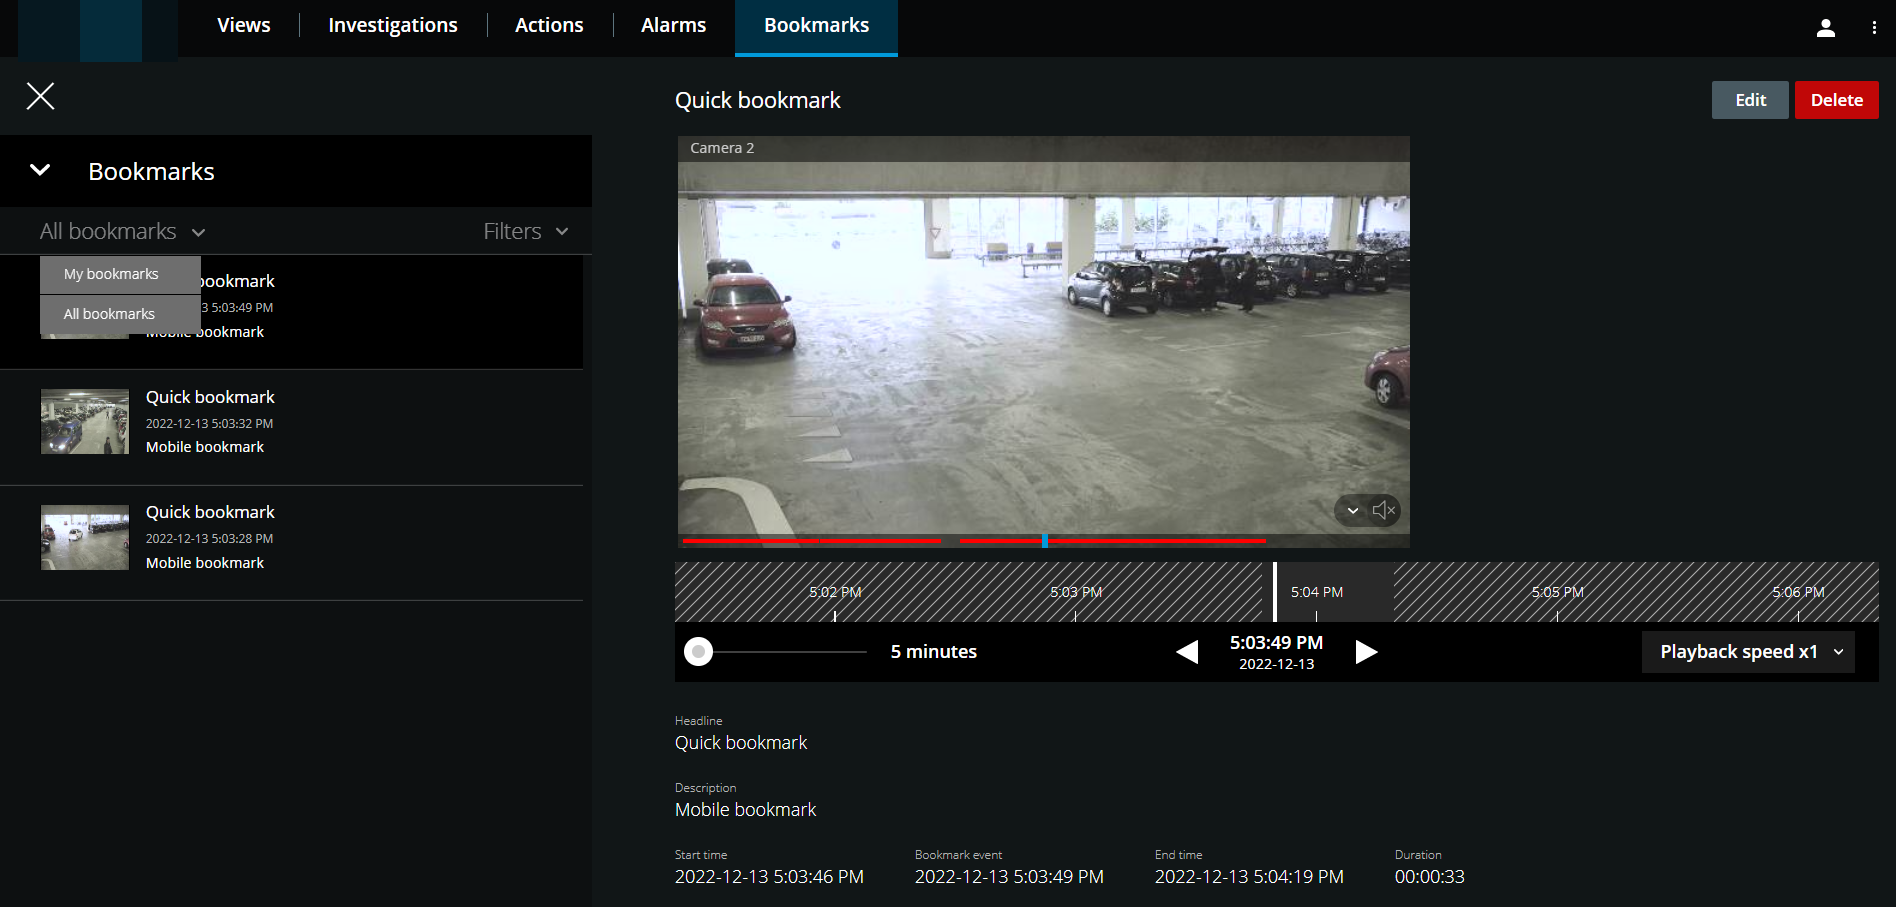
Go to the bookmark that you want to view, then click on it. The pane with the bookmark's details is displayed.
Optional. If the list of bookmarks is too long, click Load more.
On the timeline, click
 to play the bookmark video clip forward or
  to play the video clip backward. In the bottom-right corner of the timeline, from the Playback speed picker, select a specific speed for the video playback. In the bottom-left corner of the timeline, drag the slider to define a specific time span for the bookmark video clip.
View the detailed bookmark information:
Name
Description
Headline
The headline of the bookmark may contain a maximum of 50 characters. The field is required.
Description
The additional description of the bookmark. The field is optional.
Start time
The suggested start time of the bookmark clip is a number of seconds before the time of the bookmark event. The start time is specified by the system administrator.
Bookmark event
The time in the video clip that shows when the bookmark event was triggered.
End time
The suggested end time of the bookmark clip is a number of seconds after the time of the bookmark event. The end time is specified by the system administrator.
Duration
The duration of the bookmark video clip.
Camera name
The name of the camera that streams the bookmark video clip.
Bookmark ID
A unique ID number that is assigned to the bookmark automatically.
Added by
The user who has created the bookmark.
Add or edit bookmarks
You can add bookmarks to live videos and video recordings.
Steps to add bookmarks to videos in live mode:
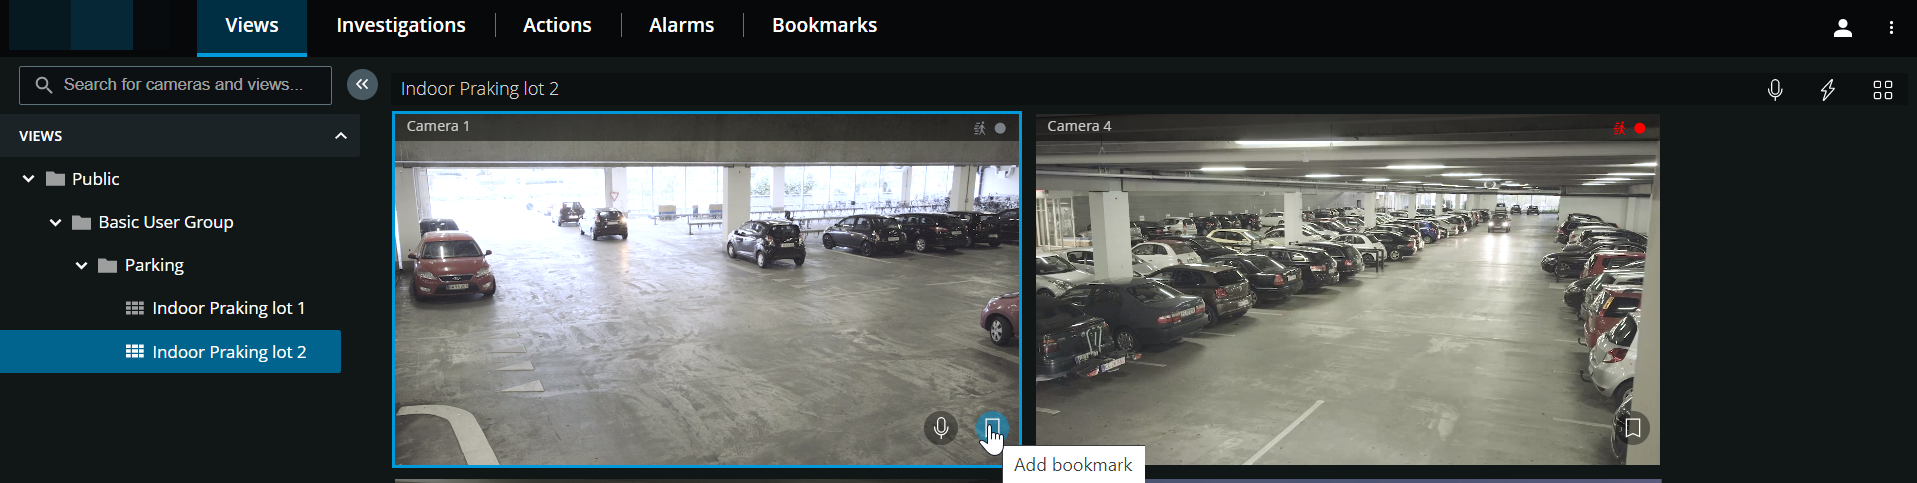
On the Views tab, select a camera view, then select the required camera in the view.
On the camera toolbar, click
 . The bookmark is added with the name Quick bookmark assigned by the system automatically.
Steps to add bookmarks to videos in playback mode:
On the Views tab, select a camera view, then select the required camera in the view.
Click Playback to switch to playback mode.
On the camera toolbar, click
. The Add bookmark window is displayed.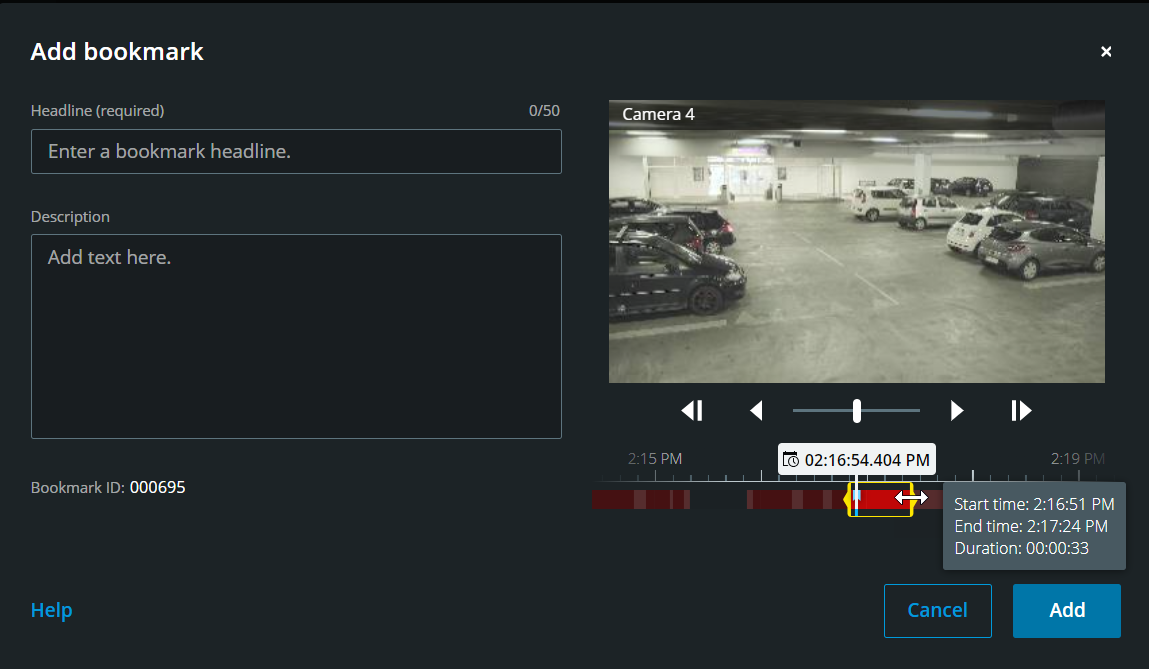
In the Headline field, enter a name for the bookmark. The headline may contain a maximum of 50 characters.
Optional. In the Description field, describe the incident.
Optional. Although the time of the bookmark event and the start and end time of the video clip is specified by the system administrator, you can adjust these settings. To do this, use the timeline controls and the time selection brackets.
Item
What can I do with it?

Click and hold the playback slider, then drag it to the left or right. Release the playback slider to start playing the bookmark at the time chosen. You can also:
Drag the timeline track to the right or left to move in time.
Hover over the bookmark's timeline, press the Ctrl key, and simultaneously scroll the mouse wheel to zoom in on the time span.
Play the bookmark video clip backward or forward in time.

Pause the playback of the bookmark video clip.


Go to the previous or the next frame.
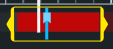
Drag the yellow time selection brackets to change the start or end time for the bookmark. Drag the blue time-indicator to change the bookmark event time.
When you drag one of the brackets and reach the timeline's end, you can continue dragging the bracket, and the timeline track will start moving simultaneously. This way, you can move the start or end time of the video to a time period that was not visible on the timeline before.
You can also go to a specific point in time in the video clip if you click and hold the timeline track and start dragging it to the left or the right.
If you hover over the brackets, you can see a tooltip with the start and end time of the video and its duration. If you drag the brackets, the time values in the tooltip are updated simultaneously with the dragging.
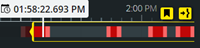
If you have dragged the time selection brackets beyond the left or right end of the timeline, select one of the navigation buttons to do the following actions:

 - Go to the start time bracket.
 - Go to the end time bracket.
 - Go to the bookmark event time.
Click Add.
Steps to edit bookmarks
You can edit your bookmarks directly from the timeline while you monitor your recordings on the Views tab or the Investigations tab. (see Using the timeline in playback mode or Using the timeline in investigations).
On the top menu bar, click Bookmarks to open the bookmarks list. Select All bookmarks to open the complete list of bookmarks created by all users, or My bookmarks to open the list that only shows those bookmarks you created yourself. Go to the bookmark you want to edit, then click on it. In the upper-right corner of the pane with the bookmark's details, click Edit. The Edit bookmark window is displayed.
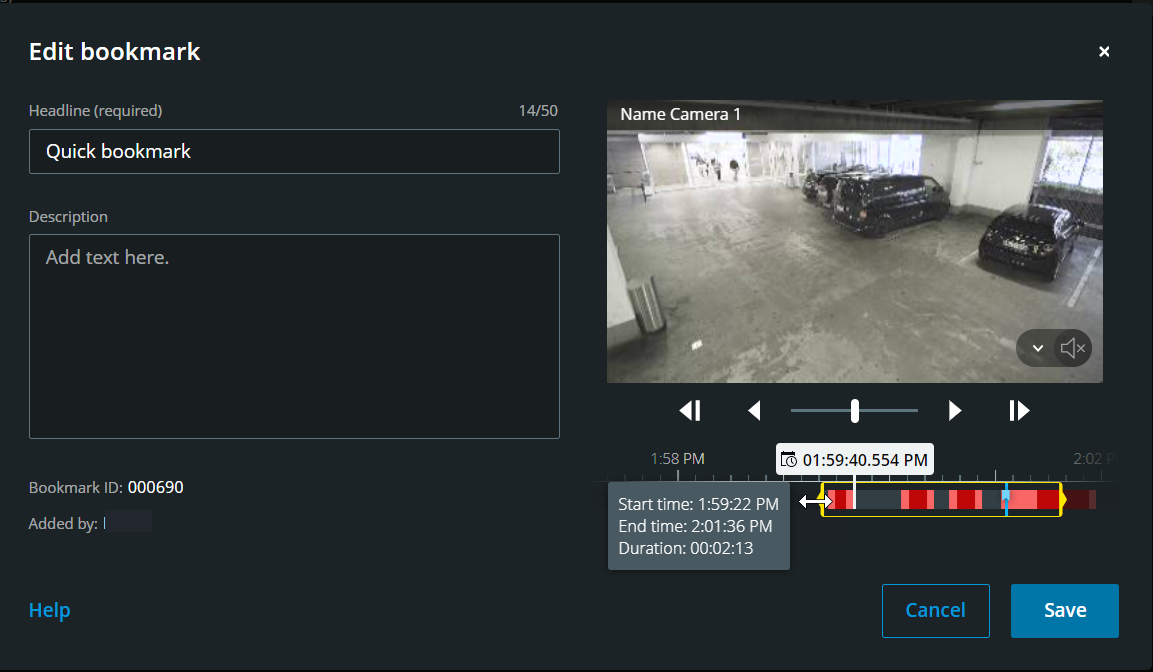
Enter your changes in the Headline field or the Description field.
Use the timeline controls to play the video within the time selection brackets backward or forward and to go to a specific point in time in the video.
Drag the yellow time selection brackets to adjust the bookmark’s start or end time. Use the yellow navigation buttons above the timeline, if you have dragged the time selection brackets beyond the left or right end of the timeline.
Drag the blue time-indicator to change the bookmark event time.
Click Save.
Delete bookmarks
Depending on your user permissions, you can delete bookmarks created by yourself or others. If you delete a bookmark, it is removed from the database, and you can no longer access it.
Steps to delete bookmarks:
You can delete your bookmarks directly from the timeline while you monitor your recordings on the Views tab or the Investigations tab. (see Using the timeline in playback mode or Using the timeline in investigations).
On the top menu bar, click Bookmarks to open the bookmarks list. Select All bookmarks to open the complete list of bookmarks created by all users, or My bookmarks to open the list that only shows those bookmarks you created yourself. Go to the bookmark you want to delete, then click on it. In the upper-right corner of the pane with the bookmark's details, click Delete.
On the confirmation message, click Delete.
Filter your bookmarks
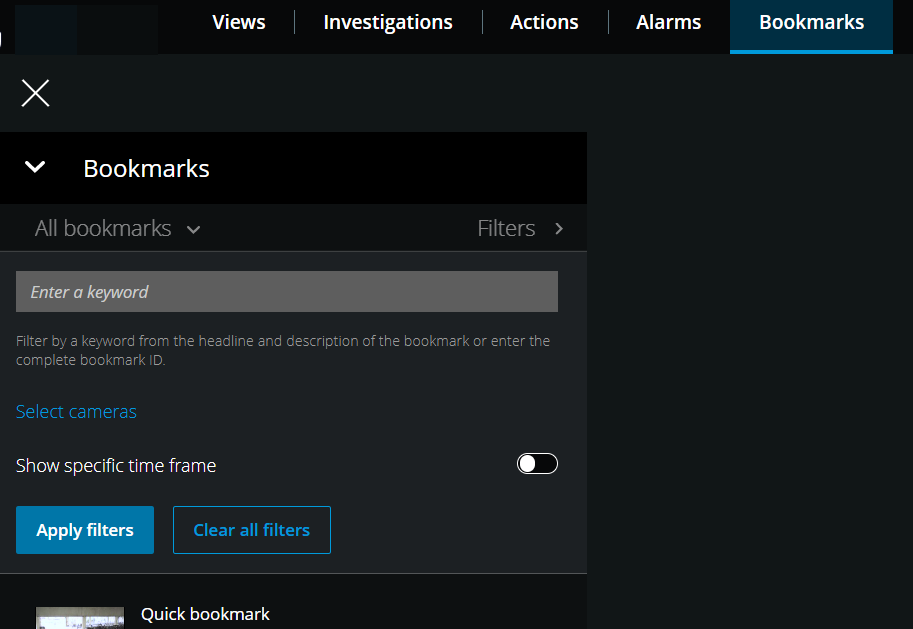
To find a specific bookmark, you can search and use filtering. There are three options for filtering bookmarks:
You can enter a keyword from the headline, the description, or the complete ID of the bookmark.
You can select specific cameras.
You can select a predefined time interval. You can also customize the time interval that you want to apply as a filter.
Steps to filter bookmarks by a keyword
On the Bookmarks tab, expand the Filters list.
In the Enter a keyword field, enter a keyword from the headline or description of the bookmark or enter the complete bookmark ID.
To apply the filter, click Apply filters.
Optional. To undo your filter selection, click Clear all filters.
Steps to filter bookmarks by selected cameras
On the Bookmarks tab, expand the Filters list.
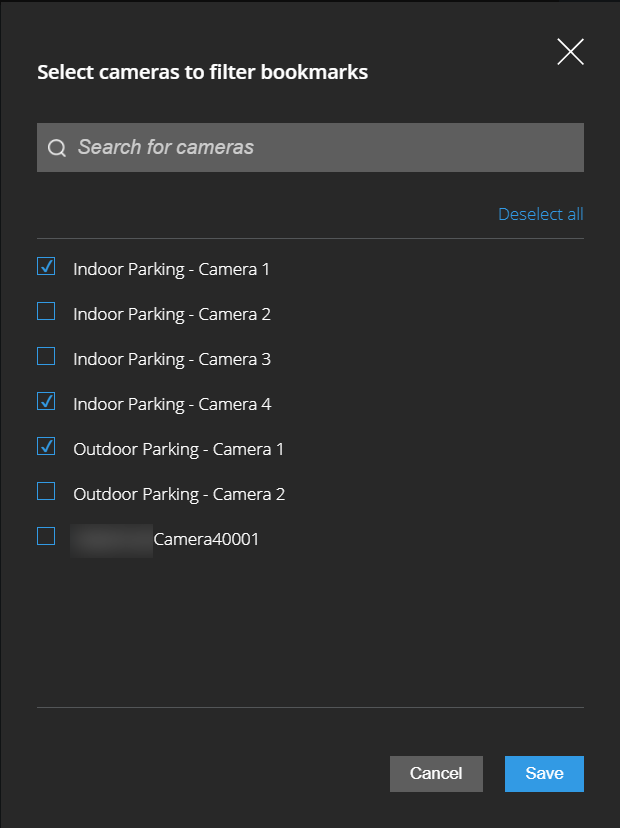
Click Select cameras. The Select cameras to filter bookmarks window opens, and the list of all available cameras is displayed.
Optional. To quickly find specific cameras, use the Search for cameras option.
From the camera list, select the cameras that you want to apply as a filter.
Optional. To undo your selection, deselect the check box of each camera or click Deselect all.
To save your selection, click Save.
To apply the selected cameras as a filter, click Apply filters.
Optional. To undo your filter selection, click Clear all filters.
Steps to filter bookmarks by predefined or custom time intervals
You can filter the list of your bookmarks by using a specific time frame with predefined or custom time intervals between the start time and the end time of the video sequences that you have bookmarked. The default duration of the time frame is set to 2 hours.
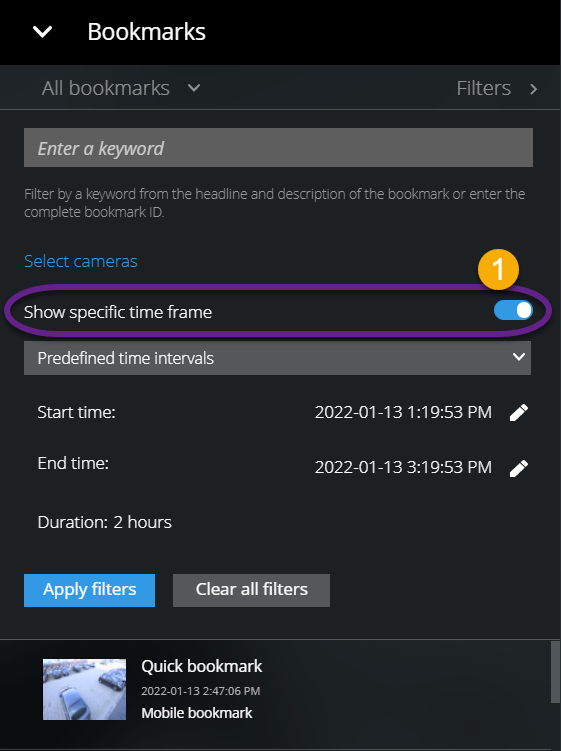
On the Bookmarks tab, expand the Filters list.
Enable the Show specific time frame setting
 .
.Expand the list of Predefined time intervals
 , then select one of the following options:
Last 2 hours
Last 12 hours
Last 6 hours
Last 24 hours
Yesterday
Last 7 days
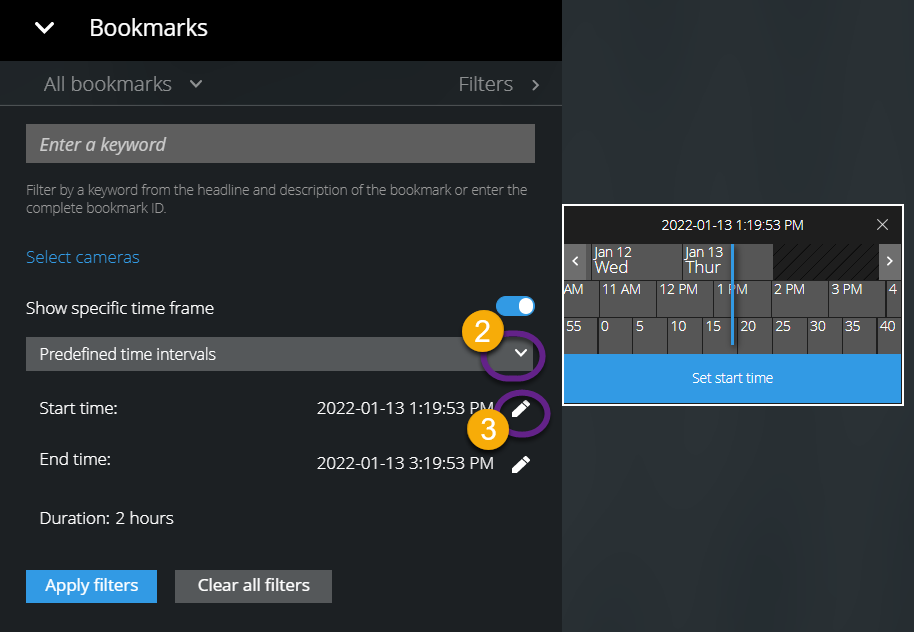
Optional. To customize the time interval between the start time and the end time of the video sequence that you have bookmarked, select

 to open the time picker and set a custom start time or end time.
To apply the filter, click Apply filters.
Optional. To undo your filter selection, click Clear all filters.