Client experience
XProtect Smart Client and Management Client
With the external IDP properly configured, the XProtect Clients will support the external IDP as an additional authentication option.

The external IDP authentication option will only be shown when a computer address has been entered that points to an XProtect VMS with an external IDP configured.
The client knows when to show the external IDP authentication option based on an API call to the entered address. The call queries which authentication options this XProtect VMS installation supports. The API call is made when the client is started and whenever the address is changed.
The particular API that the client queries is a public API that does not require any user authentication so this information can always be read by the client.
In case an incorrect address is entered, and the client thus doesn’t get an answer to the API call, the client just defaults back to listing the standard authentication options.
External IDP authentication
Note: In this white paper, Microsoft Entra ID (Azure) is used to illustrate the external IDP authentication dialogs and flow. Other IDP vendors may use a different terminology and authentication flow.
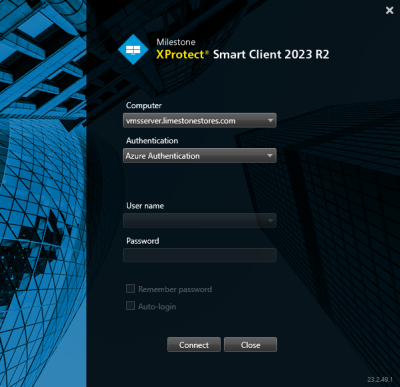
Having enter the address of the XProtect VMS computer and selected to authenticate using the external IDP, the ‘User name’ and ‘Password’ fields are disabled since this information must be provided from a browser showing the external IDP authentication page.
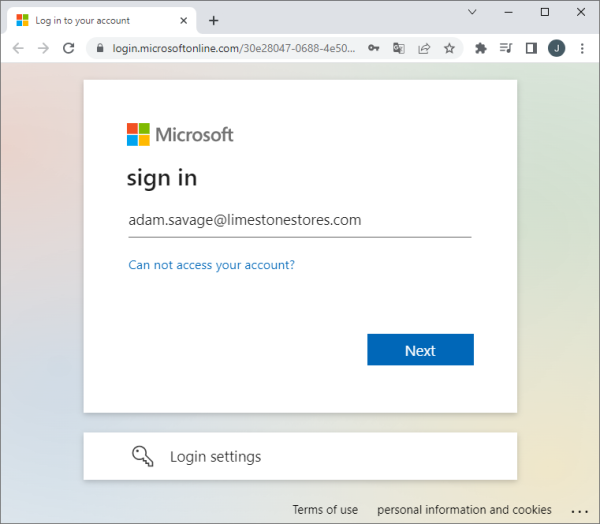
Clicking ‘Connect’ will open a browser and show the external IDP’s authentication page – called “sign in” for Microsoft Entra ID.
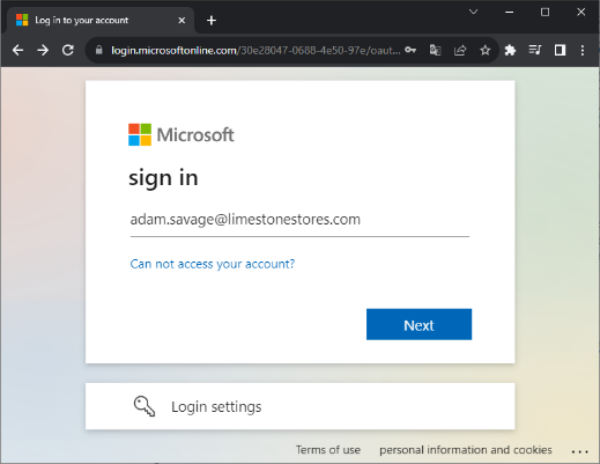
On the sign in page shown, the user enters his or her email address, and clicks ‘Next’
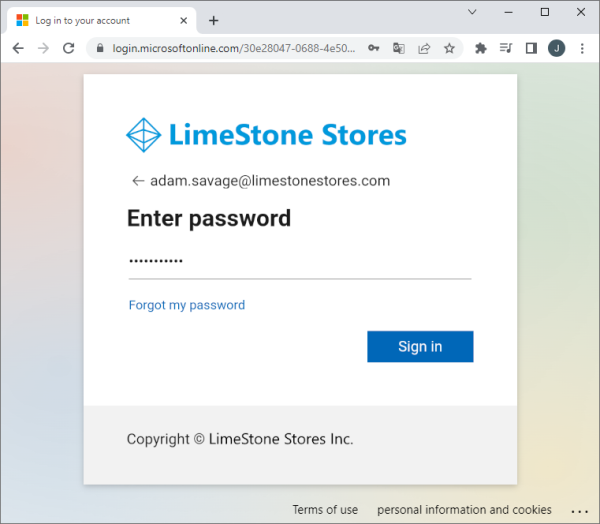
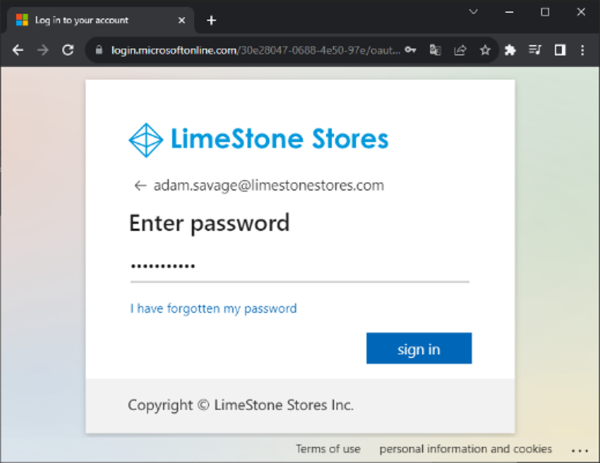
Then, the user enters his or her password and clicks ‘Sign in’.
If the user authentication is successful, the web page states this, and the user can close the browser.
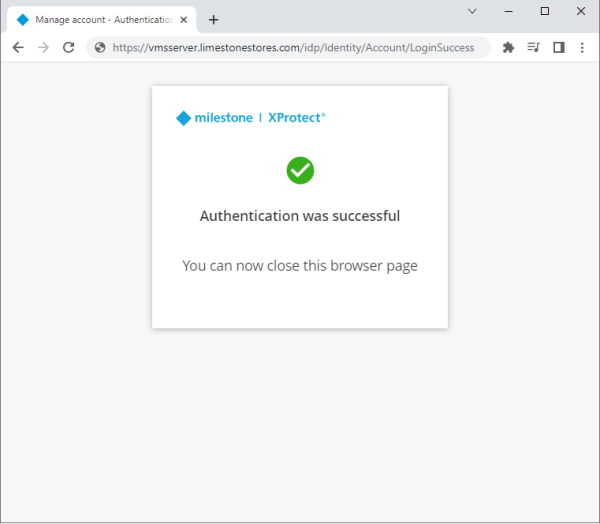
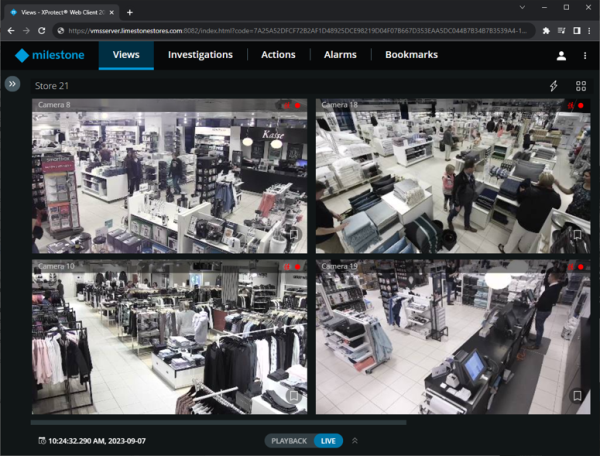
The XProtect VMS client will then automatically continue the regular login process and finally show the client.
No Claims, or claims not added to roles
It is still possible to use external IDP users in the XProtect VMS even if the external IDP users do not have claims defined for them that can be used by the XProtect VMS, or if the claims have not been configured in the XProtect VMS. This will just require one more configuration step in the process where the XProtect VMS administrator must manually add the external IDP user to one or more roles after the external IDP user’s initial log in.
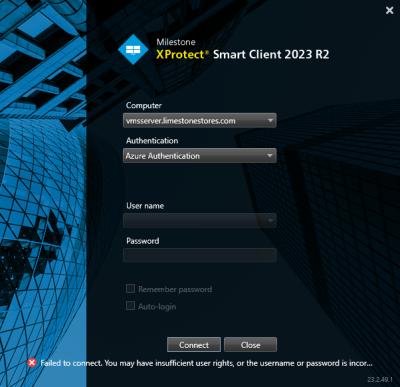
When this is the case, and an external IDP user attempts the initial log in to the XProtect VMS with one of the XProtect clients, the log in fails even after the external IDP user has been successfully authenticated by the external IDP.
The reason why the log in to the XProtect VMS fails even when the external IDP user is successfully authenticated by the external IDP, is that the user cannot be linked to any roles and thus does not have any permissions.
However, the user’s act of attempting to log in to the XProtect VMS and successfully being authenticated by the external IDP, creates the external IDP user in the XProtect VMS as a kind of basic user.
When this has happened, the XProtect VMS administrator can manually add the external IDP user to one or more roles. The next time the external IDP user logs in, the XProtect VMS knows which role(s) the user belongs to and will allow log in and grant access to the allowed functions and resources.
Recommendation:
It is recommended to define XProtect VMS claims for the external IDP users and to configure the roles to link the external IDP users to these roles This is recommended because the user experience for both the regular XProtect VMS users and the XProtect VMS’ administrator is less than optimal when claims are not used, and because using claim-based linking to roles allows for effective, centralized user and permission management in the external IDP,
This will provide a smooth user experience in the XProtect VMS, and provide efficient and simple XProtect VMS role management in the external IDP.
XProtect Web Client and Mobile client
To allow the XProtect Web Client and XProtect Mobile client to log in using the external IDP, a redirect URI address needs to be configured for the external IDP.
This is done in the dialog where the details of the external IDP are also defined. The URI must point to the Mobile Server address and include the port and “/index.html”.
For example, “https://vmsserver.limestonestores.com:8082/index.html”
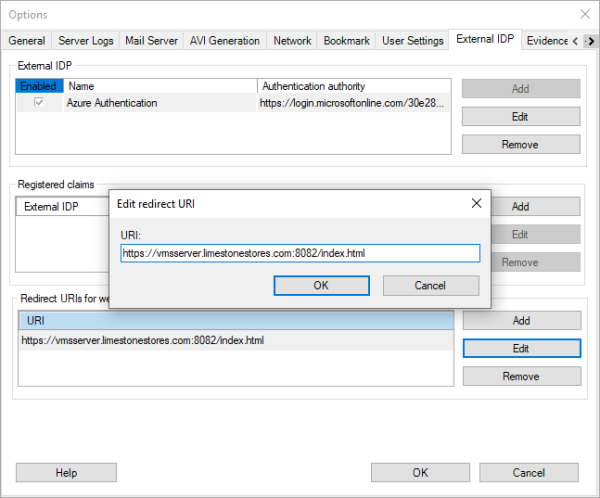
With the redirect URI defined, users of the XProtect Web Client and XProtect Mobile client can also log in using the external IDP.
XProtect Web Client
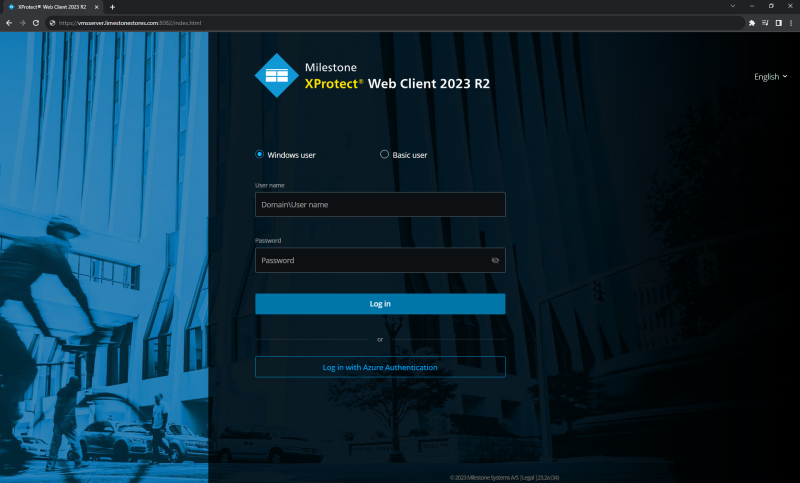
Clicking the ‘Log in with Azure Authentication’ on the XProtect Web Client login page will launch the same browser authentication flow as for the XProtect Smart Client and XProtect Management Client. The only difference is that the log-in process with the XProtect Web Client will happen on one and the same browser tab.
XProtect Mobile Client
XProtect Mobile client
Adding the VMS server in the XProtect Mobile client, is done as usual by entering the address and port number for the Mobile Server.
When the VMS server has been added, clicking the ‘CONTINUE LOGIN’ button will display the external IDP log in option in addition to the regular Windows user and Basic user log-in options.
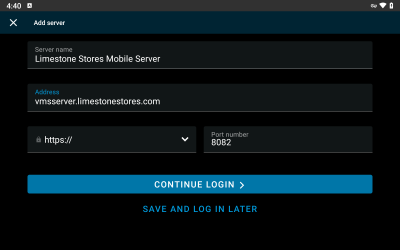
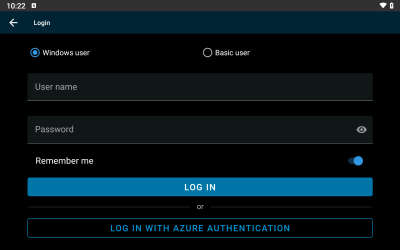
Clicking the ‘LOG IN WITH AZURE AUTHENTICATION’ button will open a browser page and provide access to the regular authentication flow on the external IDP.
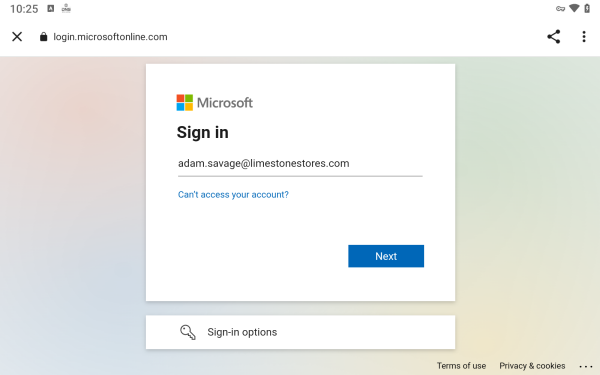
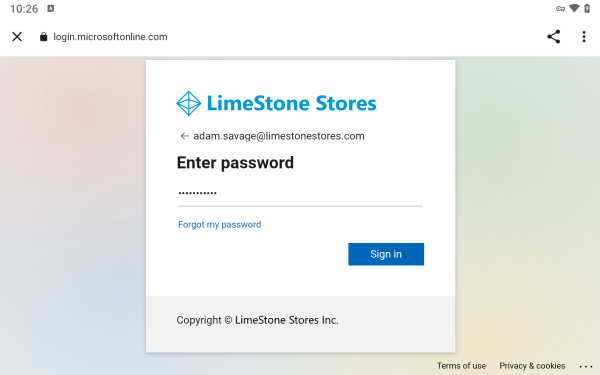
When log in has been completed, the XProtect Mobile client is displayed and can be used.
One thing to note when using the XProtect Mobile client with an external IDP login is that the client credentials cannot be saved. The user must always authenticate with the external IDP to use the client.
