

Install clients
You can access your XProtect system from other computers via the clients. The following steps will help you download and install XProtect Smart Client used for viewing video and the Management Client used for configuring and managing the system on other computers.
Install XProtect Smart Client
The XProtect system has a built-in public installation web page. From this web page, you can download and install XProtect Smart Client on any other computer on the network.
- To access the public installation webpage, enter the following URL in your browser: http://[computer address]/installation/
[computer address] is the IP address or host name of the XProtect VMS computer.
- Click All Languages and run the downloaded file.
- Click Yes to all warnings. Unpacking starts.
- Select the language for the installer and then click Continue.
- Read and accept the license agreement. Click Continue.
- Select the installation type. Click Typical to choose the default values and start the installation.
- Open XProtect Smart Client. The XProtect Smart Client login dialog box appears.
- Specify the host name or the IP address of your XProtect VMS computer in the Computer field.
- Select authentication, enter your user name and password. Click Connect and XProtect Smart Client opens.
- You can verify the default views or add new views: In Setup mode, add a group and then a view to this group.
- Add a camera to one of the view items by dragging and dropping it into a view item and click Setup again.
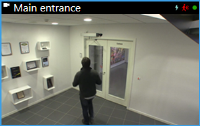
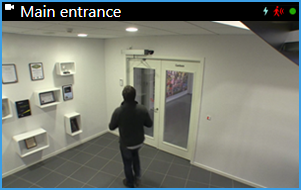
Check that you can see live video and that the round video indicator in the upper right corner of the camera view is either green or red. Green means that the camera sends video to the system, while red means that the system is also currently recording the video.
To read in details about the features in XProtect Smart Client and what you can accomplish with your system, click the Help icon
 in the upper right corner or press F1 for context sensitive help.
XProtect Smart Client interface
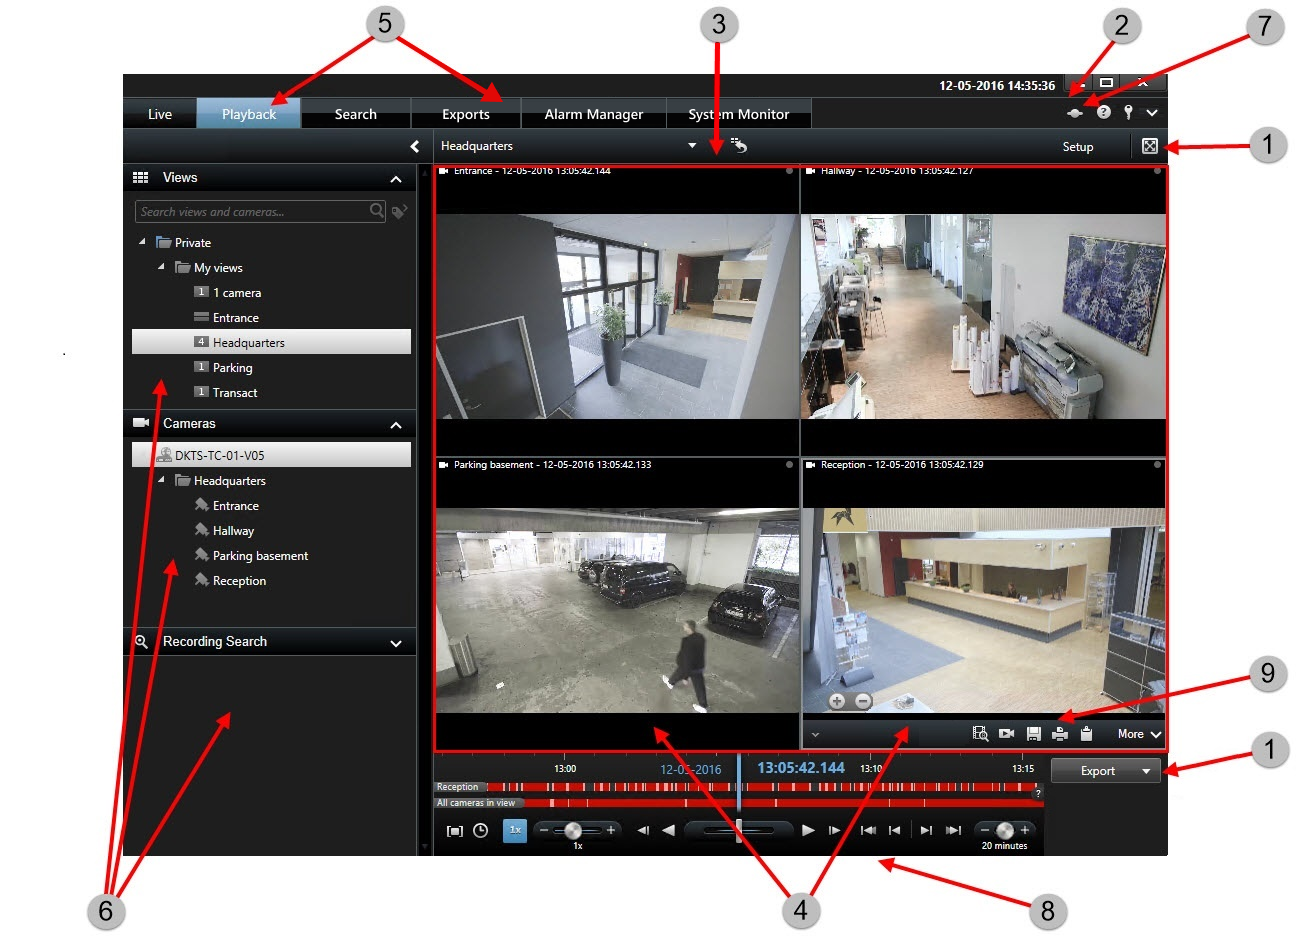
In XProtect Smart Client, you view live video in live mode, and recorded video in playback mode. When in live mode, your XProtect Smart Client connects to the surveillance system server and displays live video from cameras in the selected view.
|
Item |
Function |
|---|---|
|
1 |
Task buttons |
|
2 |
Application toolbar |
|
3 |
View |
|
4 |
View item |
|
5 |
Tabs |
|
6 |
Panes |
|
7 |
Application buttons |
|
8 |
Main timeline |
|
9 |
The camera toolbar |
Install the Management Client
The XProtect VMS has a built-in administrative installation web page. From this web page, administrators can download and install the Management Client or other XProtect system components to any other computer on the network.
- To access the administrative installation web page, enter the following URL in your browser: http://[computer address]/installation/admin/
[computer address] is the IP address or host name of the XProtect VMS computer.
- Click All Languages for the Management Client installer. Run the downloaded file.
- Click Yes to all warnings. Unpacking starts.
- Select the language for the installer. Click Continue.
- Read and accept the license agreement. Click Continue.
- Select file location and product language. Click Install.
- The installation is complete. A list of successfully installed components is displayed. Click Close.
- Click the icon on the desktop to open the Management Client.
- The Management Client login dialog appears.
- Specify the host name or the IP address of your management server in the Computer field.
- Select authentication, enter your user name and password. Click Connect. The Management Client launches.
To read in details about the features in the Management Client and what you can accomplish with your system, click Help in the tools menu.
Management Client interface
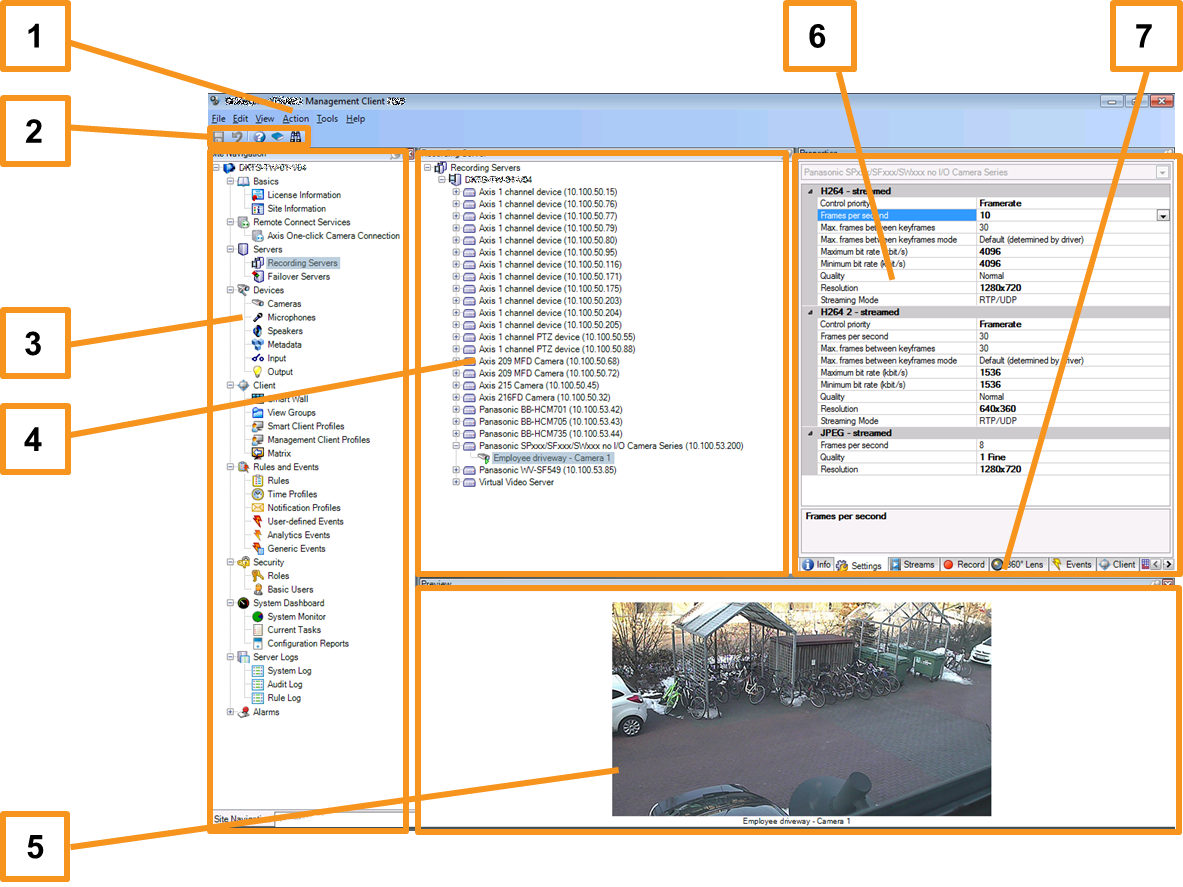
- Tools menu
- Shortcut icons
- Site navigation pane
- Overview pane
- Video preview
- Properties
- Properties tabs