Husky Assistant
Husky Assistant is an application that helps you configure, maintain, and see the status of your Milestone Husky system. Find the Husky Assistant shortcut on the Windows desktop.
Husky Assistant properties
The Husky Assistant has these features available:
| Navigation element | Description |
|---|---|
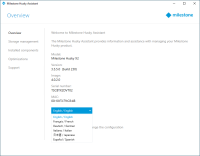
| Overview |
A list of details about the unit:
You can change the language in which Husky Assistant appears. Reconfigure the network and the storage. Additional device drivers will also be installed. |
| Storage management | Information about the available data storage hard drives. You can also see the status of the disks. |
| Installed components | A list of installed Milestone software components and versions. |
| Optimizations |
A list of available optimizations you can apply. |
| Support |
Always contact your Milestone reseller that you have bought the unit from before contacting Milestone Support. Run the Milestone Diagnostics Tool to create files that are needed for the Milestone reseller when the reseller helps you troubleshoot. Visit the Milestone Husky support and information page. Lists the information that you need to contact Milestone Support. |
Choose your language
To select your preferred language:
- Open Husky Assistant.
-
On the Overview tab, select your preferred language from the list of available languages.
Husky Assistant chooses English by default. All language changes require a restart of Husky Assistant.

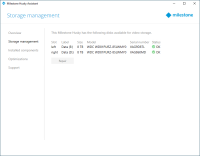
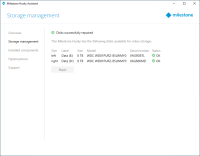
Storage management
On this tab you can see information about and the status of data hard drives.
You can also identify a faulty hard drive and prepare new hard drives for use with Milestone XProtect VMS.
Check data hard drive status
To check the status of the left and right data hard drive:
-
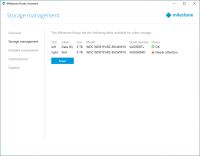
Select the Storage management tab.
-
The status of the data storage hard drives is shown. The different states are:
Status Description OK Normal working state. Needs attention The hard drive is missing a configuration that you can apply.
For more information, see Prepare hard drives.
Failed The hard drive is faulty. You need to replace it.
For more information, see Replace a hard drive.
Not approved The hard drive performance is not approved for use with the Milestone Husky products.
For more information on the approved hard drives, see the Milestone Husky support and information page (https://www.milestonesys.com/HuskyX2-support/).
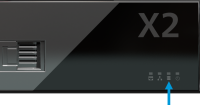
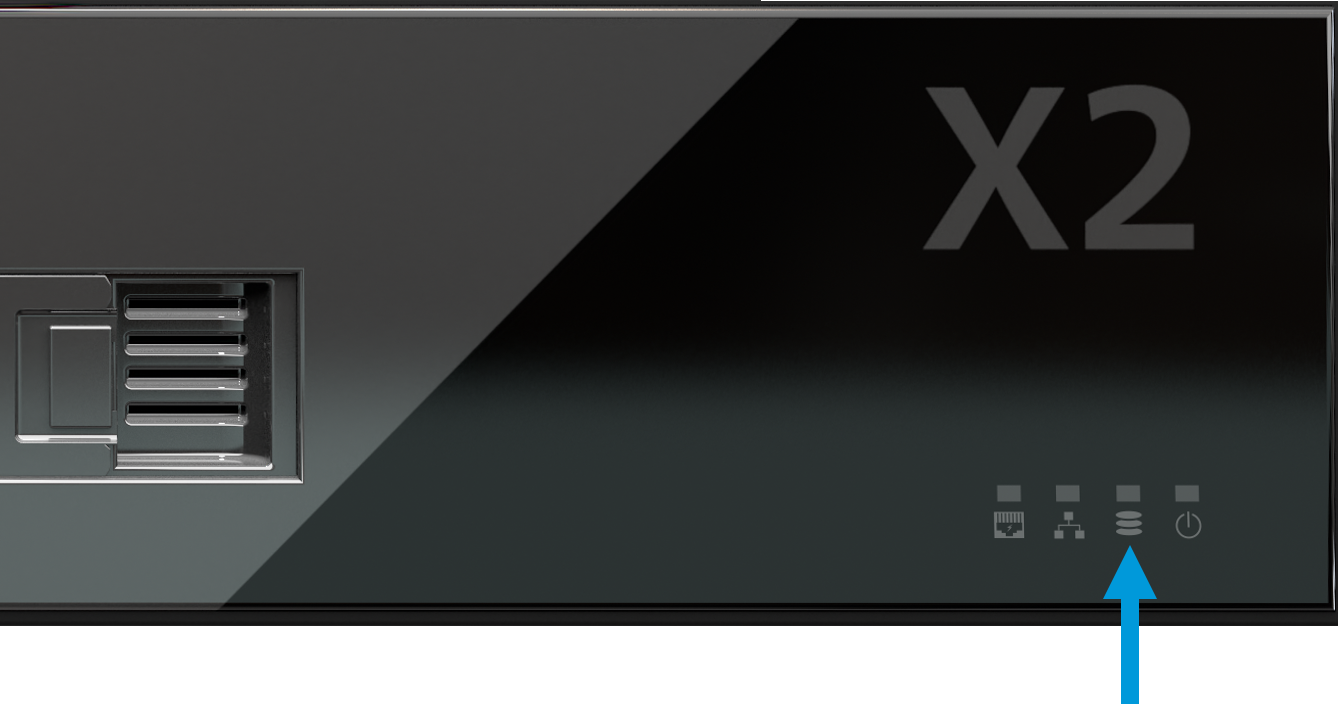
If the disk status is Failed or Needs attention, the data hard drive LED status indicator on the front of your unit, is red.

Replace a hard drive
If the data hard drive status is Failed or you want a higher storage capacity, this section will help you replace the hard drive.
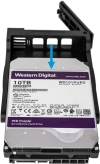
- Locate the correct data hard drive tray (left or right).
- Press the spring-loaded front of the tray to remove the faulty hard drive from the bay.
-
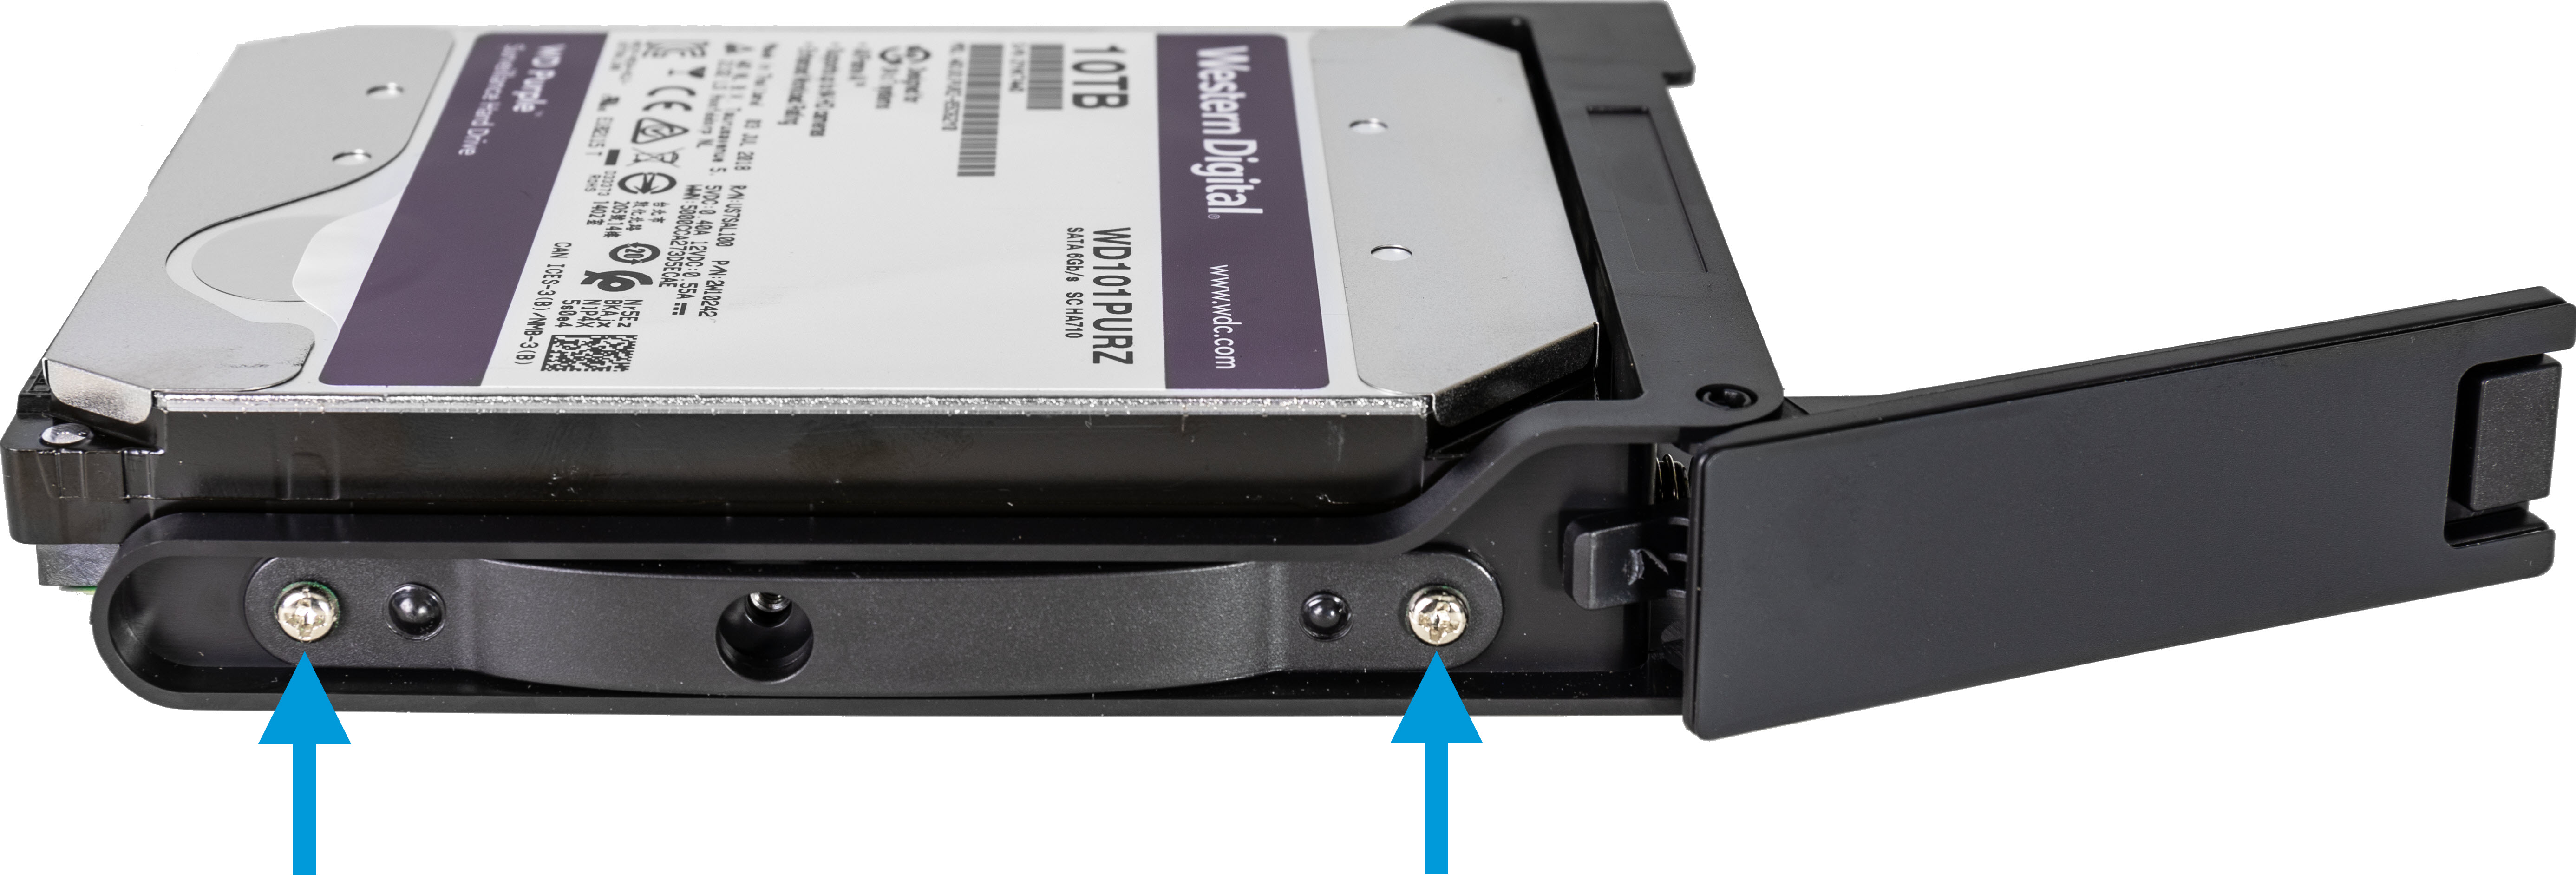
Remove the two screws on each side and pull the hard drive out of the tray.


-
Locate the replacement hard drive and slide the hard drive into the tray. Use the four screws to fasten the hard drive to the tray.


Make sure that your hard drives performance is approved for use with the Milestone Husky products. For information on performance approved hard drives, go to the Milestone Husky support and information page (https://www.milestonesys.com/HuskyX2-support/).
-
Slide the tray as far as you can into the empty hard drive bay located on the front of your unit.
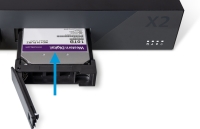
- Press the spring-loaded front of the tray to close it.
- To prepare the disk for use in Milestone XProtect, complete the steps in the Prepare hard drives section.


Prepare hard drives
If the disk status is Not approved you cannot use Husky Assistant to prepare the hard drives.
How to prepare a disk for use in Milestone XProtect VMS:
-
If there are one or more hard drives in the list with a status Needs attention, click Repair.
-
Accept any user account control warning and wait for the repair to be completed.
-
A summary screen appears. Check that the hard drive status is OK.

Apply optimizations
If you have installed Milestone XProtect VMS without using Husky Assistant, you need to apply the available optimizations. To check if any optimizations are available:
- Select the Optimizations tab.
-
A list of the available optimizations appears.
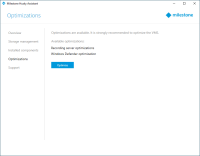
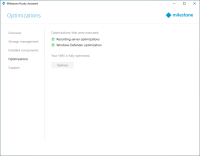
- If an optimization is available, click Optimize.
- Accept any user account control warning and wait for the optimization to be applied.
-
Check that the optimization is applied.


Support
If you have a problem and need support, contact your Milestone reseller that you bought the unit from.
This appliance does not contain any user-serviceable parts. Do not remove any covers or attempt to gain access to the inside of the product.
Create a diagnostics file
To help your Milestone reseller get logs and details about your system, create a Milestone diagnostics .zip file that lists the system information:
-
Select the Support tab.

- Click Milestone Diagnostics Tool.
- Accept any user account control warning. The Main Page appears.
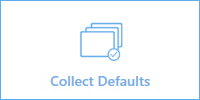
-
Click the Collect Defaults icon to start creating a diagnostics .zip file.
-
When finished, the diagnostics .zip file is saved on the Windows desktop. You can now move or transfer the file to any preferred location.
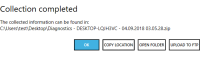
- Close Milestone Diagnostics Tool.
- Provide your Milestone reseller with the diagnostics .zip file, when they assist you in troubleshooting a problem.


Reconfigure
You can use Husky Assistant to add or reconfigure:
- Computer name and domain
- Data drives
- Network switch DHCP IP range
- I/O Driver
- Generic events
- Install Milestone XProtect VMS (if not installed)
The reconfiguration may result in data loss and a temporary period with no recording or viewing of video.
Reconfigure your unit
For more information about the reconfiguration process when Milestone XProtect VMS is not installed, see the getting started guide for Milestone Husky X2.
To start reconfiguring your unit with Milestone XProtect VMS installed:
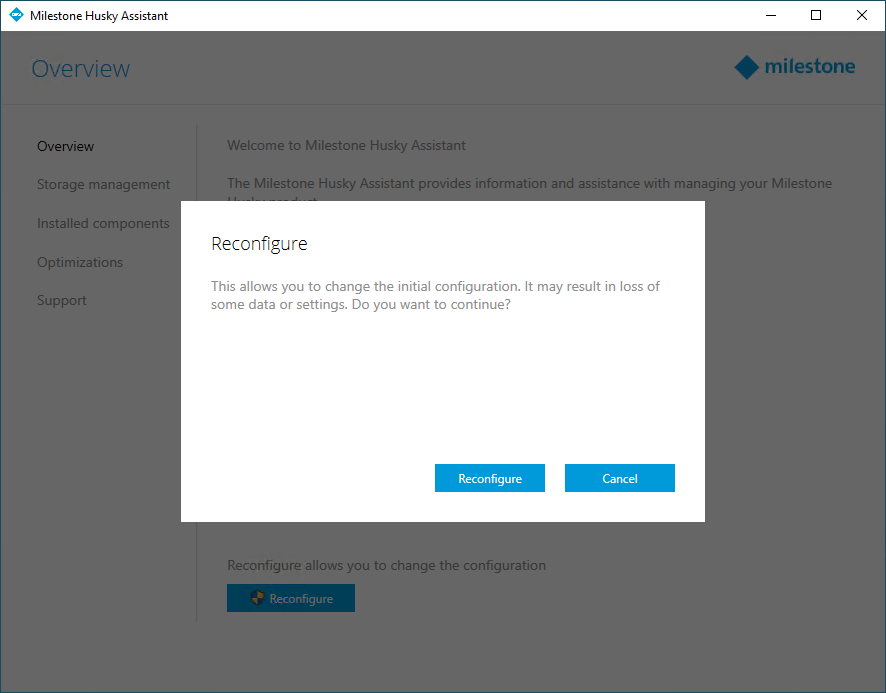
- On the Overview tab, click Reconfigure.
-
Read the warning and click Reconfigure.

-
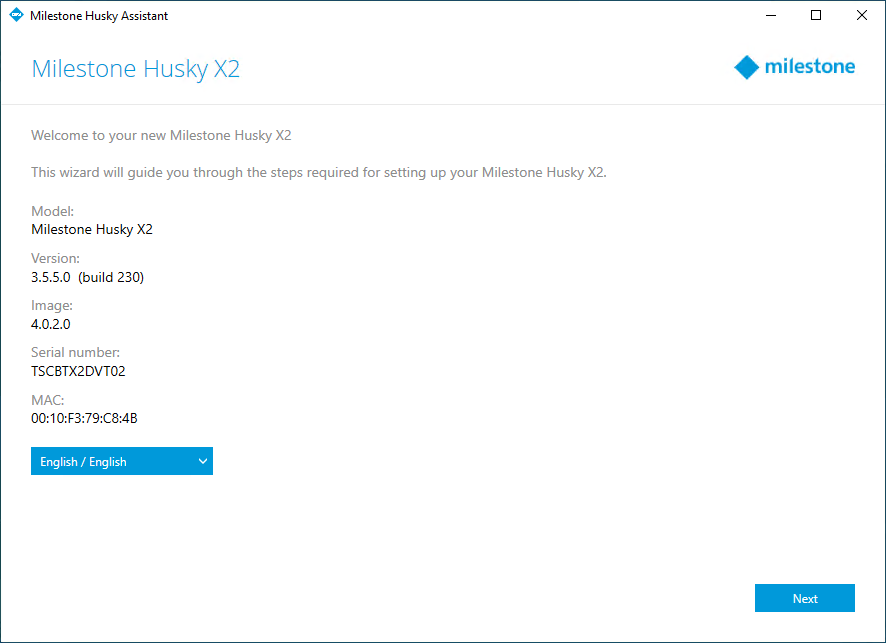
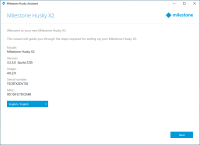
Accept any user account control warning and select your preferred language. Click Next.
-
Click Next to skip the name and the domain settings or:
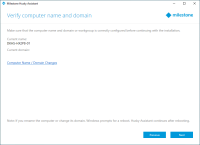
- Click Computer name / Domain changes to configure the computer name and domain, or the workgroup settings. When completed, Windows requires a restart to apply the changes.
-
Restart Windows and wait for Windows to boot.
Husky Assistant restarts. Select your preferred language and click Next.
- Because you have already configured the name and domain setting, click Next.
-
The storage detection completes. Click Next.
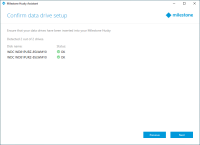
-
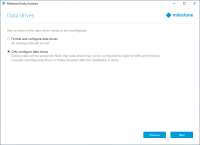
Select whether you want to format and to configure, or only configure the data drives, and click Next.
-
Define the PoE+ network switch IP address range for the devices connected to the switch (HX2P16 only). Every device configured for DHCP that you connect to the switch gets an IP address in the defined range.
There are two predefined ranges:
- 192.168.0.1 - 192.168.0.254
- 10.0.0.1 - 10.0.0.254
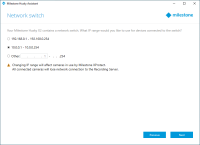
You can also define your own range. Select Other: and specify the starting point of a range. Husky Assistant automatically defines the end point of the range.
Select an IP range that matches all the manually assigned static IP addresses of your connected cameras and devices.
If your system uses a network switch with 16 PoE ports, the IP address range splits into two subnets, one for each 8-port module. Make sure to assign the camera or the device to the correct subnet.
Changing the IP range of the network switch will restart the connected devices that are powered by PoE. No recordings will be made until you change the IP address of the devices in the XProtect Management Client.
- After you have selected an IP range, click Next.
-
A summary appears. Click Apply to start your reconfiguration. Accept any user account control warning.
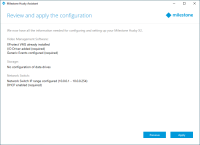
If the Husky IO Module or the generic events have been deleted, the Husky Assistant will add them again.
-
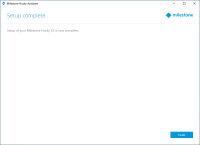
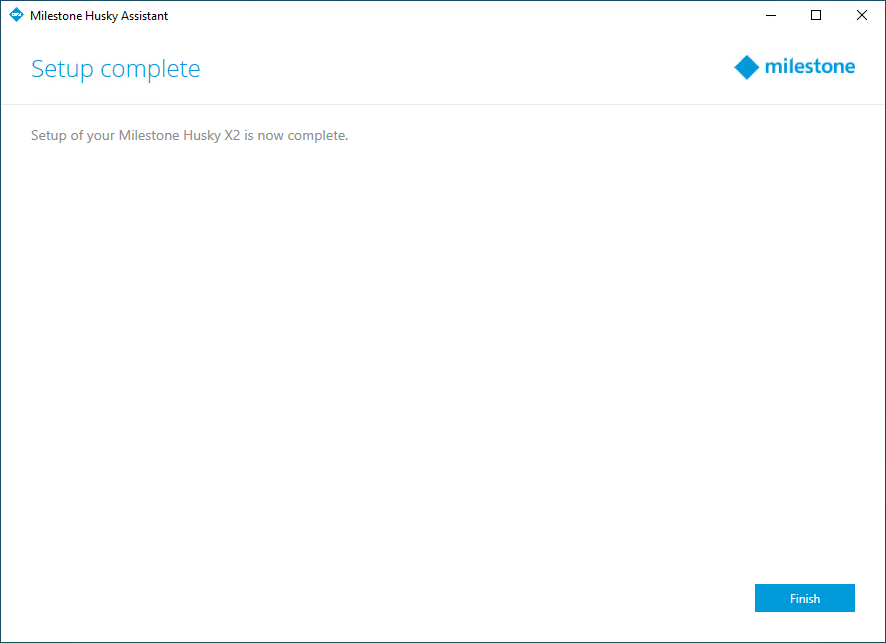
The reconfiguration is completed. Click Finish to close Husky Assistant.