Software library
Normally, the first area you work with is the Software Library area.
This is the location to which you import the Milestone installer files. Before accessing the installer files, you must create a destination folder for them—the name and location of the folder is your choice—and copy the installer files to this folder.
In older versions of Milestone Software Manager, the software library contained a number of .exe files known as software packages. These files are still supported for legacy systems, but installation files should be used.
To work with software packages, double-click each one to unpack them to your destination folder. In Milestone Software Manager, point your software library path to the folder.
Point software library to correct path
-
In the navigation pane in the left side of Milestone Software Manager, expand Software Manager and select Software Library.
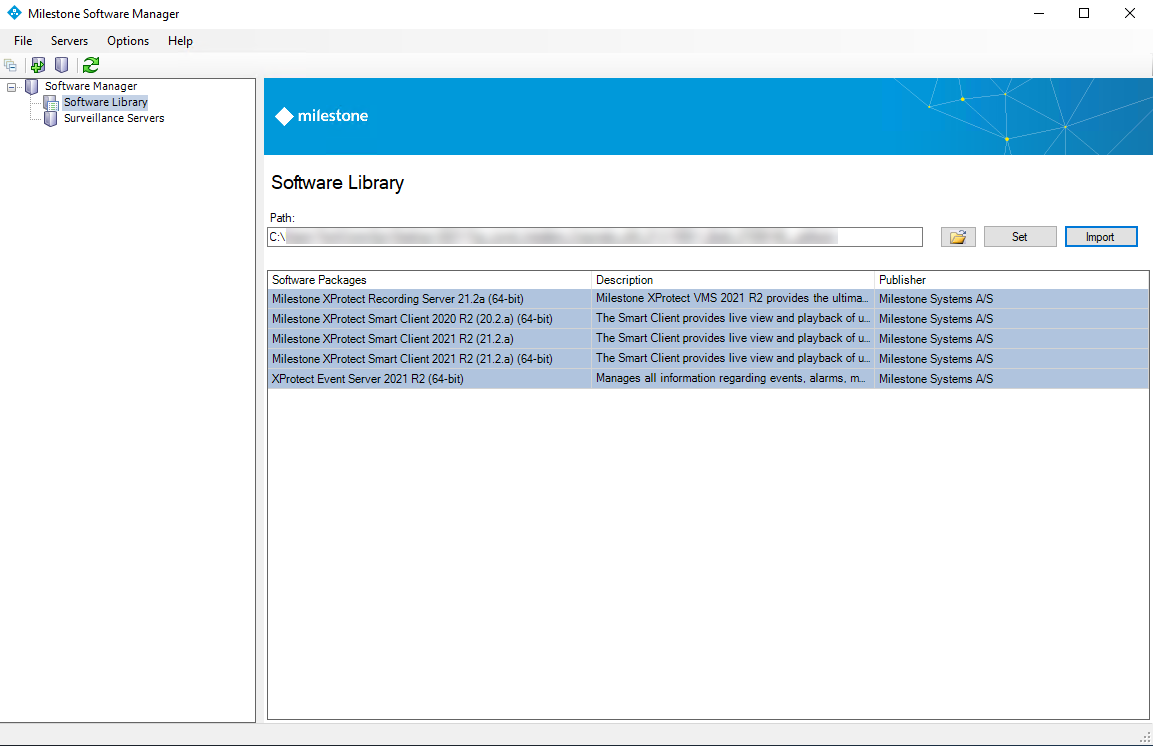
This opens the Software Library window. The first time you use this application, the software library list will be empty.

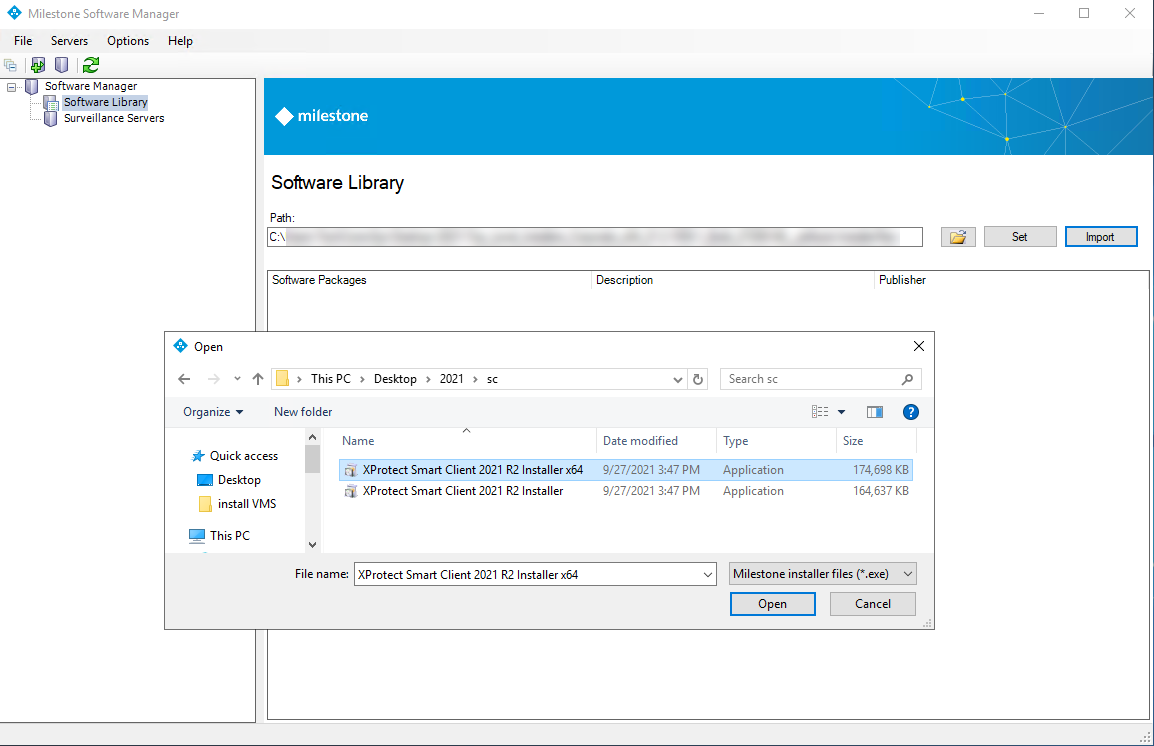
- In the Software Library, browse to the destination folder and click Set. This enables the Import button.
-
Click the Import button and select the installer file to import it to the library.

The import process results in a new folder containing an installer file and a package.xml file.
Only valid Milestone installer files with a valid Milestone digital signature can be imported.


