Custom ClassifID
Note
The Custom ClassifID section is enabled for users that were given the required permissions by the administrator and is available with the Next-Gen only.
You can create your own classes, such as uniformed employees, taxis, or ambulances, and train the classes using your own video streams, with a small number of training examples (data set).
Training a New Class
Important Notes
When training, it’s important to keep in mind the following:
It is recommended that the training videos/cameras should be similar to the videos/cameras where you will be using the new class (both indoor or both outdoor, same lighting conditions, same resolution). If you move a camera or add a camera, the classes might not work as well with these cameras.
Therefore, if you want to train on cameras that are not similar it is recommended to train two separate classes. For example, do not train outdoor cameras and indoor cameras together. If you have both types of cameras, train them as separate classes.
Training a class for a feature that is not distinct will not work well. For example, training a class for police officers might not work well, since police uniforms are often blue, which is a color often seen on civilian clothing as well.
Training should be as specific as possible. For example, training a general military uniform will not work well if each military unit has a uniform with different colors. In this case, you need to train one class for each color of uniform.
The training will not work well if the distinguishing features are too small, such as a company badge/tag on regular clothes, a company logo on a vehicle, or different types of shoes. A bright distinctive color is a better distinguishing feature than text.
The following are additional examples of items that cannot currently be trained well using the Custom ClassifID innovation:
Animals
Fire and smoke
You can train people that are next to, riding or pushing an item, such as wheelchairs, scooters, shopping carts, and strollers. However, you cannot classify these items when they are not adjacent to a person. Therefore, in these cases, define a class based on the Person class, and only select these objects if they appear together with a person (when you look at the person’s closeup clip). However, since the detection was not of the object itself, the accuracy of the class might be somewhat lower than a class trained on a distinctive feature of a person, such as shirt color.
The type of GPU does not affect the end accuracy of the resulting network.
Required Number of Examples
One of the advantages of BriefCam’s unique Custom ClassifID capability is that a relatively small number of examples are needed in order to train the deep neural network responsible for the classification.
The appropriate (or required) number of examples (positive and negative) depends highly on the scene and challenge faced by the classifier.
For example, if the negative examples are of people wearing a white shirt and the positive example are of people wearing a red shirt – and that is the population of the scene, then few examples are need for the network to discern between the two appearances.
If the classification is based on more intricate analysis of the features of the appearance of the person – then more examples are needed for correct classification.
Generally, a dataset size of about 100 positive and at least 100 negative examples (objects) is acceptable – with 1,000 objects considered to be a large dataset. Note that you must have at least 32 positive and 32 negative examples.
A very important factor is not the quantity of the examples, but also the quality. You should use examples that represent the objects in the scene well and capture the differences between the custom class and the rest of the parent class. For example, if there is a distinctive hat, it should be visible with a high resolution in the examples and the input video.
Steps for Creating a Class
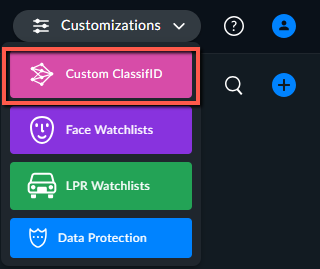
From the Customizations menu, select the Custom ClassifID option.
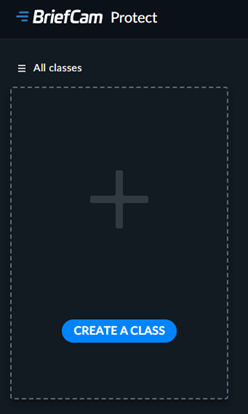
Click the CREATE A CLASS button.
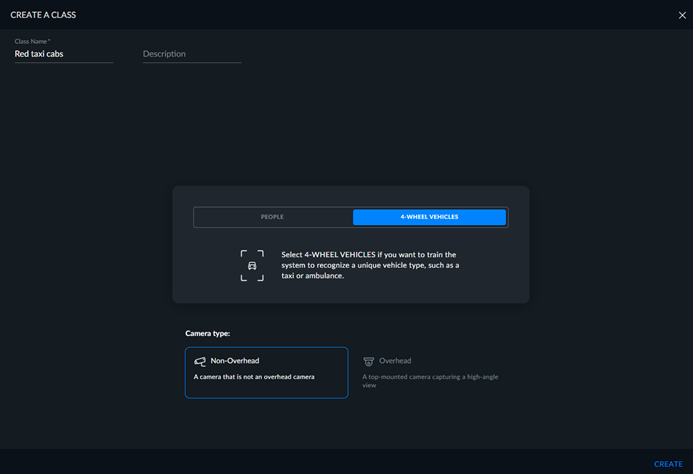
Give the class a name. The name must be unique and should not be the same as any of the built-in classes (such as “woman” or “truck”) including translated names of built-in classes (such as “man” in German).
Select whether you will be training a type of person or vehicle.
Select whether the camera is a non-overhead camera or an overhead camera.
Click the CREATE button.
Note
It is recommended to limit the number of custom classes to 15.
Steps for Adding Items
Open the REVIEW module.
On the top right of the screen, turn on the Training mode toggle.

Select the objects that are good representations of the class you want to train. Keep in mind the following:
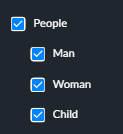
When training a People-based class, it is highly recommended to filter by People and all its subclasses.
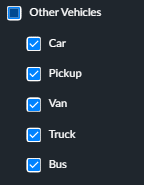
When training a Vehicle-based class, it is highly recommended to select the following subclasses in Other Vehicles: Car, Pickup, Van, Truck, and Bus. Do not select the other subfilters.
Go through all the objects displayed on the current page and select the objects that you want to add to the specific custom class that you are training, making sure to review your selections carefully.
Make sure that you review all the objects on the page, because all objects that are not selected will be added to a negative class. For example, if you have a Yellow Cab class, all items that you select will be added to this class and all items that you do not select will be added to a No Yellow Cab class. As stated above in the Required Number of Examples section, it is recommended to select at least 100 positive (matching) objects for optimal results. It is also important that you also have negative examples, which are needed to properly train the class.
Note
Make sure to select and apply the selections before moving to another page.
Tip
To make sure you have a sufficient number of positive and negative examples, especially when you are creating a very specific class, try the following:
Filter the detected objects to help find positive examples. For example, if you are looking for a bus from a specific tour company, filter by Bus only.
Find an object that you want to add to the class, add it to the Appearance Similarity filter, and click APPLY.
Tag at least 100 positive examples making sure to click Apply for each page.
Add all the Four Wheels vehicles to the filter, such as Car, Pickup, Van, Truck, and Bus.
Find instances of positive examples on at least three more pages and click APPLY on each page. This will ensure that you are getting a variety of negative examples, which is needed by BriefCam to properly train the classes.
If you are not sure how to categorize an object (part of the class or not part of the class), play the object clip to get a better look at the object and then decide whether to add it to the class. If you determine that it’s probably part of the class, then add it to the class.
Click the Class training option.
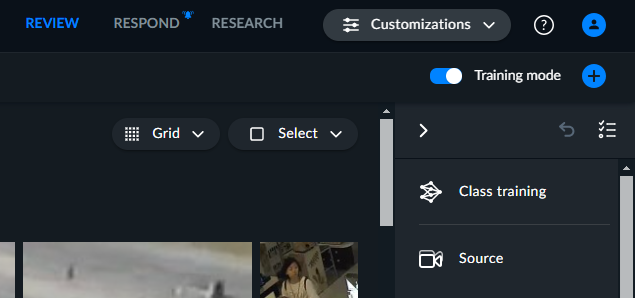
Select the class that you want to train and click APPLY.
If there are additional pages, you can continue to the next page or pages if you want to add additional objects to the class. For each page, when you’re finished, click APPLY.

Training the New Class
Note
Check with the administrator that the system is set up for training custom classes.
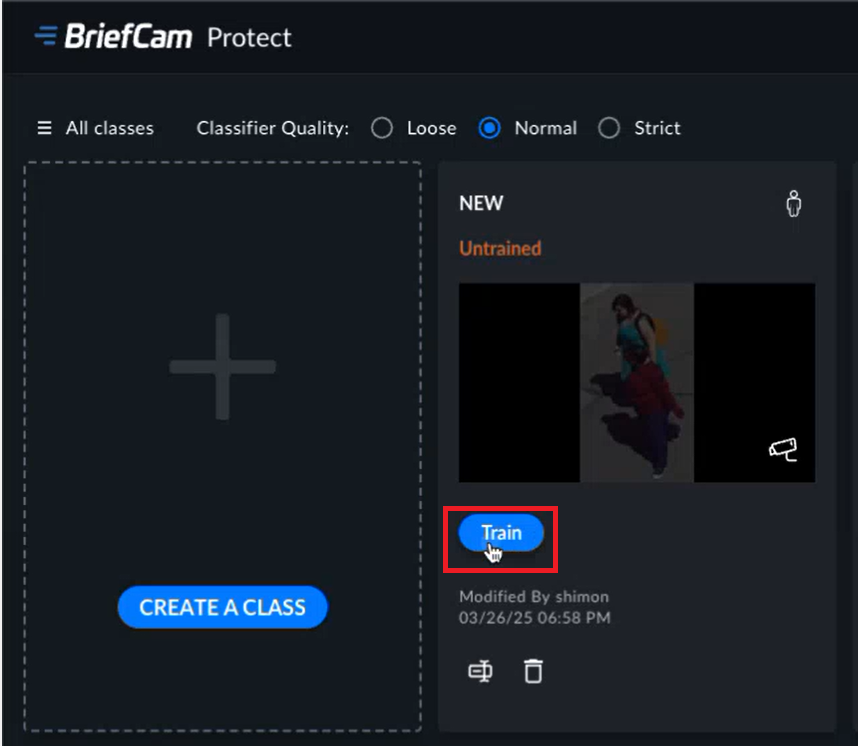
From the main screen, click the Train button for the class you want to train.
Define the number of hours to set up the system.
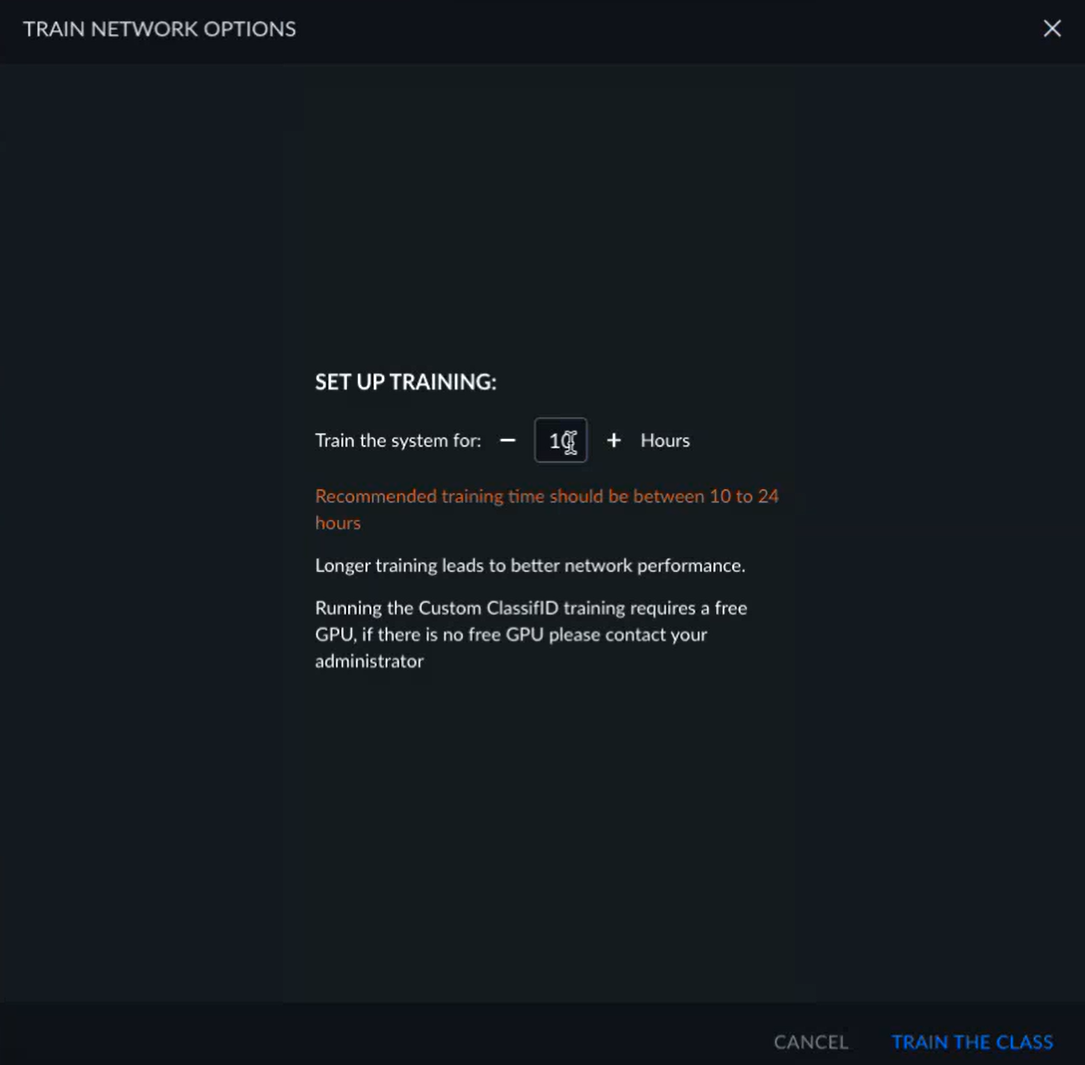
Click the TRAIN THE CLASS button.
After training the class, you can:
Add additional positive and negative examples to the class to improve the quality.
Reset all the tagged data of a class by clicking the RESET button.
Rename or delete the class.