BriefCam Web Services Installation
Prerequisites
If you installed the RESEARCH component on a separate machine, copy the certificates folder from the RESEARCH machine's c:briefcam folder to the Web Services machine's c:briefcam folder.
The following port is required during the BriefCam Server installation. Make sure that it is available before starting the installation.
Component | Port # |
Web Services | TCP 80 |
Installation Steps
To run the BriefCam Web Services Installation wizard, right-click on the
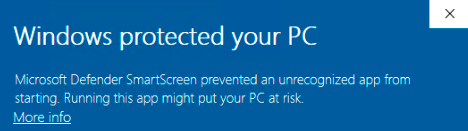
BriefCamWebServices_<Version number>.exefile and select Run as administrator.If you are using the latest Windows Update and a Windows Defender alert appears, click the More info link and click Run anyway.
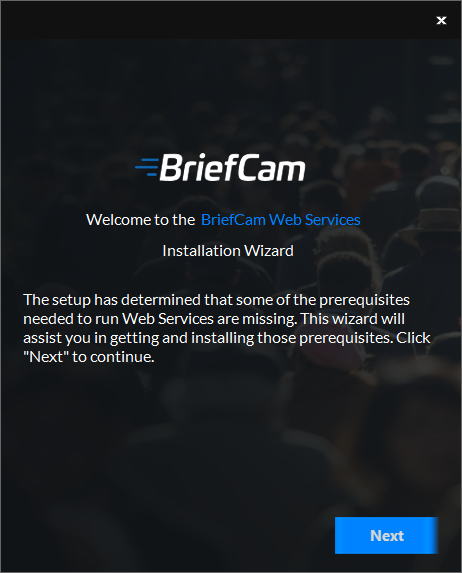
The installation checks for prerequisites. If anything is missing, the following screen will appear. Click Next.
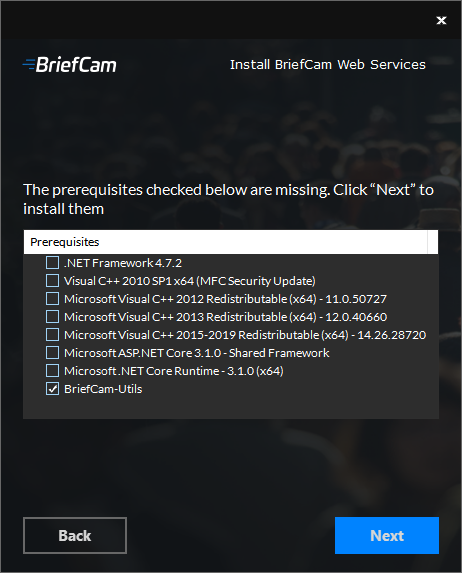
In this screen, the prerequisites checked are the missing prerequisites. Click Next to install them.
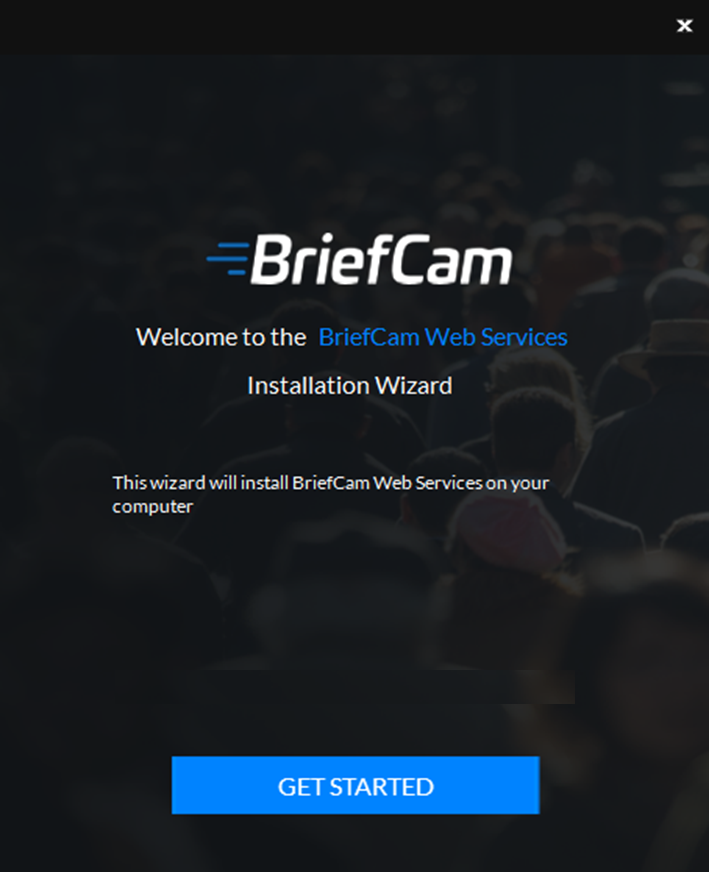
Click Get Started.
To proceed with the installation, read and accept the License Agreement terms.
Click to continue.
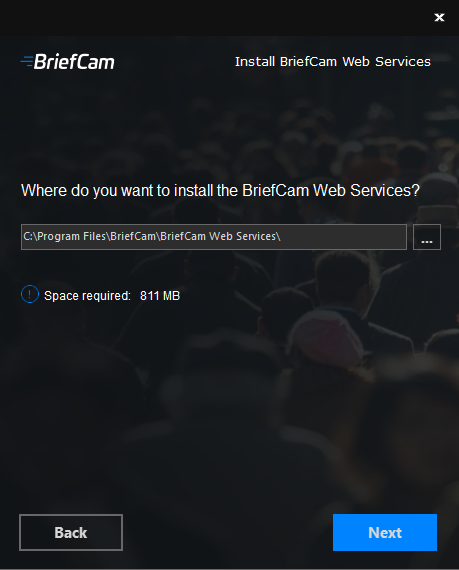
Select the location where you want to install the BriefCam Web Services and click Next.
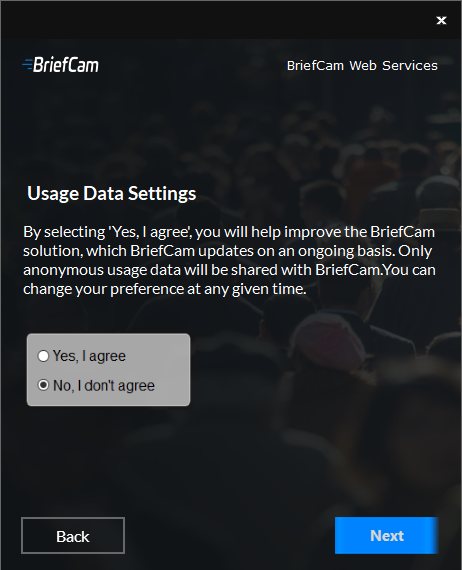
Select whether you agree to share anonymous usage data with BriefCam and click Next. (The anonymous data will be used for measuring the adoption of different product features. The data is monitored by BriefCam's product team, and helps focus on what matters most to BriefCam customers and to improve the product experience.)
The following screen will appear.
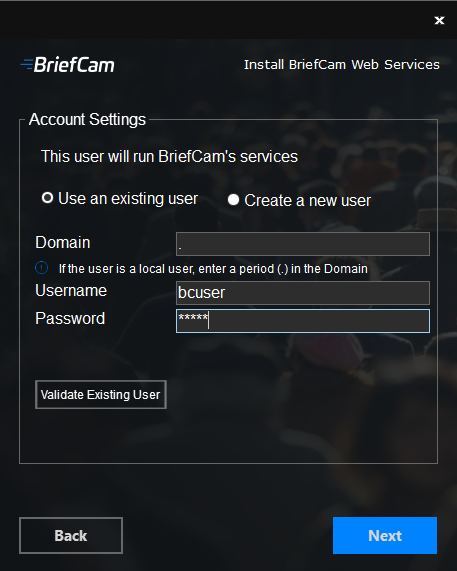
Select whether to use an existing account or create a new account.
In the Endpoint field, enter the name. Note that the Web Services installer does not work with hostnames that are longer than 15 characters.
Enter the password. Note that special characters are not supported in the Password field.
If the user is a domain user, enter the domain name. If the user is a local user, enter a period (.).
Note
The domain and user names are case sensitive.
If you selected to use an existing user, you can click Validate Existing User to check that the user credentials are valid.
Click Next and the following screen will appear.
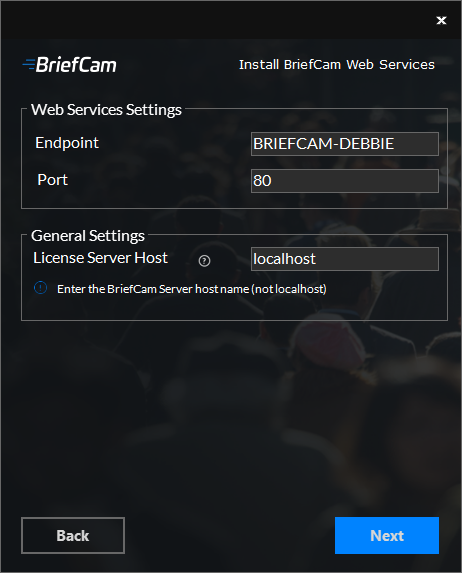
Set the Web Services’ Web endpoint and port. It is recommended to keep the default port that was populated automatically.
In the License Server Host field, enter the Licensing server host name (BriefCam Server host name) not fully qualified (without the domain name).
Caution
In the License Server Host field, it is recommended not to use localhost. If localhost is used in the field, the installation rewrites it with the host name of the current machine (this is to enable remote access for the license manager in a distributed deployment). If this occurs, the licensing server host name can be changed back to localhost in the BriefCam Administrator Console’s License.LicenseManager environment setting.
Click Next and the following screen will appear.
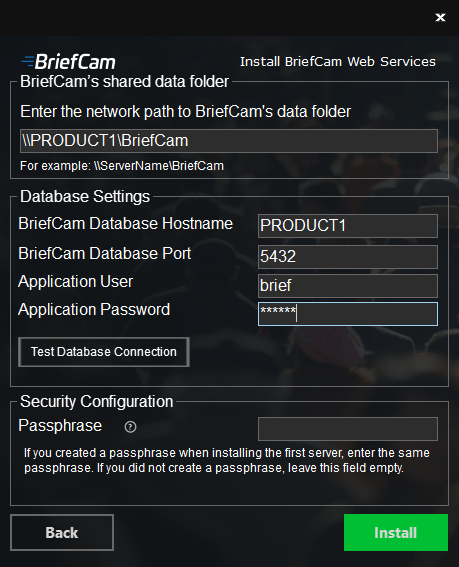
In the BriefCam's shared data folder field, enter the BriefCam file share (the BriefCam data shared folder created during the Postgres installation).
In the BriefCam Database Hostname field, enter the name of the machine where you installed PostgreSQL.
The BriefCam Database Port field will be automatically populated with
5432. This needs to be the same port that was used when installing PostgreSQL.In the Application User and Application Password fields, make sure to use the same application user and password that you defined in the PostgreSQL installer. Note that special characters are not supported for passwords.
Click the Test Database Connection button.
In the Passphrase field, if you created a passphrase when installing the first server, enter the same passphrase here. If you did not define a passphrase, leave the field empty.
Click Install.
Note
In certain scenarios, when installing the Web Services offline, a “SmartScreen can't be reached right now” message appears. If this message appears, click the Run button.