PostgreSQL Installation
Prerequisites
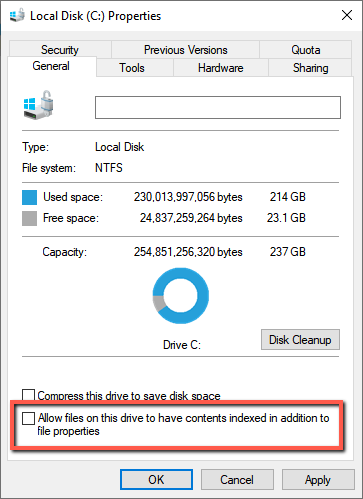
When running the PostgreSQL installer, you are asked to select a data drive. For this drive, in the properties, uncheck the Allow files on this drive to have contents indexed in addition to file properties checkbox.
The following ports are required during the BriefCam installation for PostgreSQL. Make sure that it is available before starting the installation:
Component
Port #
DB
TCP 5432 (or as provided)
Redis
TCP 6379
Note
BriefCam cannot interface with a customer-managed PostgreSQL instance even if such an instance exists.
Installation Steps
To run the PostgreSQL Installation wizard, right-click on the
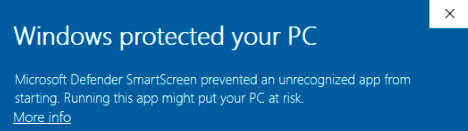
BriefCamPostgreSQL_<Version number>.exefile and select Run as administrator.If you are using the latest Windows Update and a Windows Defender alert appears, click the More info link and click Run anyway.
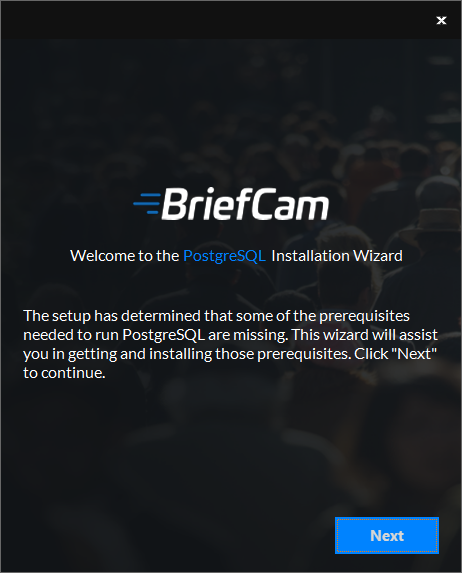
The installation checks for prerequisites. If anything is missing, the following screen will appear. Click Next.
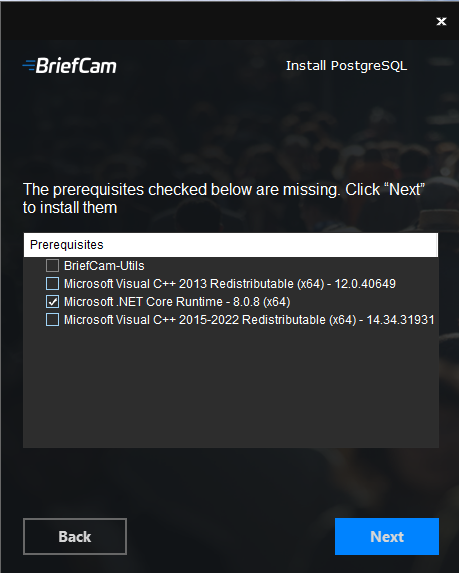
In this screen, the prerequisites checked are the missing prerequisites. Click Next to install them.
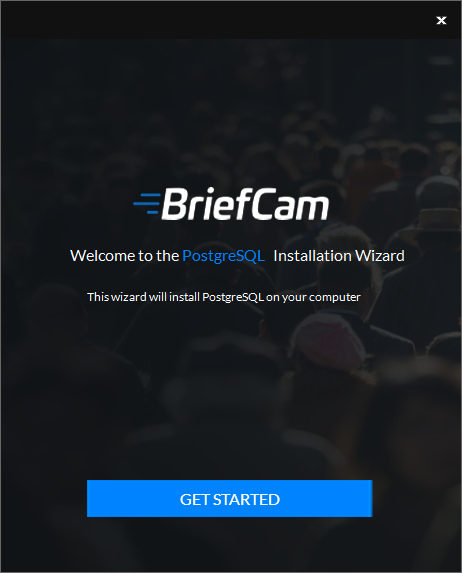
In the Welcome screen, click Get Started.
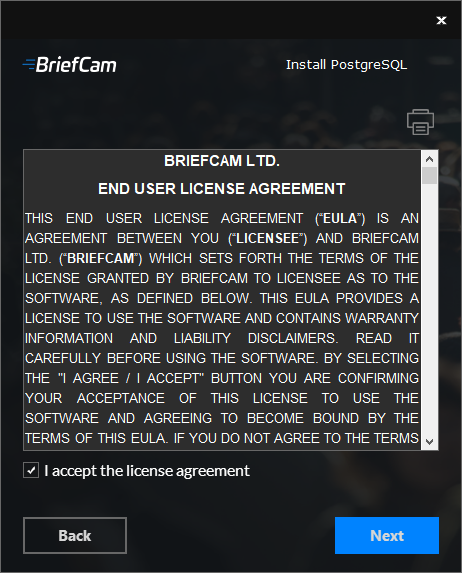
Accept the terms of the license agreement and click Next.
The following screen will appear.
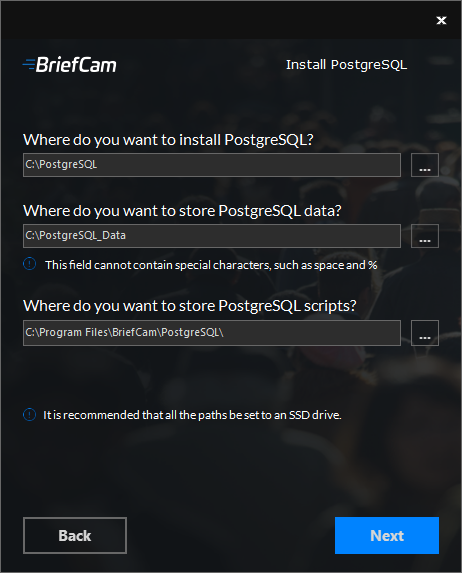
Select the drive where you want to install PostgreSQL.
Select the drive where you want to install the PostgreSQL data. The path to the PostgreSQL data cannot contain special characters, such as space, ~, and &.
Select the drive where you want to install the PostgreSQL scripts. It is recommended that both paths be set to a local SSD drive.
Click Next.
The following screen will appear.
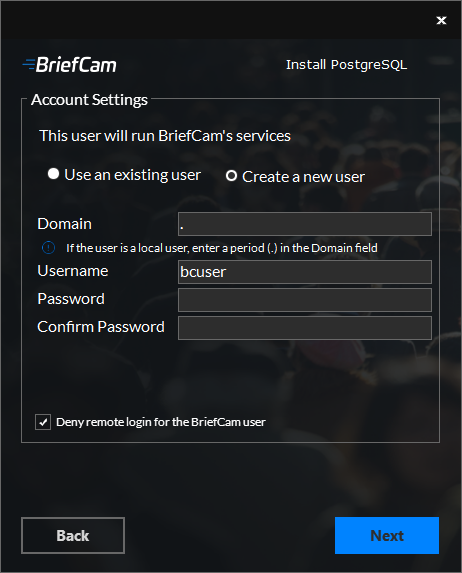
Select whether to use an existing account or create a new account.
By default, BriefCam will populate the Username field with
bcuser. Leave it as is or change it.Enter the password. Note that special characters are not supported in the Password field.
Use a password that is compliant with your password policy.
It is important that you remember the password since you will be prompted to use this password in the following BriefCam component installations.
A password may fail for a variety of reasons:
The password does not meet the password policy of the operating system and/or organization.
Domain accounts cannot be created by this dialog. Contact the relevant IT person if a new domain account is needed.
If the user is disabled, locked, or otherwise limited.
If the user is a domain user, enter the domain name and make sure that the domain user has full admin privileges on the server. If the user is a local user, enter a period (.).
Note
The domain and user names are case sensitive.
If you selected to use an existing user, click Validate Existing User to check that the user credentials are valid.
For new users, you can select the Deny remote login for the BriefCam user checkbox to prevent the BriefCam user from remotely logging into the machine. If the checkbox is not checked, it will be possible to give the BriefCam user access to remote login (depending on your organization’s policies).
Click Next.
The following screen will appear.
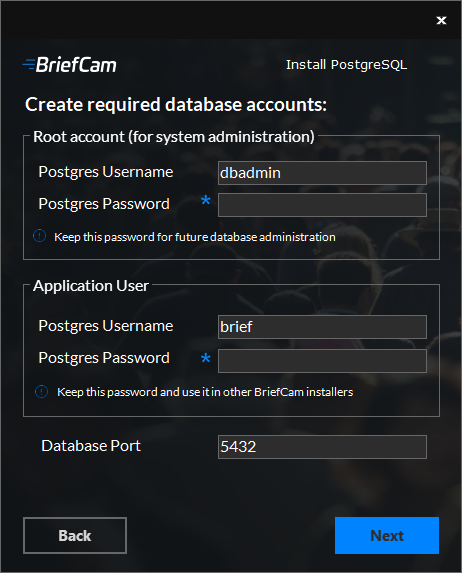
Define a PostgreSQL administrator user and password both for the root account (for system administration) and for the application user.
Only English letters and whole numbers are supported for these fields.
Confirm the database listening port or select a new one if a non-default one is used. If you use a non-default one, you will also have to use the same non-default port in the other installers.
Click Next.
The following screen will appear.
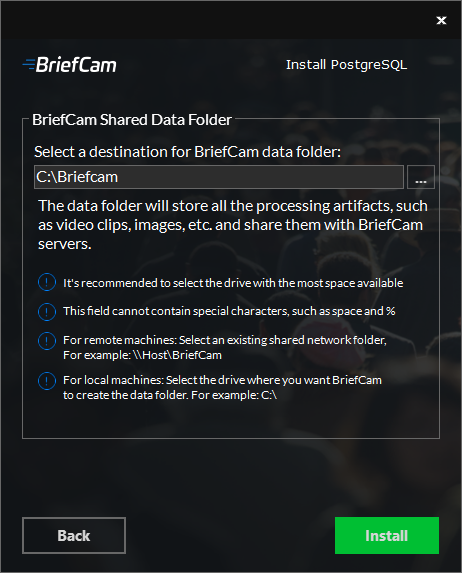
Select the data drive that will hold the BriefCam data, including longer blobs, database backups, rendered synopsis files, and more.
It's recommended to select the drive with sufficient available space based on the specifications provided by BriefCam.
The path to the PostgreSQL data cannot contain special characters, such as space, ~, and &.
If you select an existing shared network folder, make sure that the user has permissions to the shared network folder.
In the properties of the drive you select, make sure you unchecked the Allow files on this drive to have contents indexed in addition to file properties checkbox (as described in the prerequisites above).
The set up will automatically create a shared BriefCam folder on the selected drive.
If you want to select a mapped drive, make sure to first map the drive and then select it from the BriefCam Shared Data folder screen.
Click Install.
Your PostgreSQL installation is now complete. Click Finish.
Note
If you want to move the BriefCam network share to another location, see Moving the BriefCam Network Share.
Uninstalling the PostgreSQL Component
Note
If the PostgreSQL component is uninstalled, the PostgreSQL base directory and data directory, as specified during the installation, must be manually removed.