

Adding your XProtect license
After you deploy, you are ready to add the software license (.lic) file to your deployment and activate your license. Before you continue, make sure to obtain a software license (.lic) file and register your XProtect Software License Code (SLC) as described in the prerequisites.
If you have not yet purchased a license, get a license for your desired XProtect version from a Milestone distributor or reseller using the Milestone partner network.
Add your XProtect license
To add your XProtect license, connect to your deployment and follow the steps below:
- Copy your software license (.lic) file to the Windows desktop of your deployment.
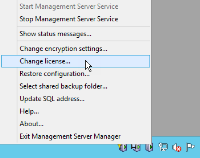
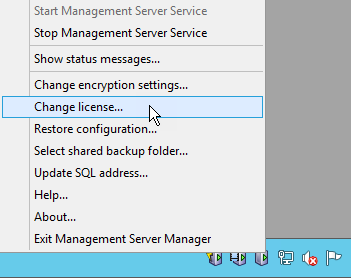
- In the notification area of the Windows task bar (also known as the system tray), right-click on the Management Server tray icon.
-
Select Change license in the pop-up menu.
- In the Milestone XProtect Management Server Change License window, select Import License.
- Locate the license that you copied in step 1 and select Open.
- Select OK.
Your license is now imported into your installation.
You must activate your license to enable the correct XProtect version in your XProtect VMS installation.
Activate your XProtect license
After you add your XProtect license to your installation, you must activate the license using Management Client.
- By default your deployment is connected to the internet. Use online license activation to activate your license
- Alternatively, if you have restricted internet connectivity, use offline license activation to activate your license
For more information about activating your license in Milestone Customer Dashboard, see Activating licenses.