Complete the Husky Assistant Wizard
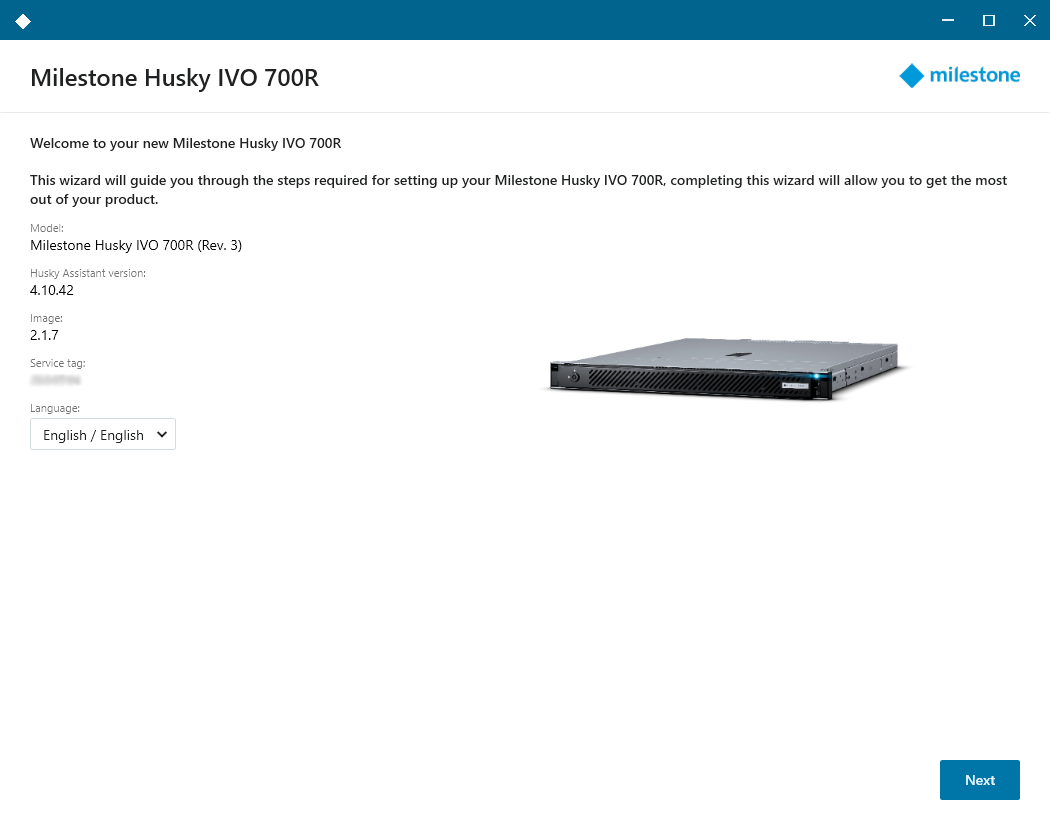
Select your preferred Husky Assistant language and click Next.
Click Computer name / Domain changes to configure computer name and domain or workgroup settings.
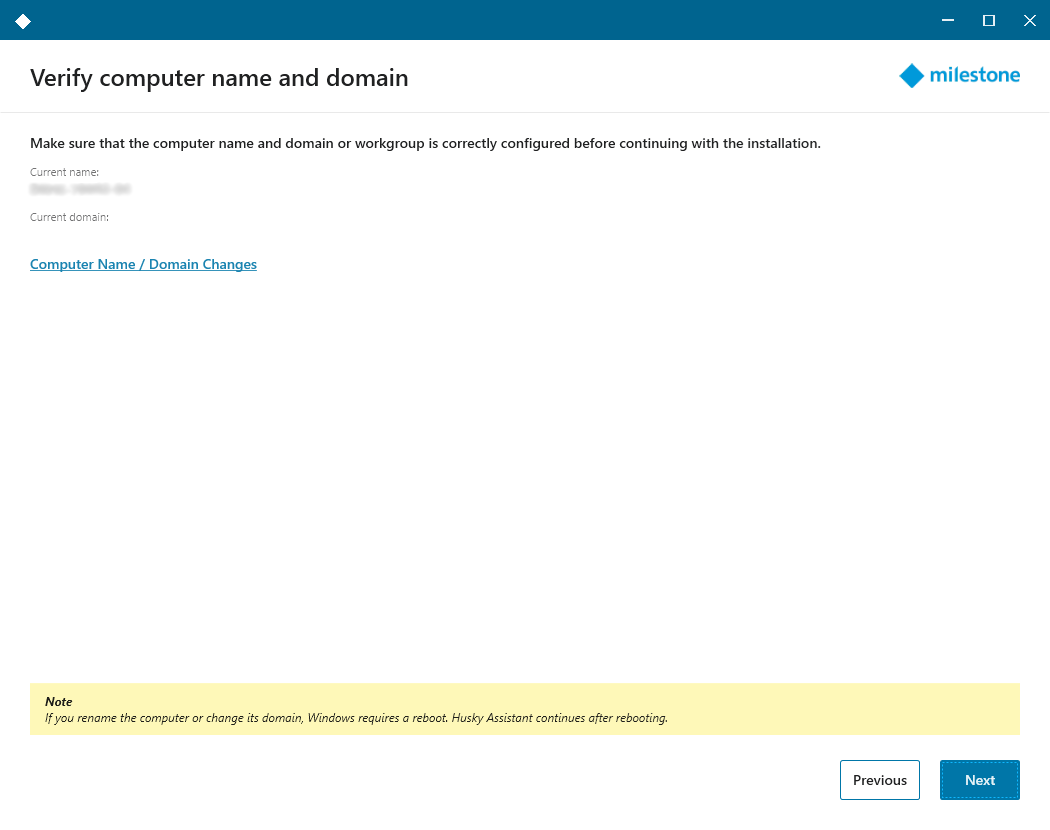
When completed, Windows will require a restart to apply the changes.
Restart Windows and wait for Windows to boot.
Husky Assistant restarts. Click Next.
Because you have already configured the name and domain setting, click Next.
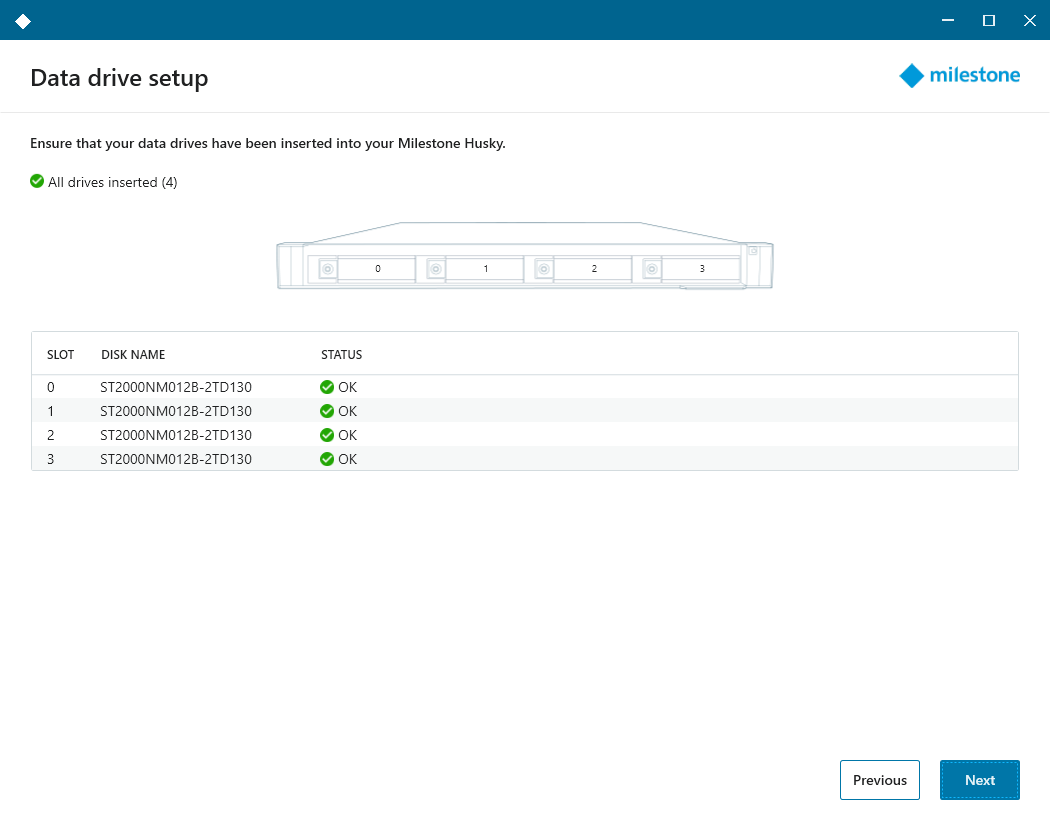
Make sure that all the hard drives are detected and click Next.
Select the preferred RAID configuration to match your storage requirement. Click Next.
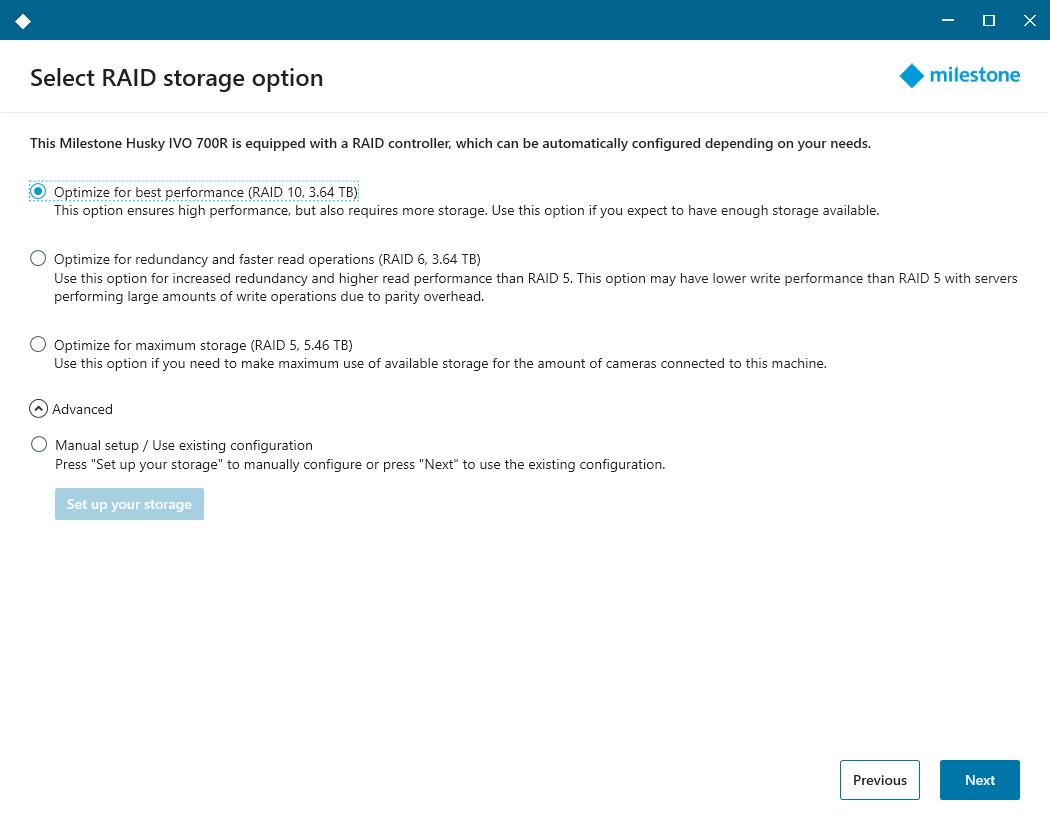
The Advanced option is to manually configure the RAID using the RAID storage manager application.
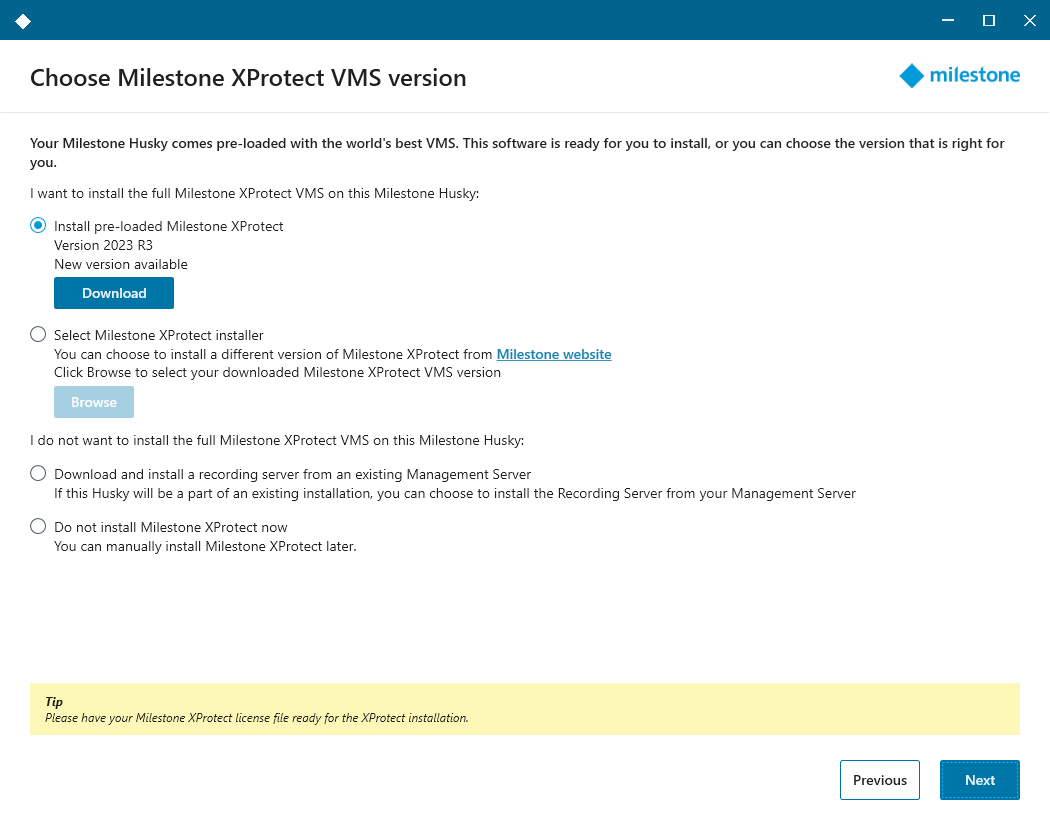
You have different options when selecting the Milestone XProtect version to install. Select one of these options:
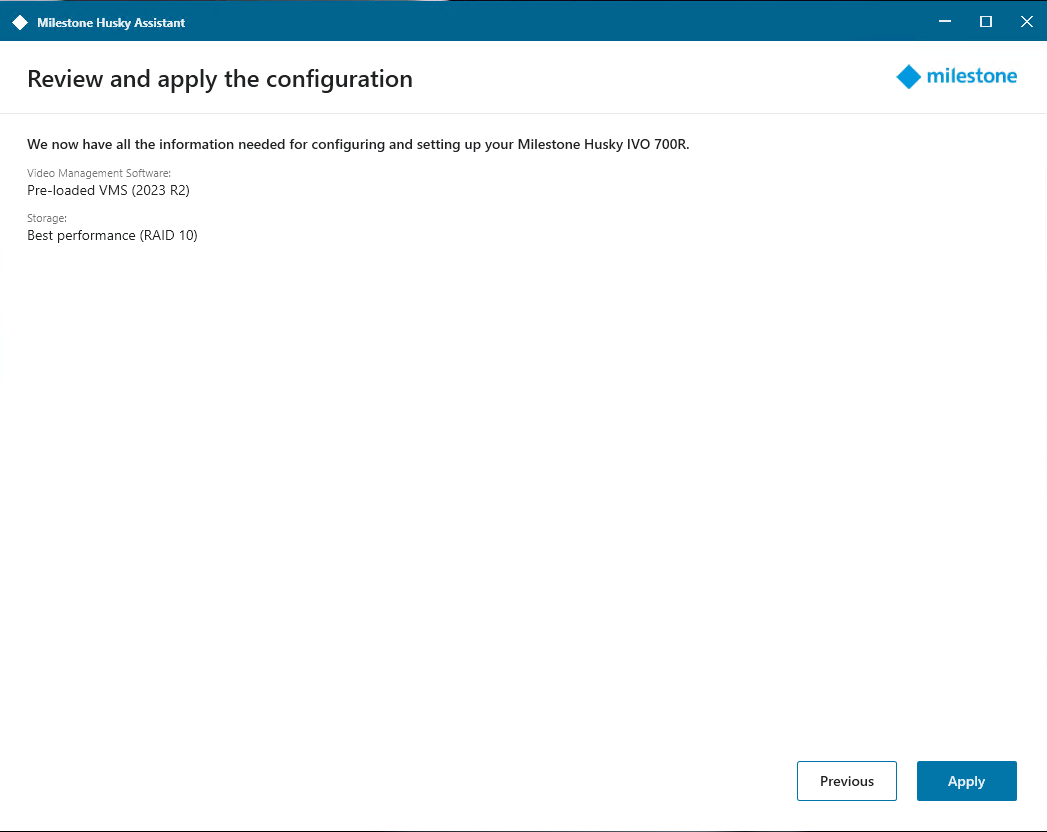
The Review and apply the configuration window appears. Verify your selections and click Apply to start the process.