Upgrading from XProtect Rapid REVIEW to BriefCam Rapid REVIEW
To upgrade from XProtect Rapid REVIEW to the latest version of BriefCam Rapid REVIEW, follow the instructions below:
Note
To upgrade from XProtect Rapid REVIEW v6.4, you first need to upgrade to XProtect Rapid REVIEW v2024 M1.
It’s recommended to back up the existing database, especially if you turned off the automatic daily backup. For additional information, see: Backing Up the Databases.
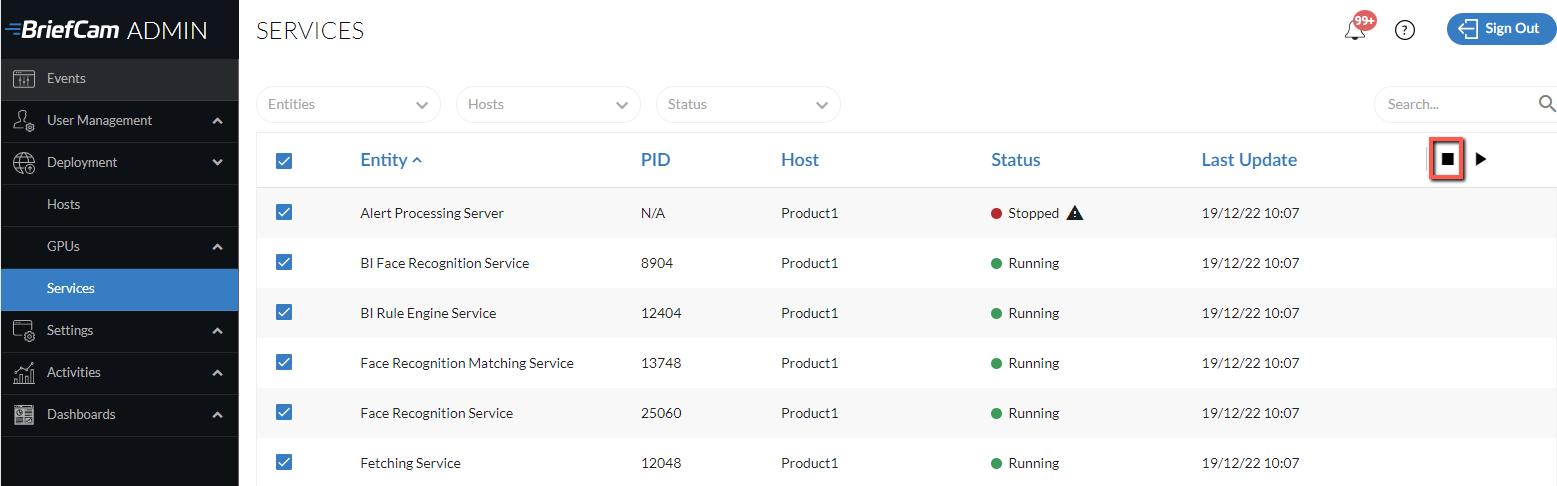
Launch the BriefCam Administrator Console and stop the BriefCam services.
Close all BriefCam applications.
Uninstall the VMS plugin/s (including any embedded client plugins).
From the BriefCam Downloads page, download the latest BriefCam installers and the Milestone plug-in installers that you uninstalled in the step above.
The upgrade process will upgrade PostgreSQL to version 15.5 and will first export the existing data. Make sure there is enough available space for the backup (the database size + 10 GB of free space). Note that if the database is larger than 150 GB, the upgrade will stop. In this case, contact the BriefCam Support team. In addition, if the database was installed in the previous version to a non-default directory, BriefCam will need double the free space for the backup.
Run the latest version of the BriefCam PostgreSQL installer.
Note
When upgrading, make sure to use the same user that was used when the system was previously installed.
When the installer prompts for a location to store the backup, provide a local directory and not a network path (for example:
C:\backupand not\\server\backup). You can provide a network path, but the installer will not be able to validate that there is sufficient space on the network.The PostgreSQL upgrade may take some time, because data is exported from the old to the new database. For example, a 50 GB database takes about 30 minutes to migrate the data.
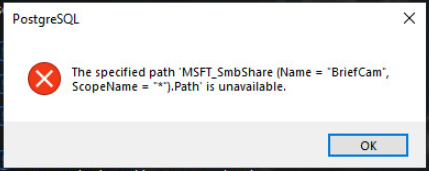
If you see the following message, click OK.
Upgrade the following BriefCam components: BriefCam Server and Web Services. Note that the RabbitMQ component does not need to be upgraded.
If you use NGINX:
If you made changes to the
nginx.conffile (located by default at:C:/nginx/conf), back up the file.Merge the changes from your previous
ngingx.conffile to the new file.Launch the BriefCam Administrator Console and start the BriefCam services needed for each host.
If you selected to use a secure connection (https), open the BriefCam Administrator Console and set the DefaultSiteProtocol environment setting to
https:.Check that the CommonPlatformAPI.ServiceURL environment setting is set to the NGINX IP address or hostname.
Add the upstream and routing directives to the NGINX configuration files.
In the
upstreamsection, after the upstream definition of the outboundAPIGateway ( replace[SERVERNAME] with the server defined in the upstream definition of the Notification server):#BriefCam Common Platform Api
upstream common-platform-api-backend {
server [SERVERNAME]:5014;
}
In the
routingsection (under the Server configuration section, after the routing definition for the Storage Gateway or Notification Service (/signalr)), the following section needs to be added (replace[PROTOCOL] with eitherhttporhttpsbased on whether you are using TLS or not):location /commonplatformapi/ {
proxy_pass [PROTOCOL]://common-platform-api-backend;
proxy_http_version 1.1;
proxy_set_header Upgrade $http_upgrade;
proxy_set_header Connection $connection_upgrade;
proxy_set_header Host $host;
proxy_set_header X-Forwarded-For $proxy_add_x_forwarded_for;
proxy_read_timeout 1440m; }
Reinstall the latest versions of all the VMS plugins you used in the previous installation. Note that the plugin version may have changed from version to version.
Log into the BriefCam Portal at https://www.briefcam.com/support/ and open a ticket to request a new license for the latest BriefCam version.
Activate the new license (see License Activation).
Clear the browser's cache.
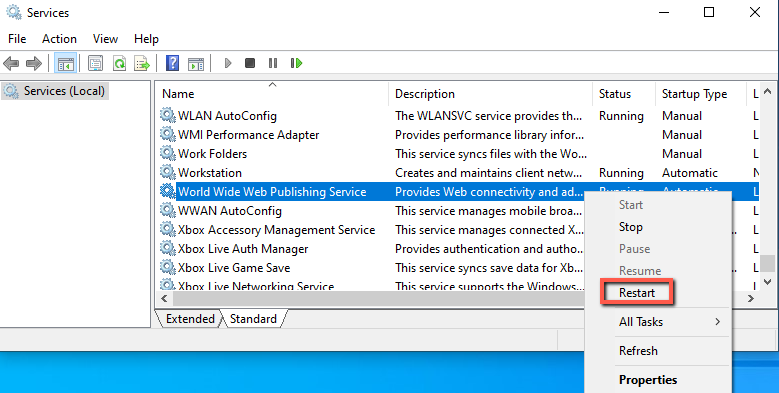
Restart the IIS services on the machine where the BriefCam Web Services are installed (by opening the Windows Services, right-clicking on the World Wide Web Publishing Service and clicking Restart).
Note
After restarting the IIS services, it might take a minute or two to get results when filtering objects for the first time after the restart.
To ensure that all the new features work as expected, reprocess previously processed videos.