Changing Default Ports Configuration
To define alternative ports in case one of the default ports is occupied, follow the steps below.
RESEARCH HTTP Port (8090)
In the Qlik Management Console (open a browser and use the following URL: https://RESEARCH_Host_Name/qmc), select Proxies on the QMC start page or from the Start drop-down menu to display the overview. Select Central proxy and click Edit. Click the Ports tab on the right-side menu.
In the Proxies window, select Edit Proxy and change the default
8090port on Service listen port HTTP to an available port.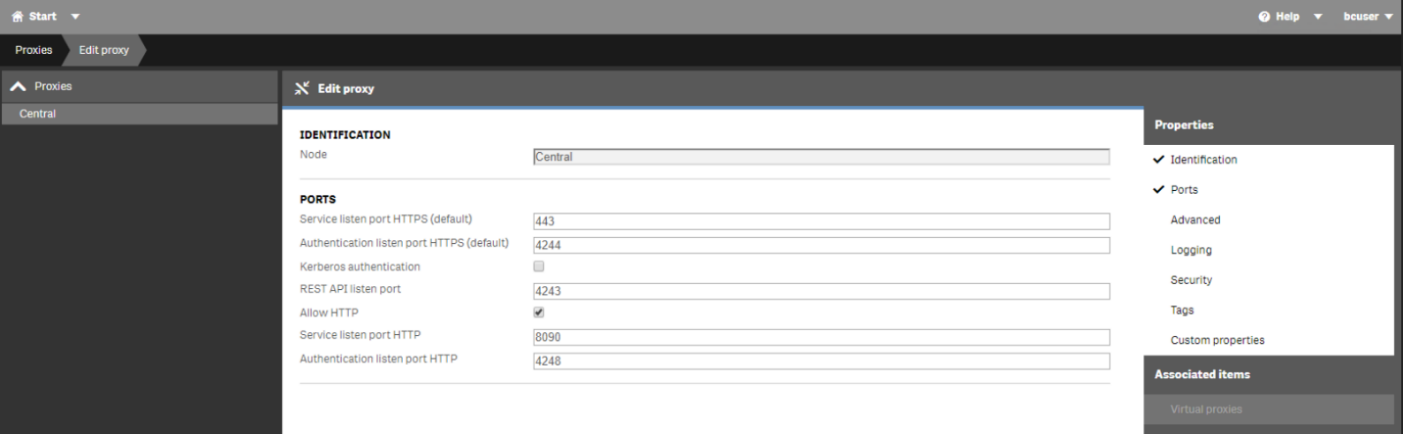
On the machine where the Web Services are installed, edit the RESEARCH HTTP Port in the Web config file. The file is located in the BriefCam Web Services installation folder (i.e.
C:\Program Files\BriefCam\WebServices\ProWebApi), by updatingQlikHttpPortvalue to the same port you have configured on the Qlik Management Console:<add key="QlikHttpPort" value="8090" />
RESEARCH API Ports (4242, 4243)
In the Qlik Management Console (open a browser and use the following URL: https:// RESEARCH_Host_Name/qmc), select Proxies on the QMC start page or from the Start drop-down menu to display the overview.
In the Proxies window, select Edit Proxy and change the default
4242/4243ports on REST API listen port/Authentication listen port HTTP to an available port.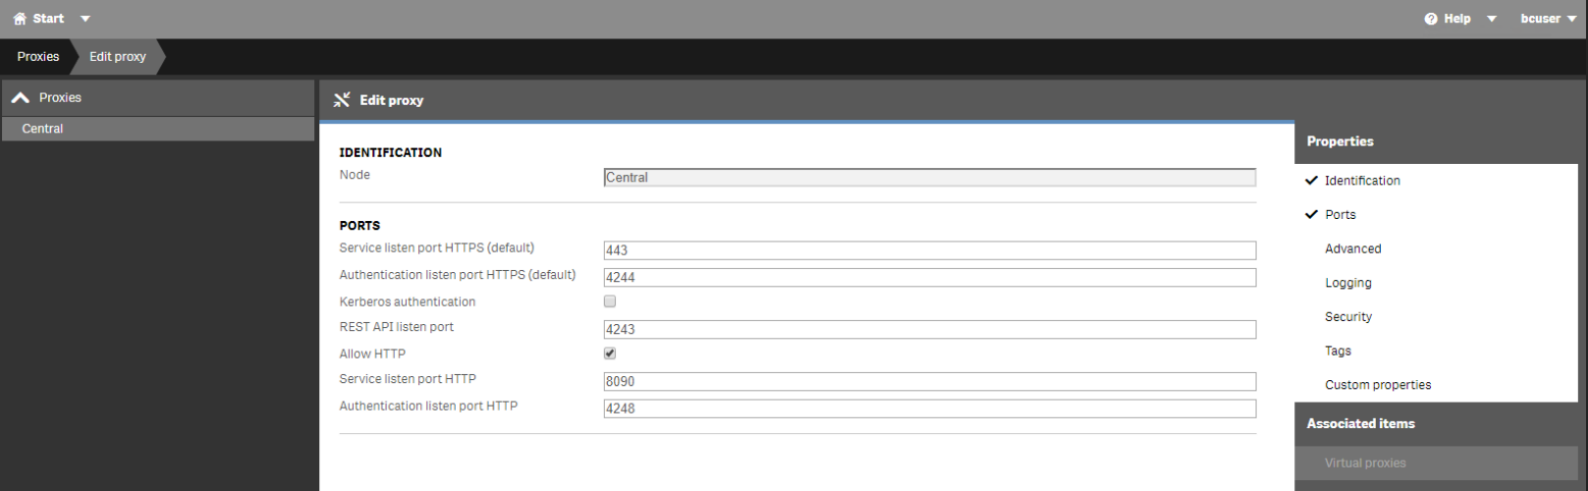
On the machine where the Web Services are installed, edit the RESEARCH API Ports in the Web config file. The file is located in the BriefCam Web Services installation folder (i.e.
C:\Program Files\BriefCam\WebServices\ProWebApi), by updatingQlikQrsPort/QlikProxyPortvalues to the same ports you have configured on the Qlik Management Console:<add key="QlikProxyPort" value="4243" /> <add key="QlikQrsPort" value="4242" />