

Navigating the Management Client
This section provides an introduction to the Management Client user interface.
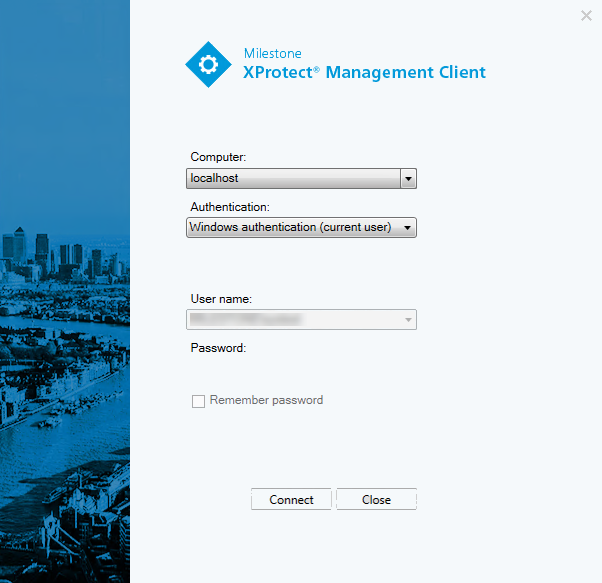
Login overview
When you launch the Management Client, you must first enter your login information to connect to a system.
With XProtect Corporate 2016 or XProtect Expert 2016 or newer installed, you can log into systems that run older versions of the product after installing a patch. The supported versions are XProtect Corporate 2013 and XProtect Expert 2013 or newer.
Login authorization (explained)
The system allows administrators to set up users so they can only log into a system if a second user with sufficient rights authorizes their login. In this case, XProtect Smart Client or the Management Client asks for the second authorization during login.
A user associated with the built-in Administrators role has always permission to authorize and is not asked for a second login, unless the user is associated with another role that requires a second login.
To associate login authorization with a role:
- Set Login authorization required for the selected role on the Info tab (see Roles settings) under Roles, so that the user is asked for additional authorization during login
- Set Authorize users for the selected role on the Overall Security tab (see Roles settings) under Roles, so that the user can authorize other users' logins
You can choose both options for the same user. This means that the user is asked for additional authorization during login, but can also authorize other users' logins, except for his/her own.
Management Client window overview
The Management Client window is divided into panes. The number of panes and layout depend on your:
- System configuration
- Task
- Available functions
Below are some examples of typical layouts:
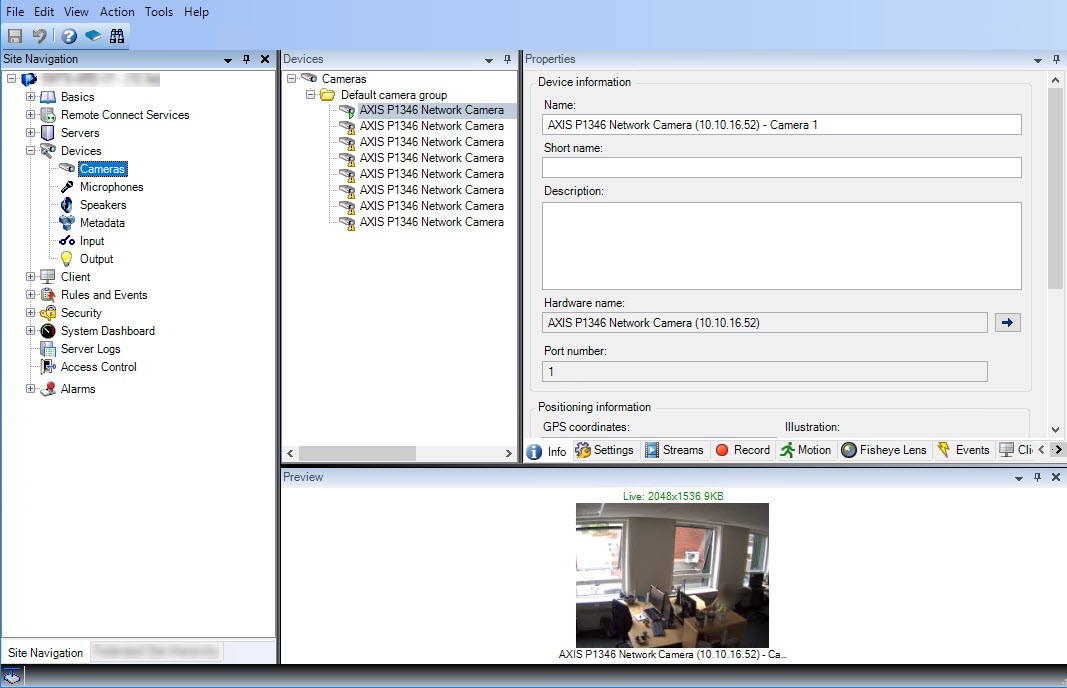
- When you work with recording servers and devices:
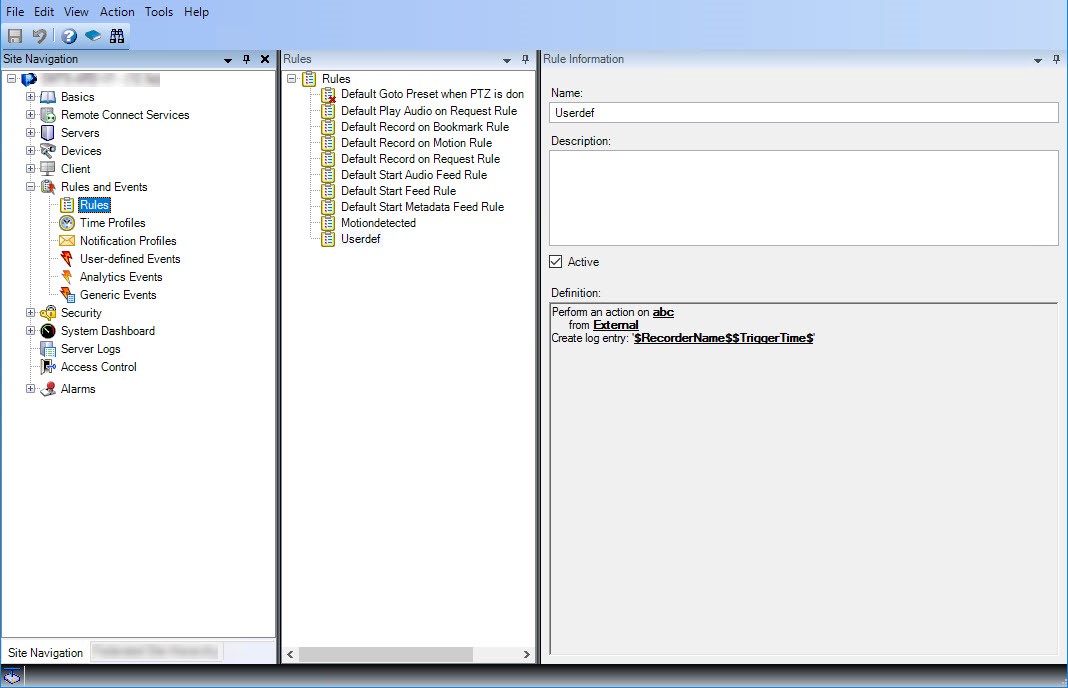
- When you work with rules, time and notification profiles, users, roles:
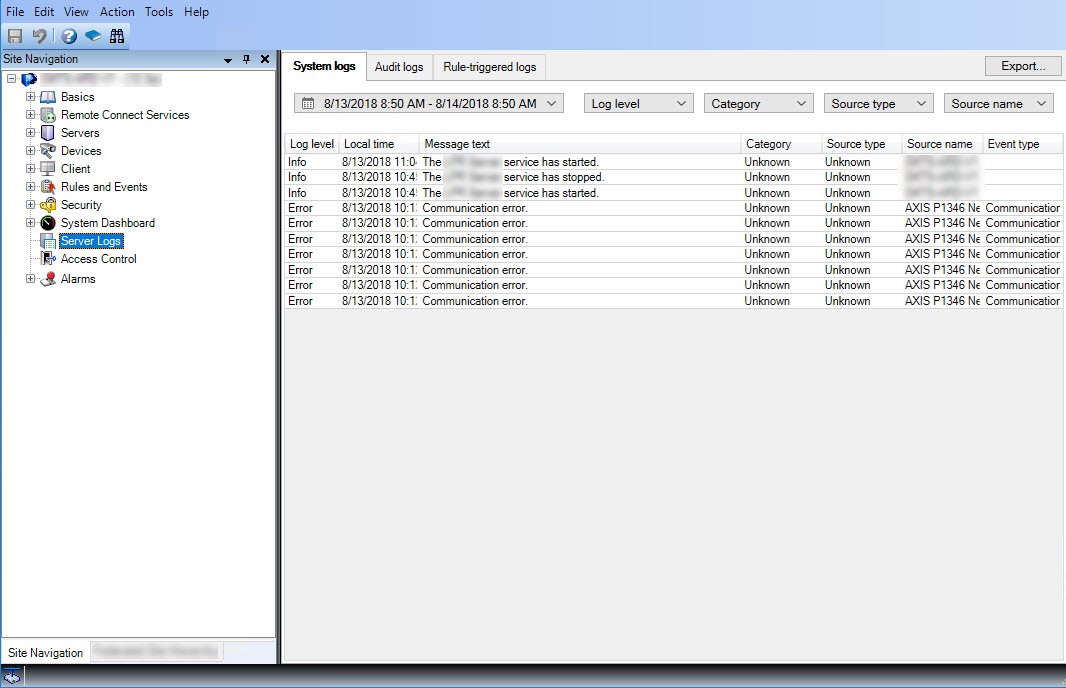
- When you view logs:
Panes overview
The illustration outlines a typical window layout. You can customize the layout so it may look different on your computer.
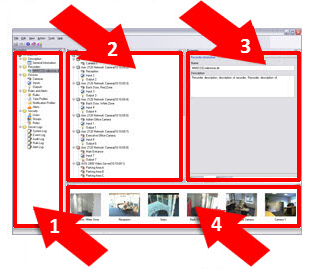
- Site Navigation pane and Federated Site Hierarchy pane
- Overview pane
- Properties pane
- Preview pane
Site Navigation pane: This is your main navigation element in the Management Client. It reflects the name, settings and configurations of the site that you have logged into. The site name is visible at the top of the pane. The features are grouped into categories that reflect the functionality of the software.
Federated Site Hierarchy pane: This is your navigation element that displays all Milestone Federated Architecture sites in a parent/child site hierarchy.
You can select any site, log into it and the Management Client for that site launches. The site that you are logged into, is always at the top of the hierarchy.
Overview pane: Provides an overview of the element you have selected in the Site Navigation pane, for example as a detailed list. When you select an element in the Overview pane, it typically displays the properties in the Properties pane. When you right-click elements in the Overview pane you get access to the management features.
Properties pane: Displays the properties of the element selected in the Overview pane. The properties appear on several dedicated tabs:

Preview pane: The Preview pane appears when you work with recording servers and devices. It shows preview images from the selected cameras or displays information about the state of the device. The example shows a camera preview image with information about the resolution and data rate of the camera's live stream:

By default, the information shown with the camera preview images concerns live streams. This is displayed in green text above the preview. If you want recording stream information instead (red text), select View > Show Recording Streams in the menu.
Performance can be affected if the Preview pane displays preview images from many cameras at a high frame rate. To control the number of preview images, and their frame rate, select Options > General in the menu.
File menu
You can save changes to the configuration and exit the application. You can also back up your configuration, see Backing up and restoring your system configuration (explained).
View menu
|
Name |
Description |
|---|---|
| Reset Application Layout |
Reset the layout of the different panes in the Management Client to their default settings. |
| Preview Window |
Toggle the Preview pane on and off when working with recording servers and devices. |
| Show Recording Streams |
By default, the information shown with preview images in the Preview pane concerns live streams of the cameras. If you want information about recording streams instead, select Show Recording Streams. |
| Federated Site Hierarchy |
By default, the Federated Site Hierarchy pane is enabled. |
| Site Navigation |
By default, the Site Navigation pane is enabled. |
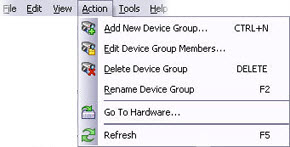
Action menu
The content of the Action menu differs depending on the element you have selected in the Site Navigation pane. The actions you can choose from are the same as when you right-click the element. The elements are described in Configuring the system in the Site Navigation pane.
|
Name |
Description |
|---|---|
| Refresh |
Is always available and reloads the requested information from the management server. |
Tools menu
|
Name |
Description |
|---|---|
| Registered Services |
Manage registered services. |
| Effective Roles |
View all roles of a selected user or group. |
| Options |
Opens the Options dialog box, which lets you define and edit global system settings. |
Help menu
You can access the help system and information about the version of the Management Client.
Was this article helpful?
Thanks for your feedback!